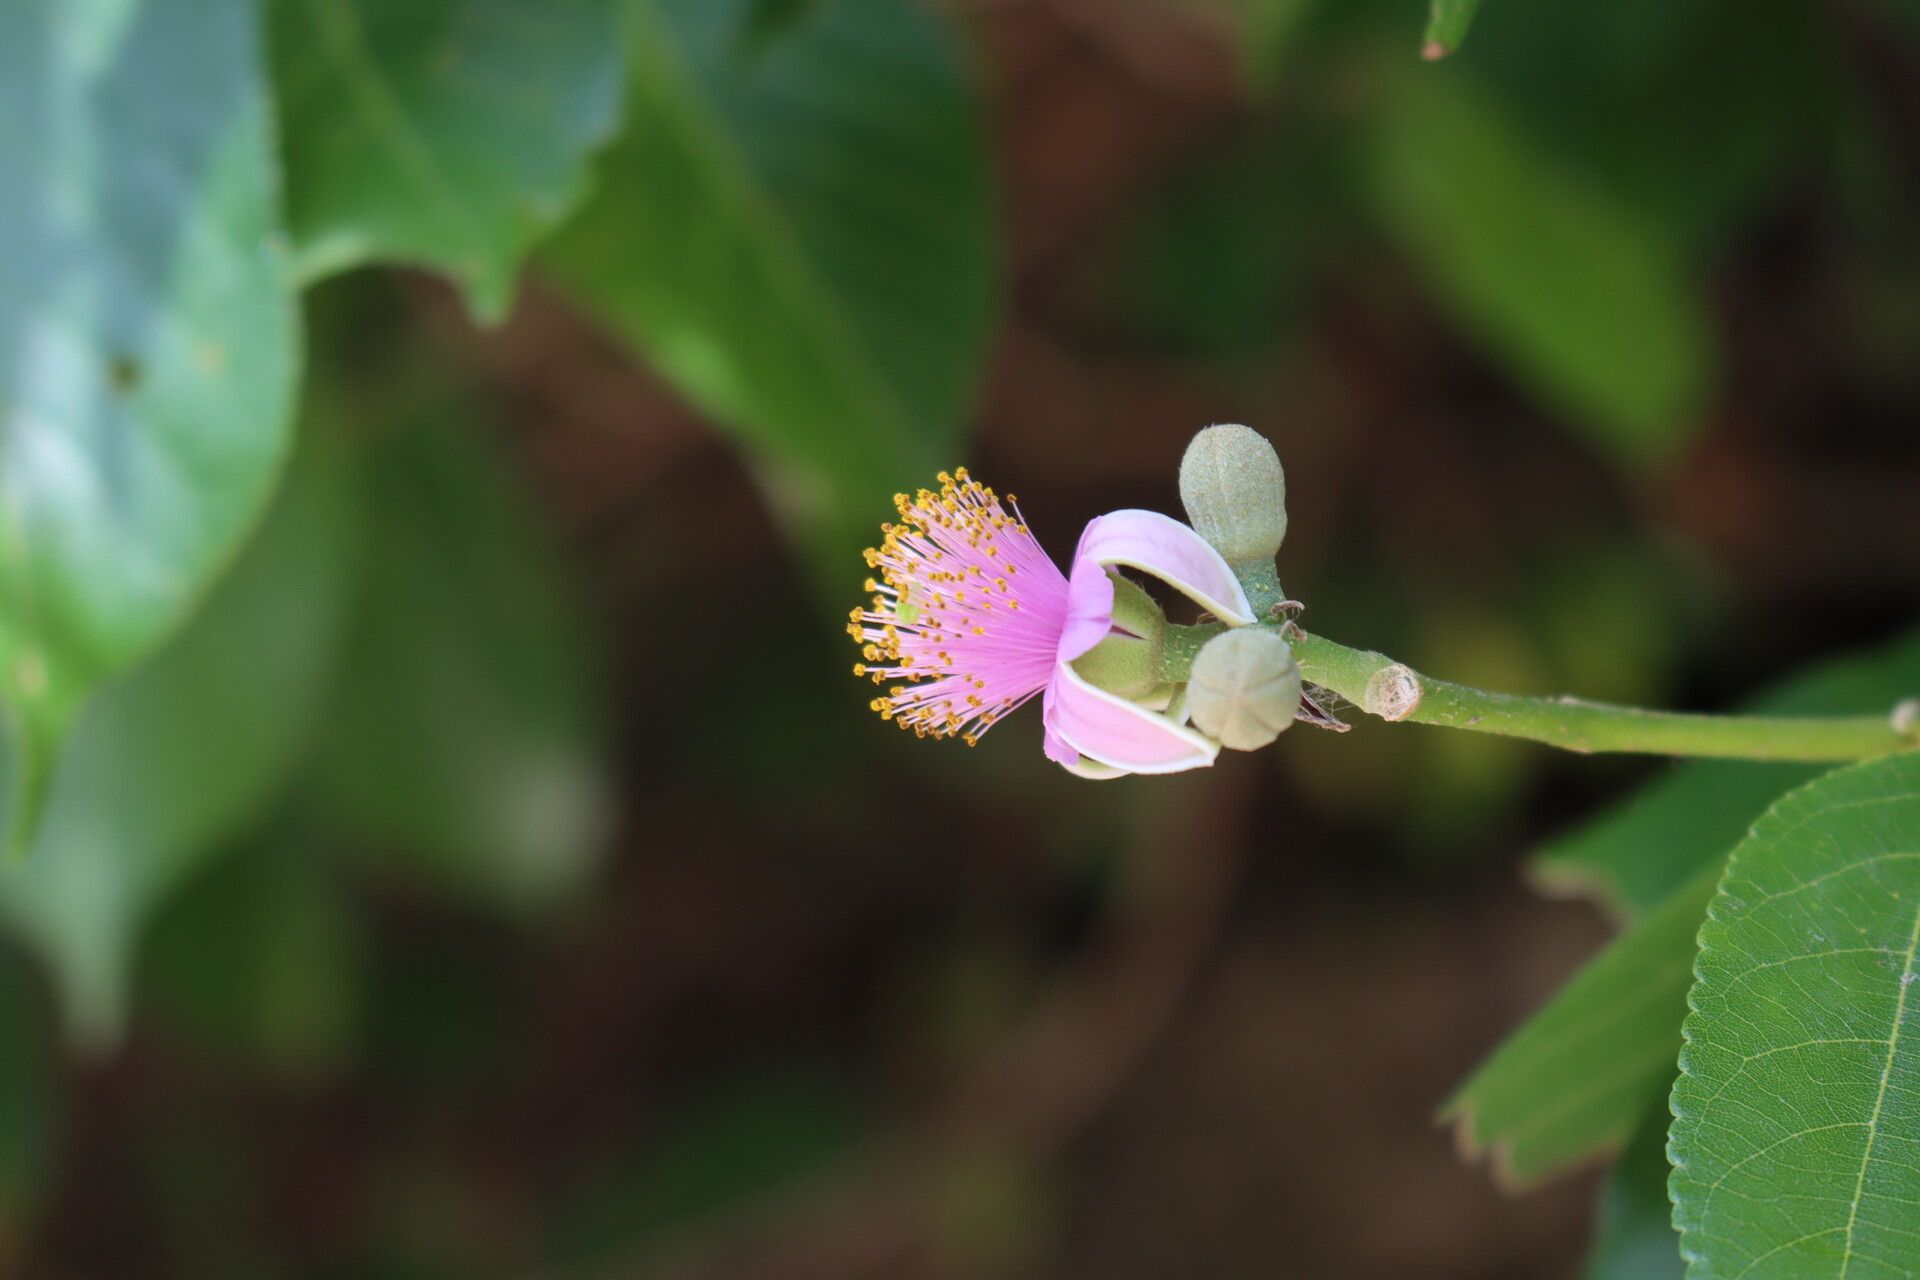
Oh, Grewia glandulosa! What a gem. I adore this plant. Its delicate, star-shaped flowers are a delightful surprise, and it’s such a joy to see it unfurl those lovely leaves. Plus, sharing a cutting or two with a fellow plant lover? That’s garden joy amplified. Now, if you’re wondering about trying your hand at propagating it, I’d say it’s wonderfully rewarding, and not overly challenging for a keen beginner. It just needs a little gentle coaxing.
The Best Time to Start
For Grewia glandulosa, I find the late spring or early summer is absolutely prime time. The plant is in its active growing phase, and cuttings taken now are often bursting with energy to root. Look for new growth on your established plant – soft, yet slightly firm stems are ideal. Avoid woody or very young, floppy shoots.
Supplies You’ll Need
Gathering your tools beforehand makes the whole process so much smoother. Here’s what I usually have on hand:
- Sharp Pruning Shears or a Knife: Clean cuts are crucial to prevent disease.
- Potting Mix: A well-draining mix is key. I often combine equal parts peat moss or coco coir with perlite or coarse sand.
- Small Pots or Trays: Sterilized pots are best to avoid introducing any nasties.
- Rooting Hormone (Optional but Recommended): It gives those cuttings a little boost. Gel or powder works fine.
- Watering Can with a Fine Rose: For gentle watering.
- Plastic Bags or a Propagator: To create a humid environment.
Propagation Methods
Stem cuttings are my go-to for Grewia glandulosa. They’re usually quite successful!
-
Take Your Cuttings: Select a healthy stem that’s about 4-6 inches long. Using your sharp shears, make a clean cut just below a leaf node (where a leaf attaches to the stem). Remove the lower leaves, leaving just a few at the top. This helps prevent rot and encourages root development. If the leaves are very large, I sometimes snip them in half.
-
Prepare the Cutting: Dip the cut end of the stem into your rooting hormone. Gently tap off any excess.
-
Plant the Cutting: Fill your small pots with your prepared potting mix. Make a pilot hole with a pencil or your finger, just deep enough for the stem. Insert the cutting into the hole and gently firm the soil around it.
-
Provide Humidity: Water the soil lightly. Then, you can either cover the pot with a clear plastic bag (making sure the leaves don’t touch the plastic) or place the pot inside a propagator. This creates that humid microclimate cuttings crave.
The “Secret Sauce” (Pro Tips)
Here are a few little tricks I’ve learned over the years that make a real difference:
- Bottom Heat is Your Friend: If you have it, placing your pots on a heated propagation mat can significantly speed up root formation. It’s like a cozy blanket for your fledgling roots.
- Don’t Drown Your Dreams: While humidity is important, overwatering is the enemy of cuttings. The soil should be consistently moist, never soggy. If you see water pooling, tip out any excess.
- Patience is a Virtue (Especially with Grewia): Sometimes, they take their sweet time. Don’t be discouraged if you don’t see root emergence after a few weeks. I’ve had cuttings surprise me with roots after 2-3 months.
Aftercare & Troubleshooting
Once you start to see new leaf growth or feel a gentle resistance when you tug lightly on the cutting, that’s your cue! It means roots are forming. Gradually acclimate your new plant to normal humidity by slowly opening the plastic bag or propagator over a week or two. Continue watering as needed, keeping the soil evenly moist.
The most common sign of failure is rot, where the cutting turns black and mushy. This is usually a sign of too much moisture and not enough air circulation. If you see this, sadly, it’s usually best to discard the affected cutting to prevent it from spreading. Another sign is the cutting simply wilting and never recovering, which can happen if it’s too dry or not receiving enough light.
A Encouraging Closing
Propagating plants is such a fulfilling journey, and watching something you’ve nurtured grow into its own beautiful specimen is incredibly rewarding. So, don’t be afraid to experiment! Be patient with your Grewia glandulosa cuttings, give them a little love and the right conditions, and enjoy the process. Happy propagating!
Resource:
https://identify.plantnet.org/k-world-flora/species/Grewia%20glandulosa%20Vahl/data