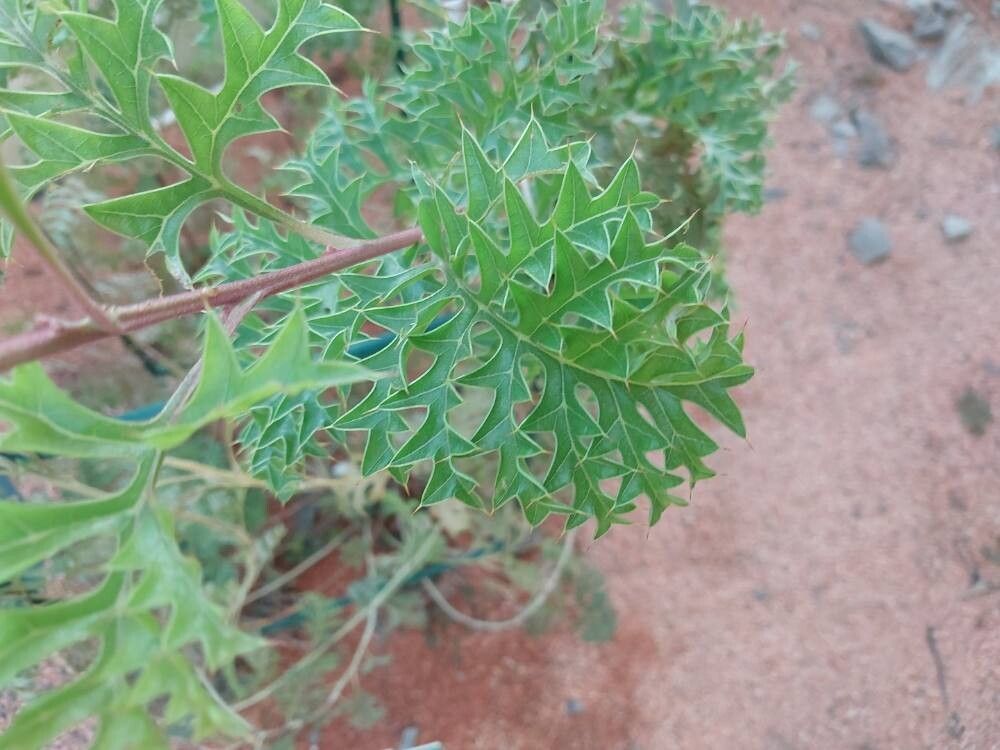
Oh, Grevillea bipinnatifida! I’m so glad you’re thinking about multiplying this beauty. It’s one of those plants that just brings a smile to my face with its delicate, fern-like foliage and those charming little spider flowers. Honestly, there’s something incredibly satisfying about coaxing new life from a plant you already love. If you’re new to propagating, I’d say Grevillea bipinnatifida falls into the “moderately rewarding” category. It’s not quite as foolproof as some succulents, but with a little care, anyone can have success.
The Best Time to Start
For Grevillea bipinnatifida, I find spring is your absolute best bet. Think of it as the plant waking up from its winter slumber and bursting with energy. This is when new growth is vigorous and full of life, making it the perfect time to take cuttings. Aim for when the stems are firm but not yet woody – a good indicator is when they snap cleanly rather than bend.
Supplies You’ll Need
Here’s a little kit you’ll want to gather before you start:
- Clean, sharp pruning shears or a sharp knife: Essential for making clean cuts.
- Rooting hormone powder or gel: This really gives your cuttings a head start.
- Small pots or seed trays: Whatever you have that’s clean and has good drainage.
- Well-draining potting mix: I like a mix of two parts perlite to one part coco coir or peat moss. A bit of gentle native plant potting mix also works wonders.
- Plastic bags or a propagation dome: To create a humid environment.
- Labels and a marker: So you don’t forget what you planted and when!
- Spray bottle: For misting.
Propagation Methods
I find stem cuttings are usually the most reliable method for Grevillea bipinnatifida. Let’s walk through it:
- Select your cutting: Look for healthy, non-flowering shoots that are about 10-15 cm long.
- Make the cut: Using your sharp shears, snip the stem just below a leaf node (where a leaf attaches to the stem).
- Prepare the cutting: Gently strip off the lower leaves. You want to expose a few nodes so roots can form. If you have very large leaves, you can snip them in half to reduce water loss.
- Apply rooting hormone: Dip the cut end of the stem into your rooting hormone, ensuring it’s coated. Tap off any excess.
- Plant your cutting: Fill your pots with your well-draining mix. Make a small hole in the center with a pencil or your finger. Insert the cutting, making sure the nodes you’ve exposed are buried in the soil. Gently firm the soil around it.
- Water gently: Give the soil a good watering to settle it around the cutting.
- Create humidity: Pop the pot into a clear plastic bag, sealing it loosely with ties, or place it under a propagation dome. This will keep the humidity high, which cuttings love.
The “Secret Sauce” (Pro Tips)
Here’s a little something extra from my decades of getting my hands dirty:
- Bottom Heat is Your Friend: If you can, place your pots on a gentle heating mat designed for propagation. This warmth encourages root development from below, significantly boosting your success rate.
- Don’t Drench, Mist: While we want humidity, soggy soil can lead to rot. I recommend misting the cuttings and the inside of the plastic bag daily or every other day, rather than watering from the top again until you see signs of rooting.
- Know When to Reveal: Once you see new growth appearing on your cutting, it’s a good sign that roots are forming. At this point, gradually introduce it to less humid conditions over a few days by opening the bag a little more each day.
Aftercare & Troubleshooting
Once you start seeing those little roots poking out of the drainage holes, or you gently tug on the cutting and feel resistance, it’s time for a little more care. Keep the soil consistently moist but not waterlogged. Continue to mist occasionally. I usually transplant them into slightly larger pots once they have a good root system, moving them to a position with bright, indirect light.
The most common issue you’ll encounter is rot. If your cutting turns mushy and black, or develops white mold, it’s usually a sign of too much moisture and not enough air circulation. Unfortunately, if this happens, it’s best to discard the affected cutting and start again, paying closer attention to drainage and humidity levels.
A Little Patience Goes a Long Way
Propagating takes time, so be patient with your little Grevillea bipinnatifida. Enjoy the process of nurturing something new. Watching those tiny roots develop and then seeing your new plant unfurl its first true leaves is a truly rewarding experience. Happy propagating!
Resource:
https://identify.plantnet.org/k-world-flora/species/Grevillea%20bipinnatifida%20R.Br./data