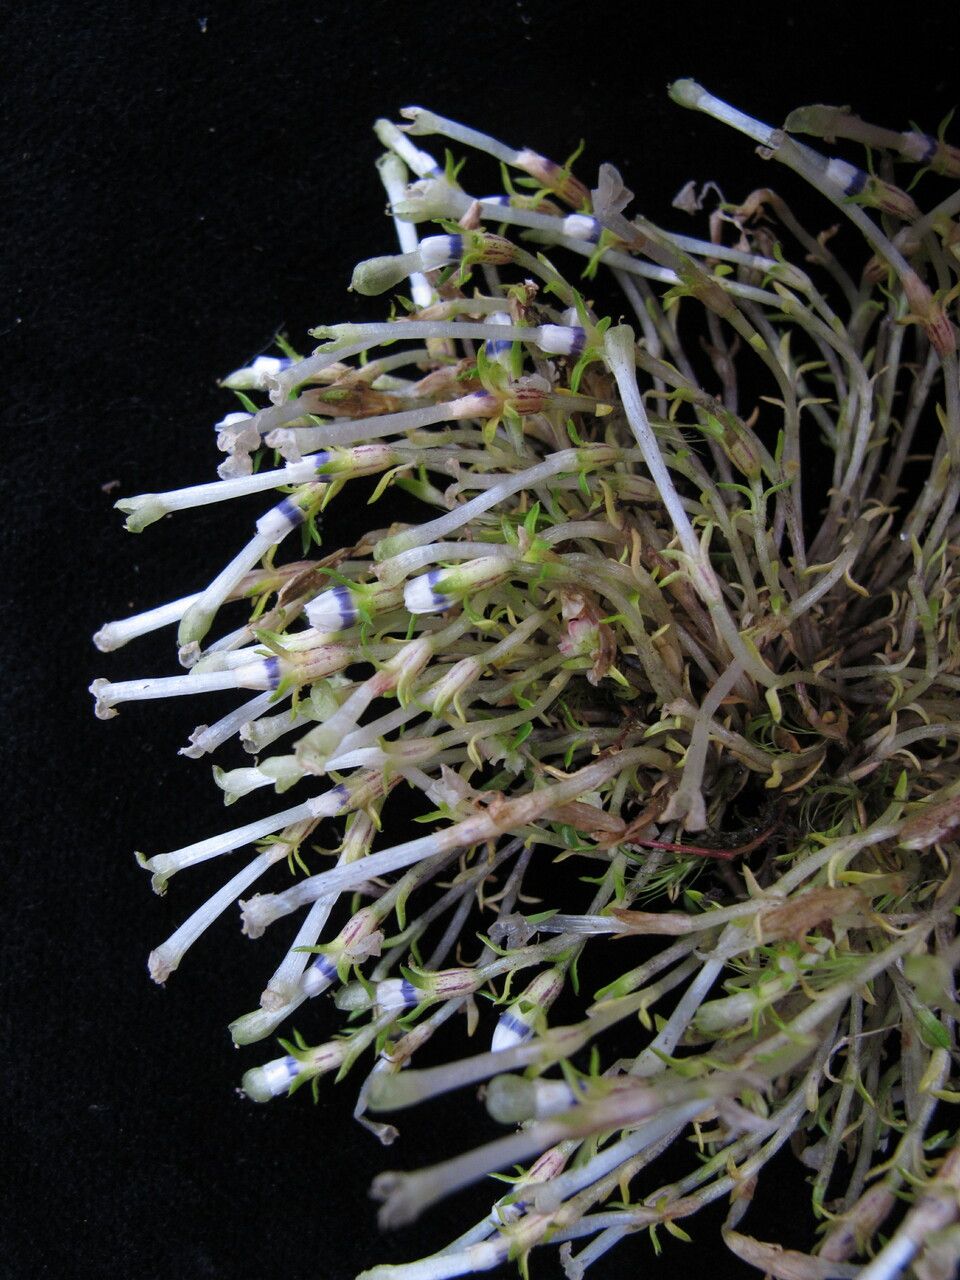
Oh, Gentiana bryoides! Isn’t that just a darling? Its tiny, jewel-like flowers sprinkled across such a neat, mossy cushion are simply captivating. If you’ve seen one in full bloom, you understand why we’d want more of these little treasures for our own gardens. Propagating them is a wonderful way to multiply that beauty, and while it requires a bit of care, it’s a deeply satisfying endeavor. Think of it as coaxing a tiny miracle into being! For beginners, I’d say it’s a moderately challenging plant to propagate, but with a little attention to detail, you’ll absolutely find success.
The Best Time to Start
The sweet spot for propagating Gentiana bryoides is usually late spring to early summer. This is when the plant is actively growing and has plenty of energy. We’re looking for stems that are firm but not yet woody – a bit like a newly unfurled fern frond. Trying to propagate from very soft, new growth or old, mature stems can be trickier.
Supplies You’ll Need
Here’s what I always have on hand when I’m about to get my hands dirty with my gentians:
- Sharp pruning shears or a clean knife: For making neat cuts.
- Small pots or seed trays: Cleanliness is key!
- A well-draining potting mix: I like to mix equal parts peat moss, perlite, and coarse sand. You could also use a seed-starting mix and amend it with extra perlite.
- Rooting hormone (optional, but recommended for a boost): A powdered or gel form works well.
- A mister or spray bottle: For keeping things consistently moist.
- Plastic bags or a small propagator: To create a humid environment.
- Labeling stakes and a permanent marker: Don’t forget what you planted!
- A warm, bright location: Away from direct, scorching sunlight.
Propagation Methods
For Gentiana bryoides, stem cuttings are generally the most successful and widely used method.
Stem Cuttings
- Gather Your Cuttings: Using your sharp shears, take cuttings that are about 2-3 inches long. Look for healthy stems that are a bit pliable. Make your cut just below a leaf node (the point where a leaf attaches to the stem). This is where the magic of root formation truly begins.
- Prepare the Cuttings: Gently remove the lower leaves from the cutting. You want to expose a healthy section of stem. If your cutting is particularly long, you can trim off the very tip.
- Apply Rooting Hormone (Optional): Dip the cut end of the stem into your rooting hormone, tapping off any excess. This really gives the roots a head start.
- Plant the Cuttings: Fill your small pots or trays with your prepared, well-draining mix. Make a small hole with your finger or a pencil. Insert the cut end of the Gentiana cutting into the hole, ensuring that at least one leaf node is below the soil surface.
- Water Gently: Give the soil a gentle watering to settle it around the cuttings. Use your mister to avoid disturbing them.
- Create a Humid Environment: Cover the pots or trays with a plastic bag or place them inside a propagator. This traps moisture and keeps the humidity high, which is crucial for cuttings that haven’t developed roots yet. Make sure the leaves don’t touch the sides of the bag if possible, as this can encourage rot.
- Place and Wait: Put your cuttings in a bright spot that receives indirect light. Keep the soil consistently moist but not waterlogged.
The “Secret Sauce” (Pro Tips)
- Bottom Heat is Your Friend: If you have a heat mat designed for propagation, using it can really speed up the rooting process. Gentiana bryoides loves a bit of warmth from below – it mimics their natural growing conditions and encourages root development.
- Don’t Be Afraid to Mist: These little guys appreciate humidity. I find myself misting my cuttings a couple of times a day, especially in drier environments. A good, fine spray keeps the leaves turgid and happy.
- Patience, Patience, Patience: Gentianas can be a bit slow to root. Don’t be discouraged if you don’t see signs of life immediately. I often wait 4-6 weeks, sometimes longer, before I see new growth. That’s your signal!
Aftercare & Troubleshooting
Once you see new leaf growth emerging from your cuttings, that’s a fantastic sign! It means roots are forming underground.
- Introduce to Air Gradually: If you’ve been using a plastic bag, start to gradually let more air in over a few days. This helps your new little plants acclimatize to normal room humidity.
- Keep Moist: Continue to water gently and keep the soil consistently moist.
- Transplant Carefully: When your new Gentiana plants have a decent root system (you might see them peeking out of the drainage holes), you can carefully transplant them into slightly larger pots. Use the same well-draining mix.
- Watch for Rot: The most common problem is rot, which usually happens when the soil is too wet or the drainage is poor. If you see stems turning brown and mushy, it’s likely rot. Remove the affected cutting immediately. Good airflow and proper watering are your best defense. Sometimes, if the rot is caught early, you can trim away the affected part and try to reroot the healthy section.
A Encouraging Closing
Propagating Gentiana bryoides is a journey, and like all journeys in the garden, it’s about the learning and the anticipation. Be patient with your little cuttings, celebrate every sign of progress, and don’t be afraid to try again if they don’t take. The joy of seeing those tiny plants mature and eventually bloom makes all the effort wonderfully worthwhile. Happy propagating!
Resource:
https://identify.plantnet.org/k-world-flora/species/Gentiana%20bryoides%20Burkill/data