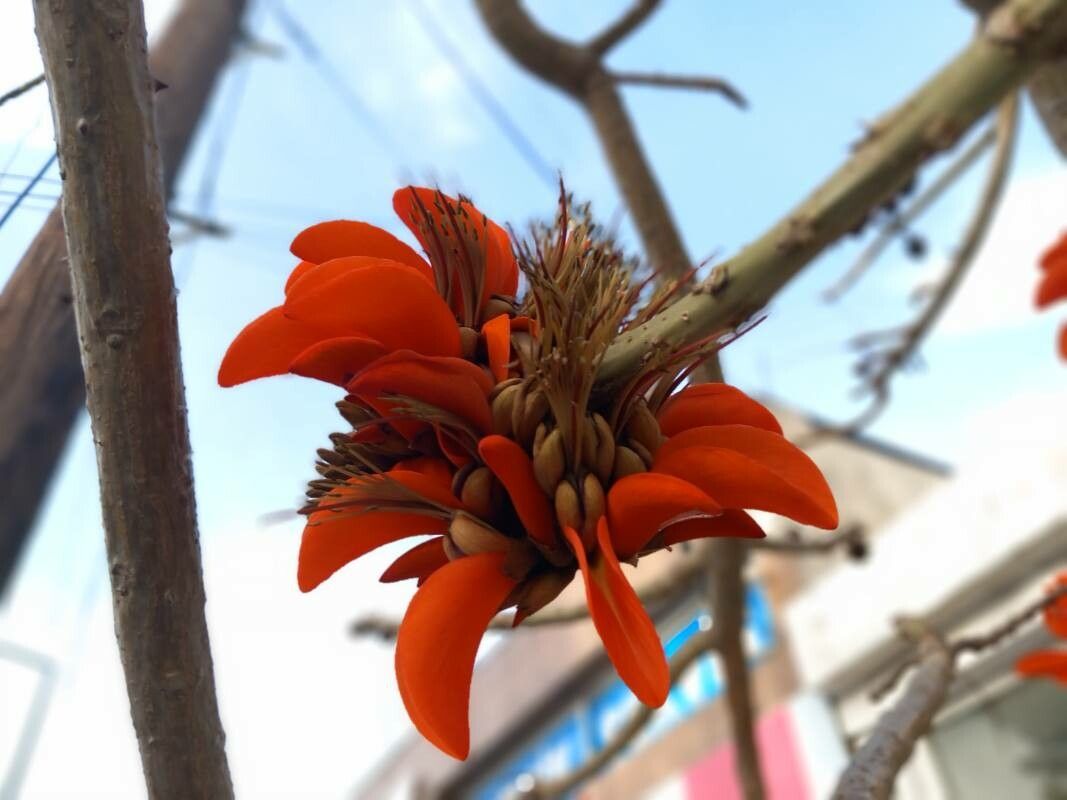
Hello there, fellow garden enthusiasts! It’s such a joy to have you join me for a chat about a truly magnificent plant: Erythrina caffra, often called the Coastal Coral Tree. Its vibrant coral-red blossoms are an absolute showstopper, painting the landscape with fiery color. If you’ve ever admired this tree and wished you could have a piece of that magic for yourself, you’re in luck! Propagating Erythrina caffra is a rewarding endeavor, and while it might have a bit of a reputation, I’m here to say with a little know-how, it’s absolutely achievable for most gardeners, even those dipping their toes into propagation for the first time.
The Best Time to Start
Timing is everything in the garden, isn’t it? For Erythrina caffra, the late spring and early summer are your golden windows of opportunity. This is when the plant is actively growing and has plenty of energy to dedicate to rooting. You’ll want to wait until after the last frost, of course, and when the days are getting longer and warmer. Look for stems that have grown during the current year – they tend to be more pliable and receptive to rooting.
Supplies You’ll Need
Gathering your tools beforehand makes the whole process smoother. Here’s what I usually have on hand:
- Sharp Pruning Shears or a Knife: For clean cuts that heal well.
- Rooting Hormone: A powder or gel. This is really helpful for encouraging strong root development.
- Well-Draining Potting Mix: A 50/50 blend of perlite and peat moss is my go-to. You can also use a commercial seed-starting mix.
- Pots or Containers: Small pots or even seedling trays work well. Make sure they have drainage holes!
- Gloves: For protecting your hands, especially if you’re sensitive to plant sap.
- Plastic Bag or Propagation Dome: To create a humid environment.
Propagation Methods
Erythrina caffra can be propagated through a couple of common methods. I usually find stem cuttings to be the most straightforward and successful.
Stem Cuttings
This is where the magic really happens!
- Select Your Cuttings: In late spring or early summer, choose a healthy stem from your Erythrina plant. Look for a stem that’s about as thick as a pencil and at least 6-8 inches long. Ideally, it will have a few leaf nodes (where leaves emerge from the stem).
- Make the Cut: Using your sharp pruning shears or a knife, make a clean cut just below a leaf node. This is where roots are most likely to form.
- Prepare the Cutting: Gently remove the leaves from the bottom two-thirds of the cutting. You can leave a few at the top to help with photosynthesis, but too many will increase the risk of rot in the propagation environment.
- Apply Rooting Hormone: Dip the cut end of the stem into your rooting hormone, tapping off any excess. This step is crucial for giving your cutting a good head start.
- Plant the Cutting: Fill your small pots with your well-draining potting mix. Make a hole in the center with your finger or a pencil, and carefully insert the Erythrina cutting. Gently firm the soil around it.
- Water Gently: Water thoroughly but gently, so as not to disturb the cutting.
- Create Humidity: Cover the pot with a plastic bag, securing it around the rim with a rubber band, or use a propagation dome. This creates a mini-greenhouse effect, keeping the humidity high, which is essential for the cutting to not dry out before it develops roots.
The “Secret Sauce” (Pro Tips)
Now, for a couple of little tricks I’ve learned over the years that can really boost your success:
- Bottom Heat is Your Friend: If you have a few cuttings going, placing the pots on a gentle heat mat specifically designed for plants can make a world of difference. This warmth encourages root development from the bottom up, speeding up the process and increasing your chances of success.
- Don’t Disturb the Nest (Too Soon!): I know you’ll be eager to check for roots, but resist the urge! When you’re propagating, it’s best to leave those cuttings undisturbed for at least 4-6 weeks. Repeatedly pulling them out to check just traumatizes the developing root system. You’ll see signs of growth, like new leaves appearing, which is a good indicator that roots are forming.
Aftercare & Troubleshooting
Once you see those first signs of new growth, congratulations – you’ve likely got roots!
- Acclimatization: Slowly start to reduce the humidity. You can do this by gradually opening the plastic bag or propagation dome to allow more airflow. This helps the new plant get used to normal conditions.
- Light and Water: Place your cutting in a bright spot, out of direct, intense sunlight. Continue to water when the top inch of soil feels dry.
- Troubleshooting: The most common issue you’ll run into is rot. If your cutting starts to look mushy or dark, it’s a sign of overwatering or insufficient drainage. Unfortunately, if rot sets in, it’s usually game over. Prevention is key here – ensure your soil is light and airy, and always use pots with good drainage.
Happy Propagating!
Starting new plants from cuttings is such a wonderful way to connect with nature and multiply the beauty in your garden. Be patient with your Erythrina caffra cuttings. Some might take their sweet time, and that’s perfectly okay. Enjoy the process, celebrate every tiny bit of progress, and soon you’ll have your very own Coral Tree to cherish. Happy gardening!
Resource:
https://identify.plantnet.org/k-world-flora/species/Erythrina%20caffra%20Thunb./data