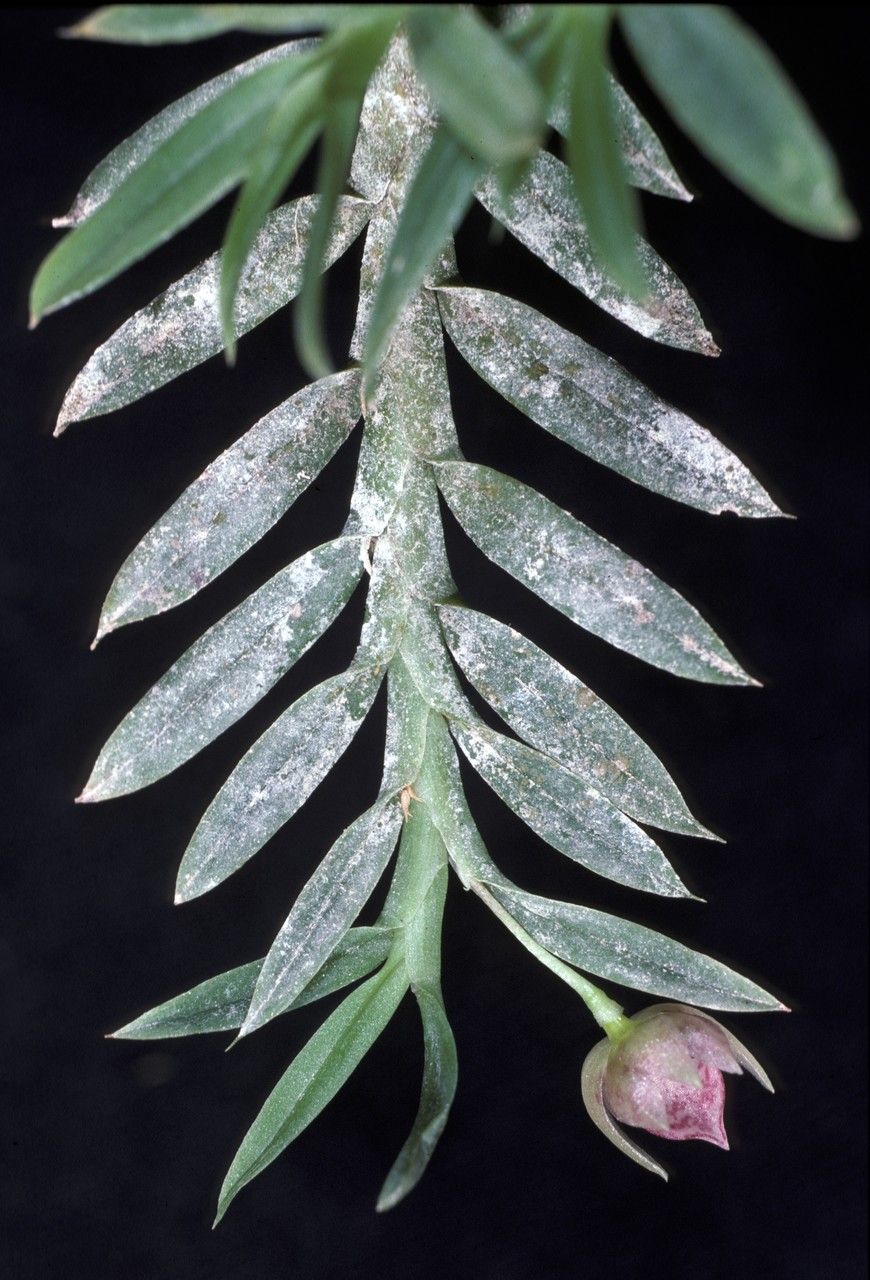
Oh, Dichaea picta! I’m so glad you’re interested in this delightful orchid. Its splashes of color are just stunning, aren’t they? And the real joy comes not just from admiring them, but from making more of them. Watching a tiny piece of plant transform into a whole new life is truly magical. Now, I’ll be honest, Dichaea picta isn’t the absolute easiest orchid to propagate for a brand-new beginner. It requires a bit of gentle attention, but with a little care and these tips, you’ll be rewarded with plenty of these beauties.
The Best Time to Start
For Dichaea picta, the sweet spot is really the active growing season. Think spring and summer here in most climates. That’s when the plant has plenty of energy to put into developing new roots and shoots. You want to be working with healthy, vigorous stems that are actively producing new leaves. Avoid trying to propagate during a dormant period; it’s just too much of a shock to the system for the plant.
Supplies You’ll Need
Gathering your tools beforehand makes the whole process smoother. Here’s what I recommend:
- Sharp, sterile pruning shears or a clean knife: For making clean cuts.
- Rooting hormone (optional but recommended): A small amount can give your cuttings a good head start. Look for one formulated for orchids or general cuttings.
- A well-draining potting mix: I love a mix of orchid bark, sphagnum moss, and perlite. You want good aeration.
- Small pots or trays: Clean and about 3-4 inches in size.
- Clear plastic bags or a propagation humidity dome: To create a humid environment.
- A spray bottle: For misting.
- A heat mat (optional but a game-changer for orchids): Provides consistent bottom warmth.
Propagation Methods
Dichaea picta is best propagated by stem cuttings, and it works remarkably well.
-
Identify Your Cutting: Look for a healthy stem on your mature Dichaea picta. You’re aiming for a section that has at least two to three healthy leaves and a leafless node or two. Nodes are those little bumps or rings on the stem where leaves emerge. These are where new roots and shoots will form.
-
Make the Cut: Using your sterilized shears, make a clean cut just below a node. It’s best to take cuttings that are at least a few inches long.
-
Prepare the Cutting: If you’re using rooting hormone, dip the cut end into the powder or gel, tapping off any excess.
-
Planting Time: Gently insert the cut end of the stem into your prepared potting mix. Make sure at least one node is buried in the substrate. Firm the mix gently around the stem to provide support.
-
Create the Humid Environment: This is crucial! Water your potting mix lightly until it’s evenly moist, but not waterlogged. Then, cover the pot with a clear plastic bag or place it under a humidity dome. This traps moisture, mimicking the humid conditions your cutting craves.
-
Placement: Place the pot in a location with bright, indirect light. Avoid direct sun, which can scorch the delicate new growth.
The “Secret Sauce” (Pro Tips)
There are a few little tricks that really up your success rate with orchids like Dichaea picta.
- Don’t Overwater the Soil: I see this mistake so often. The roots of many orchids, especially when they’re trying to form, are very susceptible to rot if the medium stays too wet. Aim for moist, not soggy. A gentle misting with your spray bottle is often enough to keep the humidity high without drowning the soil.
- Bottom Heat is Your Friend: If you have a heat mat, use it! Orchids absolutely love a little warmth from below, especially when they’re starting to root. It encourages faster root development and can make a big difference in how quickly your cuttings get established. Place the pot directly on the mat.
- Patience is Key with Humidity: Resist the urge to keep lifting the plastic bag or dome. The goal is to create a consistent, steamy microclimate. Only lift it briefly if you see condensation building up excessively to allow for a bit of air circulation, then reseal it quickly.
Aftercare & Troubleshooting
Once your cuttings have been in their humid environment for a few weeks, you might start to see progress.
- New Growth is a Good Sign: Look for tiny new roots emerging from the buried nodes, or sometimes a new leaf or shoot starting to form at the top. This is your signal that your little one is happy.
- Gradually Acclimate: Once you see good root development (you might even see roots peeking out of the drainage holes!), you can start to gradually reduce the humidity. This means opening the bag or dome for longer periods each day. Eventually, you can remove it altogether.
- Continue Watering: Continue to water as before, keeping the potting mix moist but not soggy.
- Watch for Rot: The most common problem you’ll encounter is rot. If you see the stem turning black or mushy, or leaves yellowing and falling off without any new growth appearing, it’s likely rot setting in. This is usually due to too much moisture and poor air circulation. Sadly, if rot sets in, the cutting is usually unsalvageable, and you’ll need to start again.
A Encouraging Closing
Propagating Dichaea picta is a journey, and like any good journey, it’s full of learning and discovery. Don’t be discouraged if your first attempt isn’t a roaring success. Every gardener learns through trial and error. Just keep observing your plants, adjusting your care, and most importantly, enjoy the process. You’re creating new life, and that’s always a beautiful thing. Happy propagating!
Resource:
https://identify.plantnet.org/k-world-flora/species/Dichaea%20picta%20Rchb.f./data