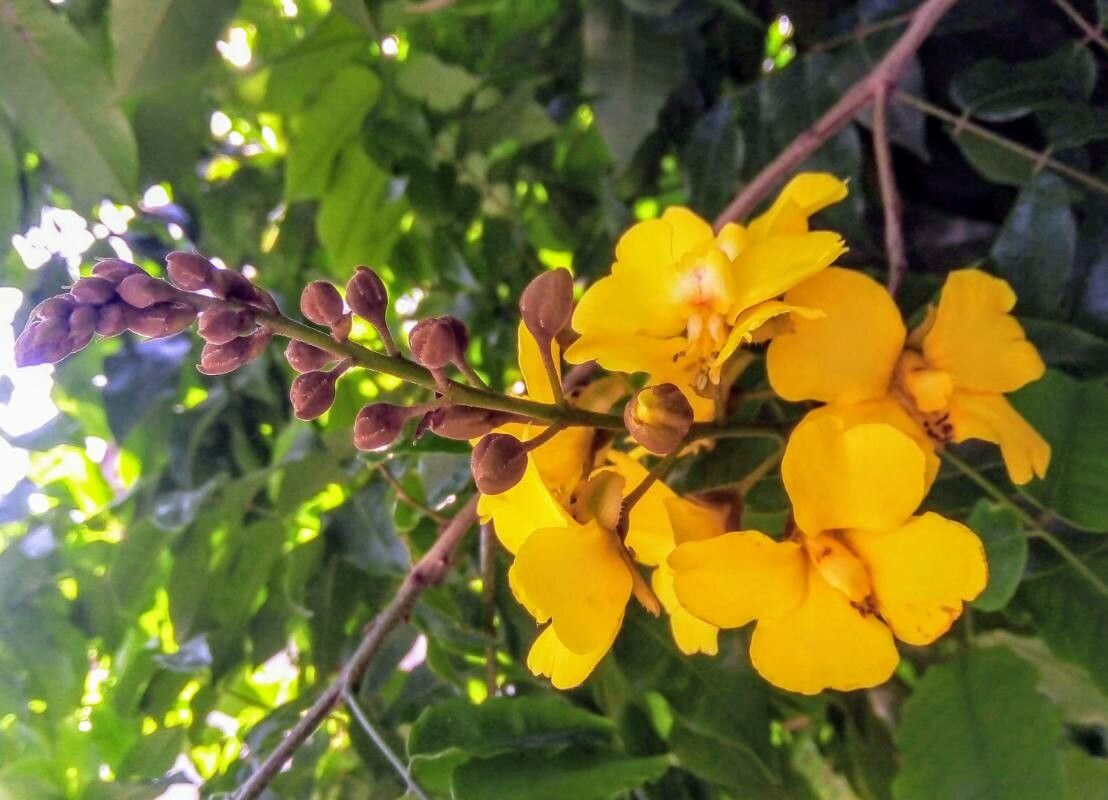
Oh, hello there! It’s so lovely to sit down with you. Today, we’re going to talk about a truly special plant: Cenostigma tocantinum. You know, the one with those glorious bursts of yellow flowers that just sing joy to your garden? It’s an absolute stunner, and the idea of coaxing new life from an existing beauty is one of the most rewarding parts of being a gardener. Don’t you think?
For those of you just starting out, I’d say this plant is moderately easy to propagate. It’s not quite a “stick it in the ground and it grows” kind of deal, but with a little attention and the right timing, you’ll be a pro in no time. And the sheer delight of watching a tiny cutting unfurl its first true leaves? Priceless!
The Best Time to Start
Timing is everything, isn’t it? For Cenostigma tocantinum, I find the sweet spot is late spring to early summer. This is when the plant is actively growing, and those softer, new shoots have the energy to develop roots. You want to catch it before it gets too woody, but after it’s really put on some growth for the season. Think of it as capturing that vibrant, youthful energy.
Supplies You’ll Need
Gathering your tools beforehand makes the whole process so much smoother. Here’s what I usually have on hand:
- A good pair of sharp pruning shears or a clean knife. Sharpness is key!
- A well-draining potting mix. I like to blend equal parts perlite, peat moss, and some coarse sand. This gives roots the air and drainage they desperately need.
- Small pots or trays with drainage holes. Cleanliness matters!
- Rooting hormone (optional, but can be a big help!). Look for one with auxins.
- A plastic bag or clear propagation lid. This creates a mini greenhouse effect.
- Watering can with a fine rose or a spray bottle. Gentle watering is crucial.
Propagation Methods: Let’s Get Cutting!
We’ll focus on stem cuttings, as this is generally the most successful and straightforward method for Cenostigma tocantinum.
- Select Your Stem: Find a healthy, non-flowering stem that’s about 4-6 inches long. Look for one that’s slightly bendy but not floppy. Avoid anything that’s turned brown and woody.
- Make the Cut: Using your sharp pruning shears, make a clean cut just below a leaf node. This is where the magic happens, where root development is most likely to occur.
- Prepare the Cutting: Gently remove the lower leaves from the cutting, leaving just a few at the very top. This prevents them from rotting in the soil.
- Dip in Hormone (Optional): If you’re using rooting hormone, dip the cut end into it. Tap off any excess.
- Plant Your Cutting: Fill your clean pot with your prepared potting mix. Make a small hole in the center with a pencil or your finger. Gently insert the cut end of your Cenostigma cutting into the hole. Firm the soil gently around the stem.
- Water Gently: Water the soil thoroughly until it drains from the bottom. It should be moist, not waterlogged.
- Create Your Mini Greenhouse: Place the potted cutting inside a clear plastic bag or cover it with a propagation lid. This will maintain high humidity, which is vital for success.
The “Secret Sauce” (Pro Tips)
Here are a few little tricks I’ve learned over the years that can really boost your success rate:
- Bottom Heat is Your Friend: Investing in a small heating mat for your propagation trays can make a world of difference. Consistent warmth at the soil level encourages root formation much faster. Place your potted cuttings on top of it.
- Don’t Drown the Leaves: If you’re doing water propagation (though I find soil is better here), always make sure the leaves do not touch the water. They’ll rot quickly, setting you back.
- Patience with Peat: While peat moss is great for aeration, it can be hydrophobic when dry. Make sure your mix is thoroughly moistened before planting your cuttings.
Aftercare & Troubleshooting
Once your cuttings have rooted (and this can take anywhere from 4 to 8 weeks, so be patient!), you’ll start to see new leaf growth. This is your sign of success!
- Gradual Acclimation: Once you see new growth, slowly start to acclimate your new plant to drier air. This means gradually opening the plastic bag a little each day or lifting the propagation lid for longer periods.
- Watering: Continue to water when the top inch of soil feels dry. Don’t let it sit in soggy conditions.
- Troubleshooting: The most common issue you might encounter is rot. If your cutting turns black and mushy, it’s likely succumbed to fungal issues. This usually happens due to overwatering or poor drainage. If you see signs of rot, discard the affected cutting. You might also have cuttings that simply fail to root – don’t be discouraged! It happens to even the most experienced gardeners.
There you have it! Propagating Cenostigma tocantinum is a journey. Take your time, enjoy the process of nurturing these new lives, and remember that even the most magnificent gardens start with a tiny seed or a humble cutting. Happy propagating!
Resource:
https://identify.plantnet.org/k-world-flora/species/Cenostigma%20tocantinum%20Ducke/data