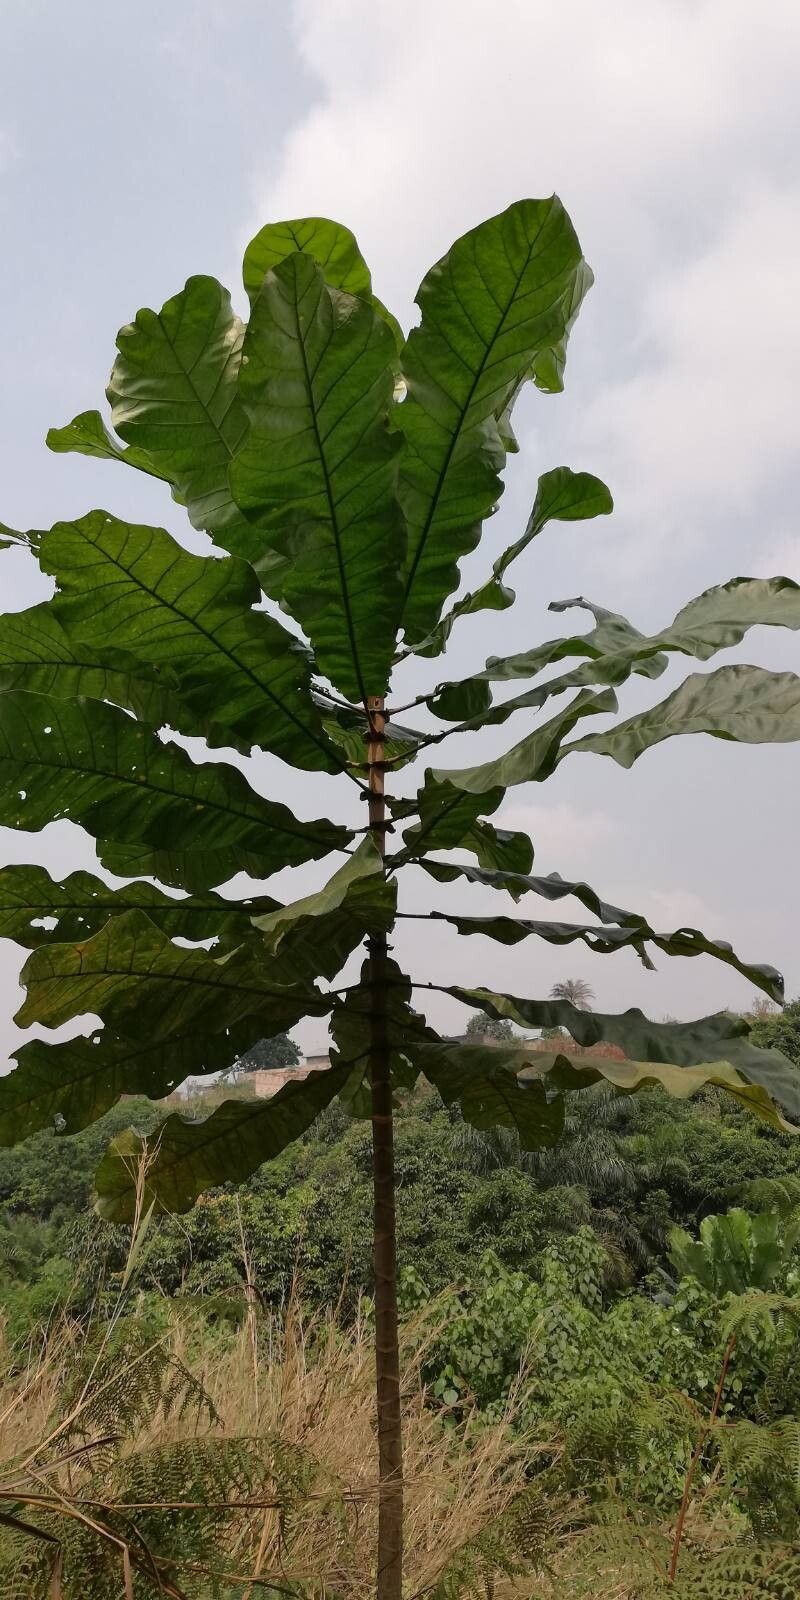
Hello fellow plant enthusiasts! Today, we’re diving into the wonderful world of Anthocleista grandiflora, often called the “Fever Tree” or “Cabbage Tree.” This striking plant, with its large, dramatic leaves and potential for a spectacular tree form, can really add a focal point to a garden. Growing one from scratch? It’s a truly satisfying endeavor, a little victory in the green world. Now, I won’t sugarcoat it; Anthocleista grandiflora can be a bit of a diva when it comes to propagation. It’s not quite a “stick it in the ground and watch it grow” kind of plant, but with a little attention and the right approach, you’ll be rewarded with your very own baby Fever Tree.
The Best Time to Start
For the highest success rate with Anthocleista grandiflora, late spring or early summer is your golden ticket. This is when the plant is in its most vigorous growth phase, meaning it has plenty of energy to put into developing new roots. Think of it like starting a new project when you’re feeling rested and full of beans – much easier, right? Waiting until after the last frost is crucial, as these tropical beauties are sensitive to cold.
Supplies You’ll Need
Gathering your tools beforehand makes the process so much smoother. Here’s what I always have on hand:
- Sharp, clean pruning shears or a sharp knife: For making clean cuts.
- Well-draining potting mix: A blend of peat moss, perlite, and a bit of coarse sand works wonderfully. You want something that won’t hold too much moisture.
- Rooting hormone powder or gel: This is almost essential for encouraging strong root development in Anthocleista grandiflora.
- Small pots or seed trays: Make sure they have drainage holes!
- Plastic bags or a propagation dome: To create a humid environment.
- Labels and a marker: For obvious reasons!
- Spray bottle: For misting.
- A warm location: Think a sunny windowsill or, even better, a heat mat.
Propagation Methods
While you might be tempted to try a few things, the most reliable method for Anthocleista grandiflora is stem cuttings. Let’s get down to business.
- Take Your Cuttings: In late spring or early summer, select a healthy, semi-hardwood stem from a mature plant. You know, the type that’s not brand new and floppy, but also not old and woody. Aim for cuttings that are about 4-6 inches long.
- Make the Cut: Using your sharp shears or knife, make a clean cut just below a leaf node. This is where the magic happens, as it’s rich in growth hormones.
- Prepare the Cutting: Gently remove the lower leaves, leaving just one or two at the top. This prevents them from rotting when buried and reduces water loss. If the remaining leaves are very large, you can even cut them in half horizontally to further reduce transpiration.
- Apply Rooting Hormone: Dip the cut end of the stem into your rooting hormone. Make sure it’s coated well, then gently tap off any excess.
- Plant Your Cuttings: Fill your small pots or trays with your well-draining potting mix. Make a small hole with your finger or a pencil, then insert the cutting. Gently firm the mix around the stem to ensure good contact.
- Create a Humid Environment: Lightly water the soil. Then, cover the pot with a plastic bag, securing it with a rubber band, or place it under a propagation dome. This creates a mini-greenhouse, keeping humidity high.
- Provide Light and Warmth: Place your cuttings in a bright, indirect light location. Crucially, they need bottom heat. A gentle warming from below will significantly boost your chances of success.
The “Secret Sauce” (Pro Tips)
Here are a few little tricks I’ve picked up over the years that make a difference:
- Don’t let those top leaves touch the plastic. If they do, they can start to rot, and that’s the last thing you want. You can prop up the plastic bag with a few sticks if needed.
- Bottom heat is your best friend. Seriously, I can’t stress this enough. A simple heat mat from a garden store makes a world of difference, providing that consistent warmth the cuttings need to activate root hormones.
- When in doubt, mist! Especially before you cover them up. A light misting of water on the leaves can help keep them turgid while they’re trying to establish roots.
Aftercare & Troubleshooting
Once your cuttings are planted and covered, resist the urge to peek constantly! You’ll know roots are starting to form when you see new leaf growth. This can take anywhere from 4 to 8 weeks, sometimes longer.
When you see that happy new growth, it’s time to gradually introduce your new plant to normal room humidity. Open the bag or dome for a few hours each day for about a week, slowly increasing the time until they’re fully acclimatized.
The most common issue you’ll encounter is rot. If your cutting turns brown and mushy, it’s a sign of too much moisture and not enough air circulation, or it simply didn’t root. Don’t be disheartened if a few don’t make it – it’s part of the learning curve! You’ll also want to watch out for fungal issues, which can appear as black spots on the leaves. Good air circulation and avoiding overwatering are your best defenses.
A Encouraging Closing
Propagating Anthocleista grandiflora takes patience and a little finesse, but the reward of nurturing a new life from a parent plant is truly special. Keep an eye on your cuttings, provide them with love and the right conditions, and enjoy the process. Before you know it, you’ll have your very own magnificent Fever Tree to admire! Happy growing!
Resource:
https://identify.plantnet.org/k-world-flora/species/Anthocleista%20grandiflora%20Gilg/data