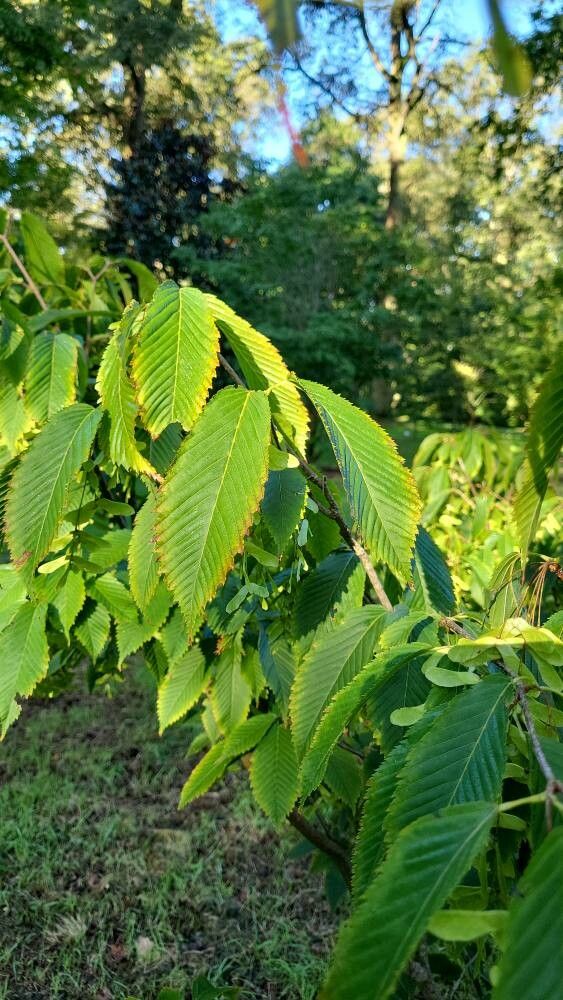
Hello, fellow plant lovers! Today, we’re diving into the wonderful world of propagating Acer carpinifolium, or the Hornbeam Maple. This tree is such a gem for any garden. Its graceful, upright form and lovely, maple-like leaves that turn a beautiful bronze in the fall make it a real showstopper. Plus, sharing a piece of your garden with friends by gifting them a new plant is incredibly satisfying. Now, about how easy it is: Acer carpinifolium can be a little more hands-on than some of the more common houseplants, but with a bit of patience and these tips, you’ll be well on your way to success.
The Best Time to Start
I’ve found that the sweet spot for propagating Acer carpinifolium from cuttings is in the late spring to early summer. This is when the plant is actively growing and has plenty of young, flexible stems. You’re looking for those semi-hardwood cuttings – stems that are firm but still bend a bit without snapping. Trying when the wood is too soft or too old often leads to disappointment.
Supplies You’ll Need
Gathering your tools beforehand makes the whole process smoother. Here’s what I usually have on hand:
- Sharp Pruning Shears or a Knife: Clean, sharp tools are crucial for making neat cuts that heal well.
- Rooting Hormone: While not always essential, it can give your cuttings a significant boost. Look for a product formulated for woody cuttings.
- Well-Draining Potting Mix: A good blend is key. I often use a mix of equal parts peat moss or coir, perlite, and a bit of sand. This keeps things airy and prevents waterlogging.
- Small Pots or Trays: Clean pots or seed trays with drainage holes are perfect.
- Clear Plastic Bags or a Propagator: These help maintain humidity around your cuttings.
- Water: For misting and any water propagation attempts.
- Labels and a Marker: Trust me, you’ll thank yourself later!
Propagation Methods
Let’s get our hands dirty! I primarily rely on stem cuttings for Acer carpinifolium.
Stem Cuttings
- Take Your Cuttings: In late spring or early summer, select healthy branches. Using your clean shears, cut stems that are about 4-6 inches long. Try to take them from new growth.
- Prepare the Cuttings: Once you have your cuttings, remove the leaves from the bottom two-thirds of the stem. Any leaves left shouldn’t touch the soil when you pot them up, as this can lead to rot. If the remaining leaves are large, I’ll often cut them in half to reduce water loss through transpiration.
- Apply Rooting Hormone: Dip the cut end of each stem into rooting hormone, tapping off any excess. This step really helps encourage those new root cells to form.
- Plant the Cuttings: Fill your pots with your well-draining potting mix. Make a small hole with a pencil or your finger and gently insert the treated end of the cutting. Firm the soil around it so it’s snug.
- Provide Humidity: Water the soil gently. Then, the important part: cover the pot with a clear plastic bag or pop it into a propagator. This creates a mini-greenhouse effect, keeping the humidity high. If you’re using a bag, prop it up with a couple of skewers so it doesn’t touch the leaves.
- Placement: Place the pots in a bright spot out of direct sunlight. A warm location is best.
The “Secret Sauce” (Pro Tips)
Here are a few things I’ve learned over the years that make a difference:
- Bottom Heat is Your Friend: If you have a heat mat designed for propagation, using it under your pots can significantly speed up root development. It mimics the warmth of summer soil and gives those roots a real kickstart.
- Don’t Let Leaves Touch Water (if water propagating): While I focus on soil cuttings, if you dabble in water propagation for other plants, or even try a few Acer cuttings in water (though less common for this kind of woody shrub), remember to keep the leaves above the water line. Submerged leaves will just rot and bring down the whole cutting.
- A Gentle Mist is Better Than Soaking: I like to lightly mist the leaves of my cuttings every few days, especially if they are uncovered for a bit. This keeps them plump and hydrated without waterlogging the soil.
Aftercare & Troubleshooting
Once your cuttings have been in their humid environment for a few weeks, start giving them a gentle tug. If you feel resistance, hooray! You’ve got roots.
- Acclimatize Gradually: Once roots appear, slowly introduce your new plants to the outside air by opening the plastic bag or propagator for increasing amounts of time each day. This prevents shock.
- Transplanting: When the roots are well-established and filling the pot (you might see roots poking out the drainage holes), it’s time to transplant them into slightly larger individual pots. Continue to keep them in a bright, but not too sunny, spot.
- Common Problems: The biggest enemy here is rot. If your cuttings turn black and mushy, it means they were too wet or didn’t have enough air circulation. Ensure your soil drains well and don’t overwater. If a cutting just seems to refuse to root after a couple of months, it might just not have been the right time or conditions, so don’t get discouraged.
A Encouraging Closing
Propagating plants is a journey, and Acer carpinifolium is a rewarding one to embark on. Be patient with yourself and your new little saplings. Some cuttings will take, and some won’t, and that’s perfectly okay. The joy is in the process, the learning, and the eventual reward of a brand new tree you fostered yourself. Happy gardening!
Resource:
https://identify.plantnet.org/k-world-flora/species/Acer%20carpinifolium%20Siebold%20&%20Zucc./data