Oh, hello there, fellow plant lover! Grab your mug, settle in, and let’s talk about one of my absolute favorite houseplants: Rhipsalis micrantha.
A Little Bit of Jungle in Your Home
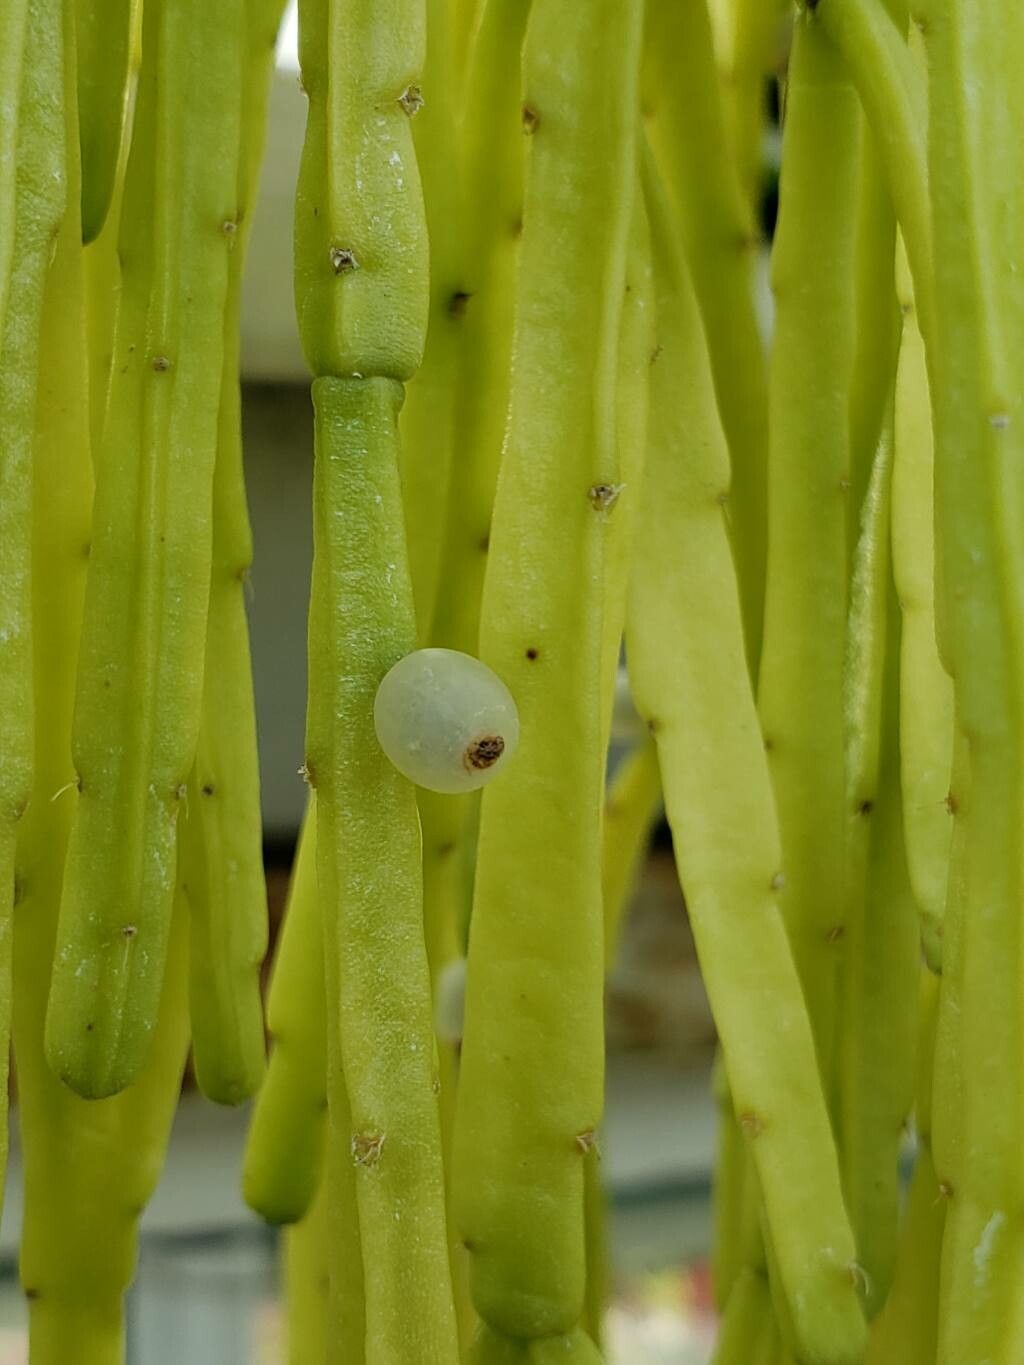
If you’re a fan of trailing, ethereal beauty, then Rhipsalis micrantha is for you. Also known as the mistletoe cactus, its delicate, thin stems cascade down, adding a touch of wild, jungle-like charm to any space. They’re not fussy about light and tolerate a bit of neglect, which is always a plus, right? But the real joy? Watching a tiny cutting blossom into a lush, generous plant. It’s incredibly rewarding, and honestly, pretty darn easy, even for those of you just starting your plant journey.
When to Get Your Hands Dirty
The sweet spot for propagating Rhipsalis micrantha is really during its active growing season. Think late spring through summer. This is when the plant is full of energy, and cuttings will have the best chance of rooting quickly. You can also do it in early fall, but you might find roots take a little longer to appear.
What You’ll Need for Success
Don’t worry, it’s not a complicated setup! Here’s what I always have on hand:
- Sharp, clean pruning shears or scissors: A clean cut is crucial for preventing disease.
- Well-draining potting mix: A cactus and succulent mix is perfect, or you can create your own by combining potting soil with perlite or pumice (about a 1:1 ratio).
- (Optional) Rooting hormone: This can give your cuttings a little boost, but Rhipsalis often roots readily without it.
- Small pots or trays: For your new plant babies to get settled in.
- A spray bottle: For gentle misting.
- A saucer or tray: To catch excess water.
Bringing New Life: Propagation Methods
Rhipsalis micrantha is wonderfully generous with propagation, and stem cuttings are your best friend here.
Propagation by Stem Cuttings:
- Find a healthy stem: Look for a mature, sturdy stem on your Rhipsalis. Avoid any that look old and woody or are just tiny new growths.
- Make a clean cut: Using your sharp shears, snip off a section of stem that’s at least 3-4 inches long. It’s okay if it has a few smaller side branches.
- Let it callous: This is a super important step! Lay your cuttings on a dry paper towel or a clean surface in a bright, airy spot, away from direct sunlight. Let them sit for 2-3 days, or until the cut end looks dry and sealed. This prevents rot when you plant them.
- Plant your cuttings: Gently insert the calloused end of each cutting about an inch deep into your prepared potting mix. You can place multiple cuttings in one pot if it’s large enough. Water the soil lightly.
- Find a good spot: Place the pot in a bright location with indirect light. No direct sun for these guys!
Propagation by Water:
While stem cuttings in soil are my go-to, you can also try water propagation.
- Take your cuttings as above.
- Ensure the cut end is calloused.
- Place cuttings in a jar of water: Make sure only the cut end is submerged. Don’t let any leaves or stems sit in the water.
- Change the water regularly: Every few days, refresh the water to keep it clean and oxygenated.
- Place in indirect light.
- Transplant when roots are an inch or two long: Once you see a good set of roots, you can gently transplant them into your well-draining potting mix.
My Little “Secret Sauce”
After many years of coaxing plants to grow, I’ve learned a few tricks that make a world of difference.
- Don’t overwater early on: This is probably the most common mistake. After planting your cuttings, water them thoroughly, let the excess drain away, and then wait until the top inch of soil is dry before watering again. They want to be snug, not soggy.
- Bottom heat is your friend: If you’re propagating in a cooler environment or trying for faster results, popping your pots onto a seedling heat mat can work wonders. It encourages root development from below.
- Humidity helps: Rhipsalis love a bit of humidity. If your air is dry, gently misting the cuttings (not the soil) a couple of times a week can be beneficial, especially while they are getting established.
Nurturing Your New Sprouts
Once you start seeing new growth or feel a gentle resistance when you tug lightly on a cutting (a sign of roots!), you know things are going well.
- Continue with indirect light.
- Water when the top layer of soil feels dry. It’s better to underwater slightly than to overwater at this stage.
- Gradually acclimate: As your new plants grow, you can slowly introduce them to slightly brighter conditions if you wish, but always be mindful of direct sun.
Troubleshooting:
The biggest villain here is rot. If you see stems turning mushy and black, it’s usually a sign of too much moisture or not allowing the cuttings to callous properly. If you catch it early, you might be able to salvage pieces by cutting away the rotten bits and re-callousing them. Yellowing leaves can sometimes indicate overwatering, or sometimes just a bit of transplant shock. Be patient!
Happy Growing!
So there you have it! Propagating Rhipsalis micrantha is a delightful journey. Don’t be discouraged if your first few attempts aren’t perfect; plants have their own rhythm. The most important thing is to enjoy the process, celebrate every little bit of progress, and before you know it, you’ll have a whole cascade of beautiful Rhipsalis to admire! Happy gardening!
Resource:
https://identify.plantnet.org/k-world-flora/species/Rhipsalis%20micrantha%20(Kunth)%20DC./data