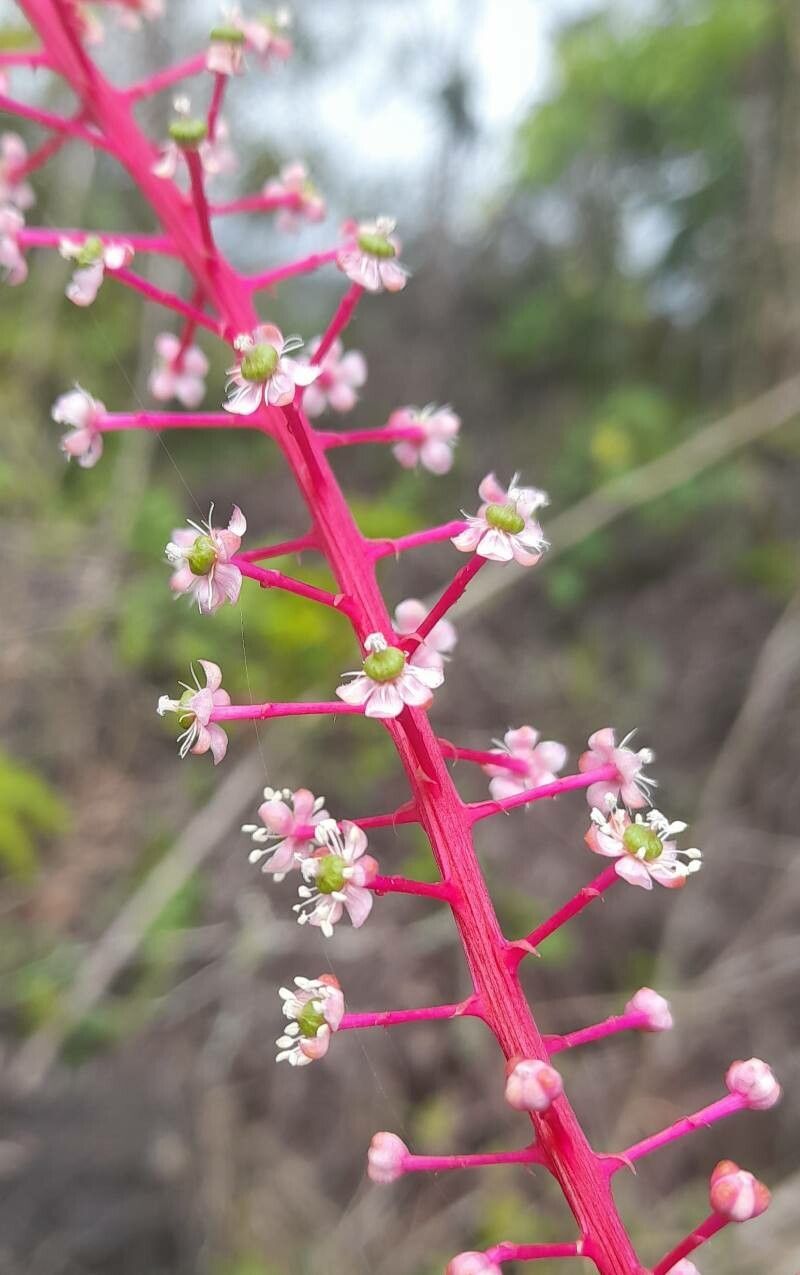
Oh, hello there! Come on in, pull up a chair. I’ve got a pot of tea brewing, and I thought we could have a little chat about Phytolacca rivinoides, or as some folks call it, the lesser pokeweed. Now, I know what you might be thinking – pokeweed? But trust me, this isn’t your average weed! The berries are a deep, enchanting purple, and the architectural form of the plant is just stunning in a garden. Plus, the satisfaction of coaxing a brand new plant into existence from just a little piece of another? That’s pure magic, and honestly, Phytolacca rivinoides is a wonderfully rewarding plant to propagate, even for those just starting their green-thumb journey.
The Best Time to Start
For me, the best time to get started with propagating Phytolacca rivinoides is in late spring to early summer. This is when the plant is actively growing, full of vigor, and has plenty of healthy material to work with. You’ll find the stems are pliant and full of life, making them much more receptive to rooting.
Supplies You’ll Need
- Sharp, clean pruning shears or a sharp knife: Essential for making clean cuts.
- Rooting hormone powder (optional but recommended): Helps encourage root development. Look for one that contains IBA.
- Well-draining potting mix: A blend of peat moss, perlite, and a bit of compost works beautifully. You can also use a seed-starting mix.
- Small pots or trays: Clean containers with drainage holes are a must.
- Plastic bags or a propagator lid: To create a humid environment.
- Watering can or spray bottle: For gentle watering.
- Labels and a marker: To keep track of your cuttings.
Propagation Methods
I’ve found the most success with Phytolacca rivinoides using stem cuttings. It’s a straightforward method with a consistently high success rate if you get a few simple things right.
- Taking Your Cuttings: In late spring or early summer, select healthy, non-flowering stems from a mature plant. Look for stems that are about pencil-thick and have a few sets of healthy leaves. Using your clean shears, cut a piece of stem that is about 4-6 inches long. Make your cut just below a leaf node (where a leaf attaches to the stem).
- Preparing the Cuttings: Gently remove the leaves from the bottom half of your cutting. You can leave just one or two sets of leaves at the top. This reduces water loss. If the remaining leaves are very large, I like to snip them in half to further help them conserve energy.
- Applying Rooting Hormone: Dip the bottom 1-2 inches of the cutting into your rooting hormone powder. Gently tap off any excess.
- Planting the Cuttings: Fill your small pots or trays with your well-draining potting mix. Make a small hole in the center of each pot using your finger or a pencil. Insert the prepared cutting into the hole, ensuring the bottom nodes are buried in the soil. Firm the soil gently around the base of the cutting.
- Creating Humidity: Water the soil gently until it’s moist but not soggy. Then, cover each pot loosely with a plastic bag or place it in a propagator with the lid on. This creates a humid environment, which is crucial for root development. Place the pots in a bright location that receives indirect sunlight. Direct sun can scorch the tender cuttings.
The “Secret Sauce” (Pro Tips)
- Bottom Heat is Your Friend: While not strictly necessary, popping your pots onto a seedling heat mat can really speed up the rooting process. It mimics the natural warmth that encourages roots to form. You don’t need it scorching hot, just a gentle warmth from below.
- Don’t Let the Leaves Touch the Water: This is a big one, especially if you’re tempted to try water propagation (which I find a bit trickier with Phytolacca rivinoides). If leaves are submerged, they tend to rot, which can spread to the cutting itself. Always keep those leaves above the water line.
- Patience is Key with Leaf Nodes: Those little bumps where leaves emerge are your friends! This is where the magic happens. Make sure at least one or two of those nodes are buried in the soil for the best chance of root formation.
Aftercare & Troubleshooting
Once your cuttings have rooted – you’ll know when you see new leaf growth or feel a gentle tug when you carefully try to lift the cutting – it’s time for a little extra TLC. Gradually acclimate your new plants to your home’s humidity by opening the plastic bag or propagator lid a little more each day over a week. Continue to keep them in bright, indirect light and water them when the top inch of soil feels dry.
The most common issue you might encounter is rot. This usually happens if the soil stays too wet or if there isn’t enough air circulation. If you see a cutting turning black and mushy at the base, unfortunately, it’s probably best to discard it to prevent it from affecting others. It’s a learning process, and sometimes things just don’t work out, but don’t get discouraged!
A Little Encouragement
Propagating Phytolacca rivinoides is such a rewarding experience. Watching those tiny roots emerge and then a new shoot unfurl is incredibly satisfying. Don’t be afraid to experiment, and remember that every gardener has had their share of failed attempts. Just be patient, keep those little cuttings happy, and enjoy the journey of bringing more beauty into your garden. Happy propagating!
Resource: