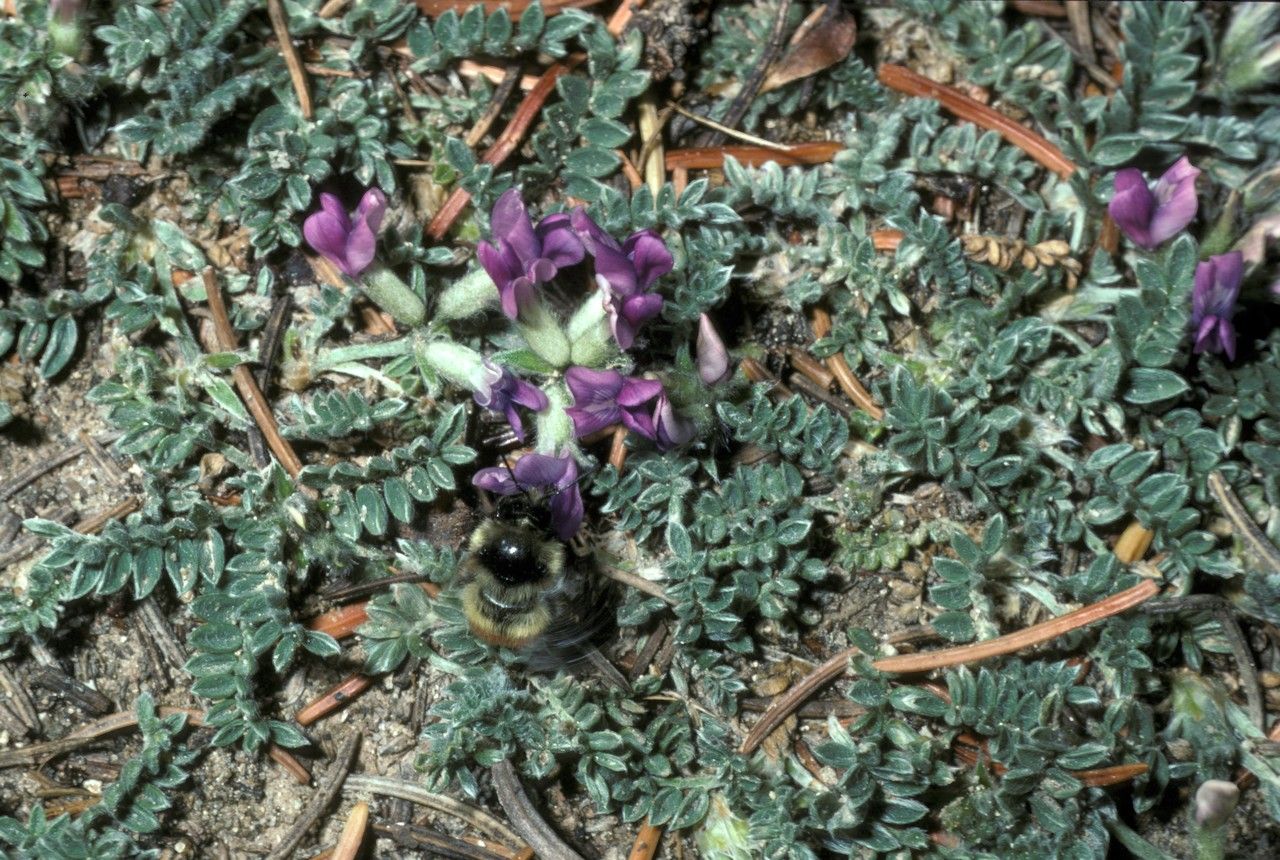
Oh, to have more of those lovely little Oxytropis oreophila gracing our gardens! If you’ve ever admired their delicate, pea-like flowers and fuzzy foliage, you know exactly why they’re such a treat. They bring this wonderful softness and a touch of alpine charm, even if your garden isn’t perched on a mountain. Successfully propagating them is incredibly rewarding, a real testament to your growing skills.
Now, I won’t lie – Oxytropis oreophila can be a little particular, especially for absolute beginners. They’re not as forgiving as, say, mint. But with a bit of attention and following a few key steps, you’ll find it quite manageable and a great learning experience.
The Best Time to Start
For the highest success rate, I’ve found that taking cuttings in late spring or early summer is your sweet spot. This is when the plant is actively growing, and the stems have developed a bit of maturity but are still tender enough to root. Think of it as the plant’s energetic prime!
Supplies You’ll Need
Gathering your tools before you start makes everything so much smoother. Here’s what I usually have on hand:
- Sharp pruning shears or a clean, sharp knife: To get those clean cuts.
- Rooting hormone (optional, but recommended): A good quality powder or gel.
- A well-draining potting mix: I often use a 50/50 blend of seed-starting mix and perlite or coarse sand. You want very little chance of waterlogging.
- Small pots or seed trays: Clean ones are crucial to prevent disease.
- A clear plastic bag or propagation dome: For creating a humid environment.
- Watering can with a fine rose: To water gently.
- Labels and a marker: So you don’t forget what you planted where!
Propagation Methods
While you might be able to get Oxytropis to grow from seed, stem cuttings are generally the most reliable and quickest way to get new plants.
Stem Cuttings
- Select your stems: Look for healthy, current-season growth. You want stems that are firm but not woody. Aim for pieces that are about 4-6 inches long.
- Make the cut: Using your sharp shears or knife, make a clean cut just below a leaf node. A leaf node is where a leaf grows from the stem. This is where the magic happens – where rooting hormones are concentrated.
- Prepare the cutting: Gently remove the lower leaves from your stem, leaving just a few at the top. If there are any flower buds, pinch them off; we want all the plant’s energy to go into rooting, not flowering.
- Apply rooting hormone: Dip the cut end of the stem into your rooting hormone, tapping off any excess. This step really gives your cutting a boost.
- Plant the cutting: Fill your small pots with your prepared, moistened potting mix. Make a small hole in the center with a pencil or your finger.
- Insert and firm: Gently insert the cut end of the stem into the hole, ensuring it goes deep enough to be stable. Lightly firm the soil around the stem to ensure good contact.
- Water gently: Water the soil thoroughly but gently, so you don’t dislodge the cutting.
- Create humidity: Place a clear plastic bag over the pot, making sure it doesn’t touch the leaves. You can support it with stakes if needed. Alternatively, use a propagation dome. The goal is to keep the humidity high around the cutting.
- Provide light and warmth: Place your pots in a bright spot that gets indirect light. Avoid direct sun, which can scorch the cuttings. A little warmth from a heat mat underneath can speed things up, but it’s not always essential.
The “Secret Sauce” (Pro Tips)
Here are a couple of things I’ve learned that really make a difference:
- Don’t let leaves touch the water: If you choose to try water propagation (which I find trickier for Oxytropis), always ensure that only the cut stem touches the water, not any leaves. Leaves submerged will rot and potentially kill the whole cutting before it even gets a chance to form roots.
- Bottom heat is your friend: While not strictly mandatory, providing gentle bottom heat (around 70-75°F or 21-24°C) from a propagation mat can significantly increase your rooting success and speed. It encourages root development from the base of the cutting.
- Sterilize is key: Always make sure your tools and pots are super clean. I often rinse my pots and tools in a diluted bleach solution or alcohol to prevent introducing any fungal diseases that could doom your cuttings before they even start.
Aftercare & Troubleshooting
Once you see new tiny leaves or feel a gentle tug when you very lightly try to wiggle the cutting, you’re on your way! This usually takes a few weeks.
- Gradual acclimatization: Once rooted, start by removing the plastic bag for a few hours each day, gradually increasing the time until the bag is permanently off. This lets the new plant get used to normal humidity levels.
- Potting up: When the roots have clearly established and you have a healthy young plant, you can carefully transplant it into a slightly larger pot with your regular, well-draining potting mix.
- Watch for rot: The biggest culprit for failure is overwatering and poor drainage, leading to rot. If your cutting looks mushy, discolored, or simply isn’t responding, rot is likely the cause. If you catch it early, you might be able to save it by repotting in dry soil, but often, it’s a lost cause.
- Wilting can be tricky: Sometimes, cuttings wilt before they root. This can be due to stress, not enough humidity, or sometimes… it’s just an indication they’re struggling. Don’t give up too soon, especially if they still look firm.
A Encouraging Closing
Propagating Oxytropis oreophila is a dance of patience and observation. Don’t be discouraged if your first attempts aren’t perfect. Every cutting you take is a learning opportunity! Enjoy the process of nurturing these little beauties, and soon, you’ll have a garden filled with these charming blooms to share. Happy growing!
Resource:
https://identify.plantnet.org/k-world-flora/species/Oxytropis%20oreophila%20A.Gray/data