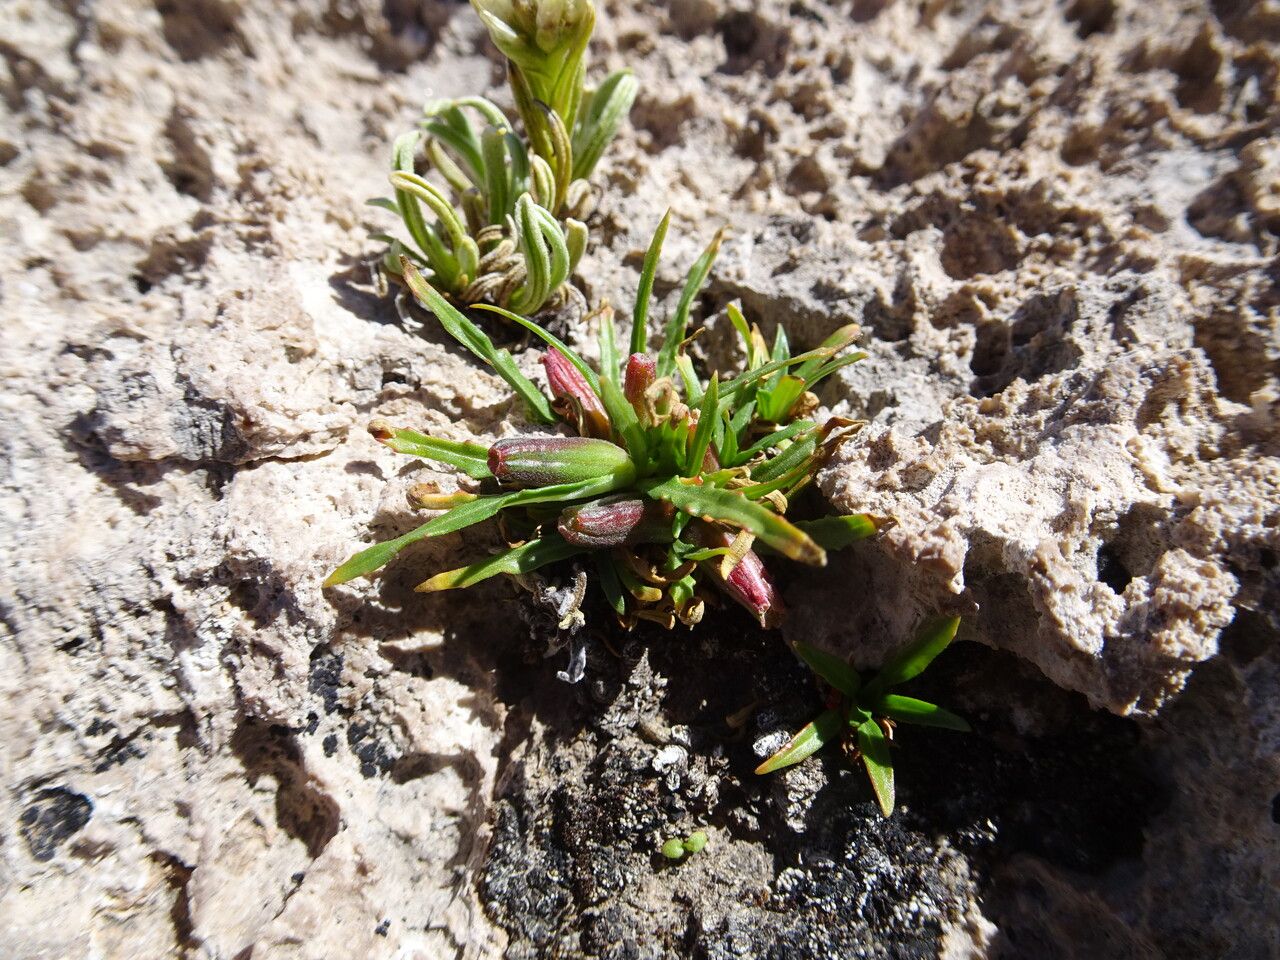
Oh, hello there! Come on in, grab a mug. Let’s chat about this gorgeous plant, Oenothera punae. You know, the one with those sunny, cheerful yellow blooms that seem to glow in the evening light? They call it Evening Primrose, and for good reason. These beauties open up in the twilight, unfurling their petals like little secrets revealed as the day winds down.
Propagating them is such a rewarding endeavor. It’s like creating more of that joy to share or to fill even more sunny spots in your own garden. And the good news? For many gardeners, especially those with a bit of experience, Oenothera punae is a wonderfully forgiving plant to propagate. It’s a great one to get your hands dirty with!
The Best Time to Start
For the highest success rates, I always aim to take stem cuttings in late spring or early summer. This is when the plant is actively growing, and the new stems are firm but not woody. They’ve got that youthful vigor that really helps them root. You can also successfully divide established plants in early spring, just as they’re waking up.
Supplies You’ll Need
Here’s what I usually have on hand:
- Sterile pruning shears or a sharp knife: Cleanliness is key to prevent disease.
- A good propagation mix: I like a blend of equal parts perlite and coco coir, or a specialized seed starting mix. This ensures good drainage, which is crucial!
- Small pots or seedling trays: Clean ones, of course! For cuttings, anything from 3-inch pots to cell packs will work.
- Rooting hormone (optional but helpful): A powdered or gel form can give your cuttings a good start.
- A watering can with a fine rose attachment: Gentle watering is a must for delicate cuttings.
- Plastic bags or a propagation dome: To create a humid environment for your cuttings.
- Labels and a marker: So you don’t forget what you’ve planted where!
Propagation Methods
Let’s get these little beauties started!
Stem Cuttings: My Go-To Method
This is usually my preferred way to multiply Oenothera punae.
- Gather your cuttings: Select healthy, young stems that are about 4-6 inches long. Look for stems that are currently growing, not old, woody ones.
- Make the cut: Using your sterile shears, make a clean cut just below a leaf node. A leaf node is that little bump where a leaf attaches to the stem.
- Prepare the cuttings: Gently remove the lower leaves, leaving just a few at the top. This prevents them from rotting in the soil and encourages rooting. If you’re using rooting hormone, dip the cut end into it now, tapping off any excess.
- Pot them up: Fill your small pots with your propagation mix. Make a small hole in the center of each pot and insert the cutting, making sure the leaf nodes that were below the soil line are covered. Gently firm the soil around the cutting.
- Water gently: Water thoroughly but gently so as not to dislodge the cuttings.
- Create humidity: Cover the pots with a plastic bag or place them under a propagation dome. Make sure the leaves aren’t touching the plastic if possible. You can use stakes to prop up the bag.
- Find a good spot: Place the pots in a bright location, but out of direct sunlight. They like warmth, so a sunny windowsill is often perfect.
Division: For Established Plants
If you have a mature Oenothera punae that’s getting a bit crowded, division is a wonderful way to go.
- Dig it up: In early spring, carefully dig up the entire clump of the plant.
- Separate the roots: Gently shake off excess soil. You can usually pull the root ball apart with your hands, or use a trowel or even a spade if it’s a very dense clump. Try to ensure each section has some roots and at least one healthy shoot.
- Replant and water: Immediately replant the divisions into their new spots in the garden or into pots. Water them well.
The “Secret Sauce” (Pro Tips)
Here are a couple of things I’ve learned over the years that can really boost your success:
- Bottom Heat is Your Friend: While not strictly essential for Oenothera punae, placing your pots on a gentle heat mat can significantly speed up root development. It mimics the warmth of spring soil and gives those little root cells a real push. Just make sure it’s not too hot – a gentle warmth is all you need.
- Don’t Overwater, Even in Humidity: It’s a fine line! While humidity is crucial for cuttings, soggy soil is the enemy. If you see condensation dripping heavily, you can briefly vent the plastic or dome to allow some air circulation. Stick your finger into the soil; if it feels dry an inch down, it’s time for a gentle watering.
Aftercare & Troubleshooting
Once you start seeing new growth after a few weeks, congratulations! That’s a sign of roots!
- Gradual Acclimation: When your cuttings have developed a good root system (you can gently tug on them, and they’ll resist), it’s time to gradually remove the humidity cover over several days. Start by lifting the bag for a few hours each day.
- Transplanting: Once they’re more accustomed to normal humidity and have a really robust root system, you can transplant them into slightly larger pots with your regular potting mix.
- Watch for Rot: The most common problem you’ll encounter is rot. If your cuttings get mushy, blackened, or just look sad and slimy, it’s usually due to overwatering and poor air circulation. Unfortunately, when rot sets in, it’s usually too late to save them. This is why good drainage and not over-misting are so important!
- Wilting: Some initial wilting is normal as the cutting adjusts. However, if they stay wilted even with ample humidity, it could indicate they haven’t rooted yet or are getting too dry.
A Little Patience, A Lot of Joy
Propagating Oenothera punae is a wonderful journey. Don’t get discouraged if not every cutting makes it. Nature has its own rhythm, and sometimes it takes a few tries. The process itself is meditative, and the reward of seeing a tiny stem transform into a thriving new plant is truly magical. Just keep at it, observe your little charges, and enjoy the unfolding beauty. Happy gardening!
Resource:
https://identify.plantnet.org/k-world-flora/species/Oenothera%20punae%20Kuntze/data