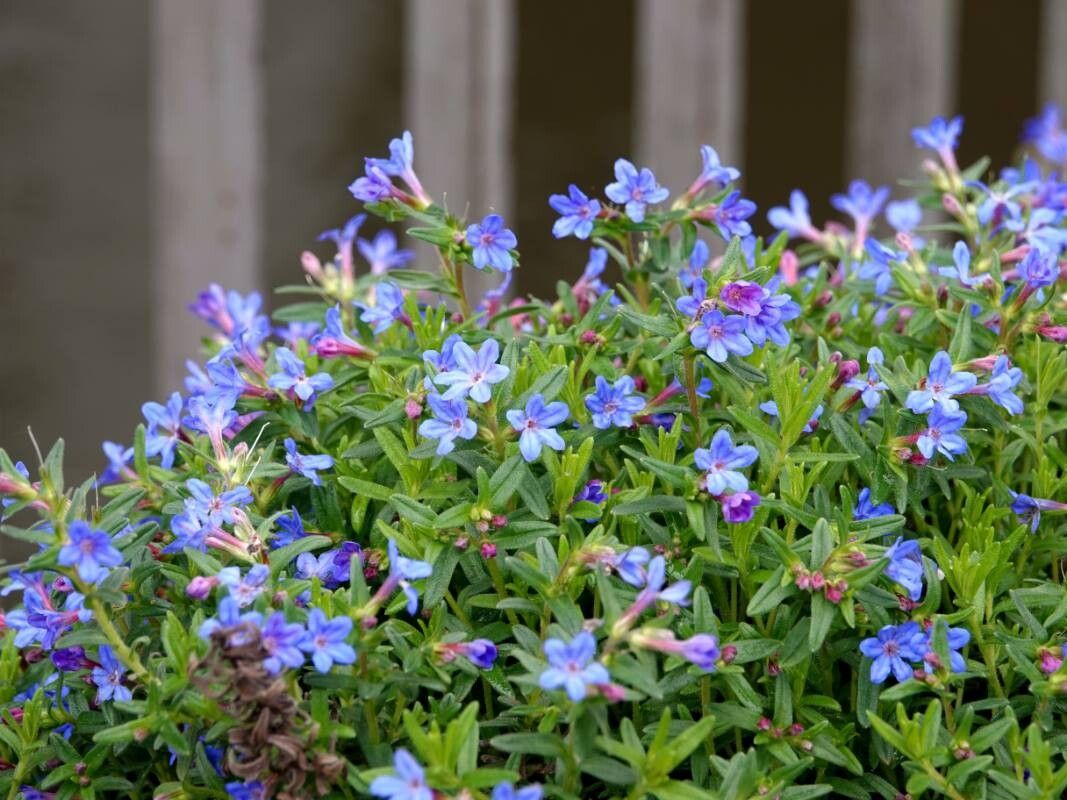
Oh, Lithodora! If you haven’t experienced the sheer joy of its true blue flowers, you’re in for a treat. I remember the first time I saw a mature Lithodora shrub completely covered in those sapphire blooms. It’s like a piece of the summer sky landed in your garden. And the best part? You can absolutely create more of this beauty yourself! Propagating Lithodora fruticosa is a really rewarding project, and thankfully, it’s not one of those notoriously fussy plants. For most gardeners, this one is quite approachable.
The Best Time to Start
Timing is everything, as we gardeners know. For Lithodora, the sweet spot for taking cuttings is usually in the late spring or early summer. This is when the plant is actively growing, but before the stems get too woody. Look for new, flexible growth – what we sometimes call “softwood” or “semi-hardwood” cuttings. These have enough energy to root but aren’t tough and woody, which can make rooting slower.
Supplies You’ll Need
Here’s what you’ll want to have on hand before you start:
- Sharp pruning shears or a sharp knife: Clean cuts are crucial to prevent disease.
- Rooting hormone (optional but recommended): A powder or gel can significantly boost your success rate.
- Well-draining potting mix: A good blend is typically equal parts peat moss (or coir) and perlite, or a commercial seed-starting mix.
- Small pots or trays: Clean containers are a must.
- Plastic bags or a propagator: To create a humid environment.
- A watering can with a fine rose: For gentle watering.
Propagation Methods: Stem Cuttings
This is my go-to method for Lithodora, and it’s quite effective.
- Take Your Cuttings: Using your clean shears, select healthy, non-flowering shoots. Cut pieces about 4-6 inches long. Make a cut just below a leaf node (where a leaf attaches to the stem).
- Prepare the Cuttings: Gently remove the lower leaves from the stem, leaving just a few at the top. If your cuttings are larger, you can even pinch off the top two leaves to reduce stress on the plant.
- Dip in Rooting Hormone: Lightly dampen the cut end of the stem and dip it into your rooting hormone. Tap off any excess.
- Plant Your Cuttings: Fill your pots with your moistened potting mix. Make a small hole with a pencil or your finger in the center of each pot. Insert the cut end of your Lithodora cutting into the hole, ensuring the nodes where you removed leaves are buried. Gently firm the soil around the stem.
- Water and Cover: Water gently to settle the soil. Then, place the pots into a plastic bag or propagator to maintain high humidity. You can use stakes to keep the bag from touching the leaves.
The “Secret Sauce”
Over the years, I’ve learned a few tricks that seem to make a real difference.
- Bottom Heat is Your Friend: If you can, place your pots on a heat mat. This provides gentle warmth to the soil, encouraging roots to form faster. It’s like a cozy little spa for your cuttings.
- Don’t Overwater, But Keep it Humid: While you want to keep the soil moist, you don’t want it waterlogged, as this can lead to rot. The plastic bag helps trap humidity, so you might only need to water lightly every week or so. Pro tip: If you see condensation dripping heavily inside the bag, open it up for a few hours to let it air out.
- A Little Shade, Please: Once planted, your cuttings need bright, indirect light. Direct sun will scorch them. Find a spot on a bright windowsill that doesn’t get harsh afternoon sun.
Aftercare & Troubleshooting
Once your Lithodora cuttings have started to root, you’ll notice fresh new growth. This is your best indicator! You can also give them a gentle tug; if there’s resistance, they’ve rooted.
- Acclimatizing: Once rooted, gradually remove the plastic bag over a week or two. This helps them adjust to normal humidity.
- Potting Up: When the new plants are a decent size and have a good root system, you can carefully pot them up into slightly larger containers. Use a good quality, well-draining potting mix.
- Watch for Rot: The most common problem is rot, which usually happens from overwatering or poor drainage. If your cutting turns mushy and black, it’s a sign of rot. Unfortunately, there’s usually no coming back from that. Prevention is key here – good drainage and careful watering are your best defenses.
Don’t be discouraged if every single cutting doesn’t make it. Gardening is a journey of learning and patience. Just celebrate the successes, learn from any setbacks, and enjoy the process of bringing more of that divine blue into your life. Happy propagating!
Resource:
https://identify.plantnet.org/k-world-flora/species/Lithodora%20fruticosa%20(L.)%20Griseb./data