Oh, hello there! It’s wonderful to have you join me today. We’re going to chat about a plant that holds a special place in my heart and my garden: Leonurus cardiaca, commonly known as Motherwort.
Why Grow Motherwort?
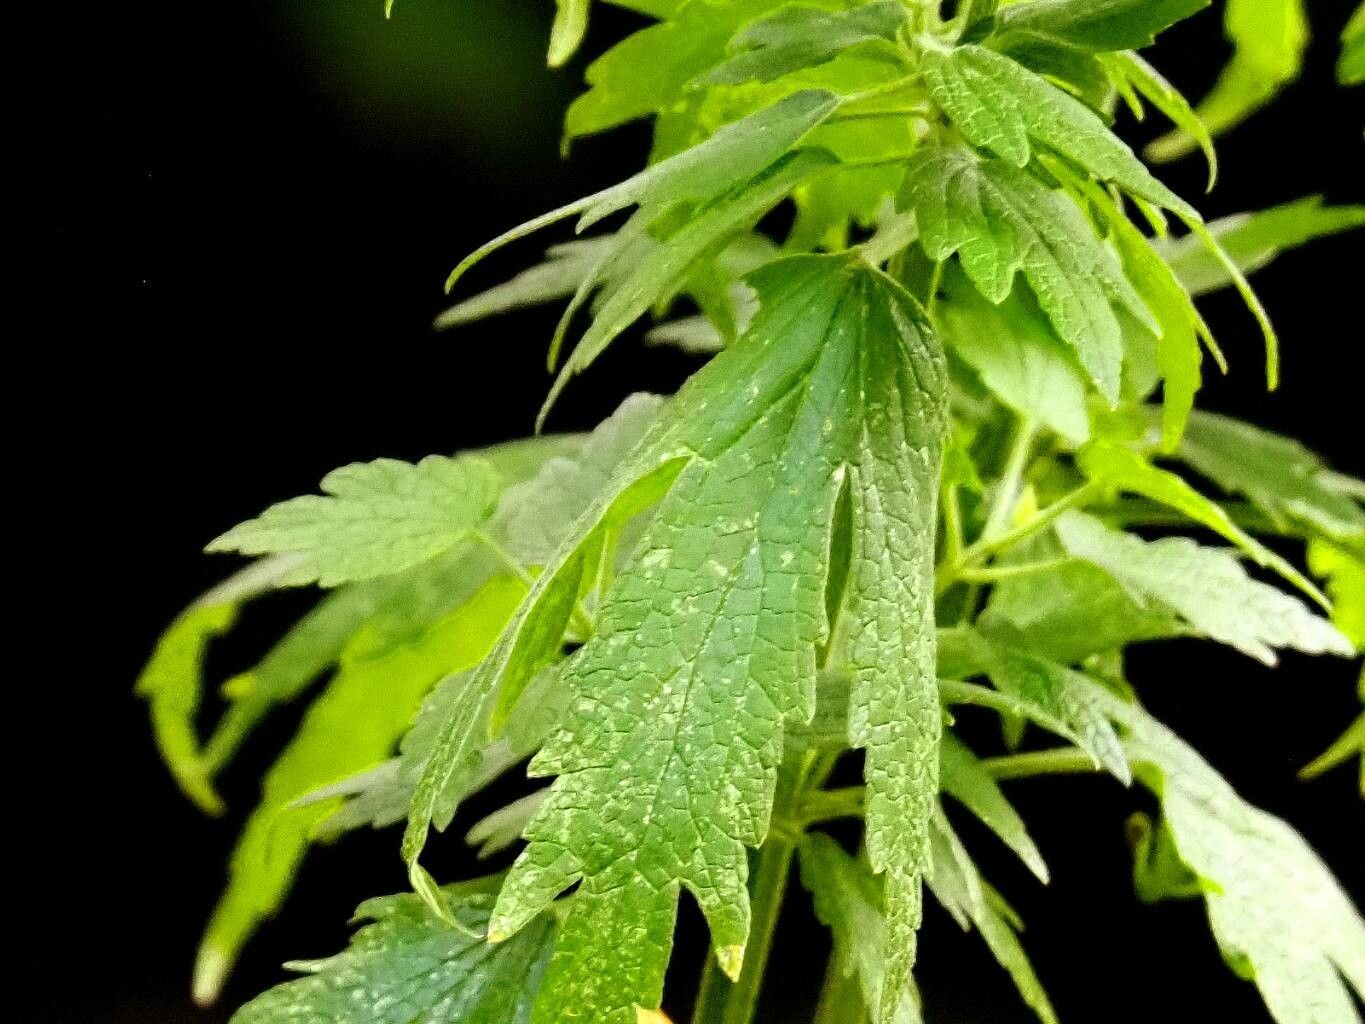
Motherwort is just a delight! It’s an old-fashioned favorite, often found in herb gardens for its traditional uses and its pretty, if somewhat unassuming, blooms that the bees absolutely adore. Seeing a patch of these bushy plants thriving, with their deeply lobed leaves and spires of pinkish flowers, just fills me with a sense of grounded well-being. And the best part? It’s surprisingly easy to propagate. Even if you’re just dipping your toes into the world of gardening, you’ll find this a very forgiving plant to work with. It’s incredibly rewarding to take a piece of your existing plant and grow a whole new one!
The Best Time to Start
For Motherwort, I’ve found the late spring or early summer to be the absolute sweet spot. This is when the plant is actively growing, buzzing with energy, and ready to put out new shoots that will root with gusto. Waiting until after the initial flush of spring growth is generally the way to go.
Supplies You’ll Need
Gathering your supplies beforehand makes the whole process so much smoother. Here’s what I usually have on hand:
- Sharp, clean pruning shears or a sharp knife: Crucial for making clean cuts.
- Small pots or seed trays: Whatever you have available will work. Make sure they have drainage holes!
- Potting mix: A good quality, well-draining potting mix is key. I often use a blend of regular potting soil with some perlite or coarse sand mixed in.
- Rooting hormone (optional but helpful): This gives those cuttings an extra boost.
- Watering can or spray bottle: For gentle watering.
- A plastic bag or propagator lid: To create a humid environment.
- Labels: So you don’t forget what you planted where!
Propagation Methods for Motherwort
Motherwort is a trooper, and happily, it’s quite adaptable. Here are my go-to methods:
1. Stem Cuttings: My Favorite Approach
This is my absolute favorite way to get more Motherwort. It’s quick, easy, and yields fantastic results.
- Find healthy stems: Look for new growth that’s firm but not woody. You want stems that are about 4-6 inches long.
- Make the cut: Using your clean, sharp shears, make a cut just below a leaf node (where a leaf attaches to the stem). This is where new roots will most likely form.
- Prepare the cutting: Gently remove the lower leaves, leaving just a couple of healthy leaves at the top. If the top leaves are very large, you can even snip them in half to reduce water loss.
- Dip in rooting hormone (optional): If you’re using rooting hormone, dip the cut end into it. Tap off any excess.
- Pot them up: Fill your small pots with your prepared, moistened potting mix. Make a small hole in the center with your finger or a pencil.
- Insert the cutting: Gently place the cut end of the stem into the hole and firm the soil around it.
- Water gently: Water thoroughly but gently, so you don’t dislodge the cutting.
- Create humidity: Now, the magic! Cover the pot with a plastic bag or use a propagator lid. This traps moisture and creates that essential humid microclimate. You can prop the bag up with a few sticks so it doesn’t touch the leaves.
- Place in bright, indirect light: Find a warm spot out of direct, scorching sun.
2. Division: For Established Plants
If you have an older, well-established Motherwort plant that looks a bit leggy or just needs refreshing, you can divide it.
- Gently dig up the plant: In the early spring or fall, carefully dig around the base of the plant and lift the entire root ball from the soil.
- Separate the roots: Gently shake off excess soil. You should be able to see natural divisions where clumps of stems emerge from the roots. Use your hands or a clean spade to carefully pull or cut the root ball apart into sections. Aim for sections that have both roots and some leafy growth.
- Replant immediately: Plant the divisions into their new spots in the garden or into pots with fresh soil, watering them in well.
The “Secret Sauce” (Pro Tips!)
Here are a couple of things I’ve learned over the years that really seem to make a difference:
- Air Circulation is Key: While you want that humidity under the plastic, it’s good practice to lift the plastic bag for a few minutes each day to allow for some air exchange. This helps prevent fungal diseases from taking hold, which is a common culprit for cutting failures.
- Bottom Heat is a Wonderful Thing: If you have the space and the inclination, placing your pots on a heated propagator mat can significantly speed up root development. It mimics the warmth of the soil that the plant naturally loves.
Aftercare & Troubleshooting
Once roots have formed (you’ll see new growth at the tops of your cuttings, or the divisions will look perky), it’s time for a little extra attention.
- Gradual Acclimation: Slowly remove the plastic cover over a few days to let your new plants get used to the drier air.
- Watering: Keep the soil consistently moist but not soggy. Overwatering is the quickest way to invite rot.
- Transplanting: Once your cuttings have a good root system and are showing strong new growth, you can transplant them into slightly larger pots or their permanent garden spots.
The most common sign of failure is a cutting that wilts and never recovers, or worse, turns mushy and black. This is usually a sign of too much moisture and not enough air circulation, or sometimes, the cutting was just too far gone to begin with. Don’t be discouraged if a few don’t make it – that’s perfectly normal!
Happy Growing!
Propagating Motherwort is a delightful way to fill your garden with this lovely herb and share its charm with friends. Be patient with your new plants, observe them closely, and most importantly, enjoy the wonderful process of creation! Happy gardening!
Resource:
https://identify.plantnet.org/k-world-flora/species/Leonurus%20cardiaca%20L./data