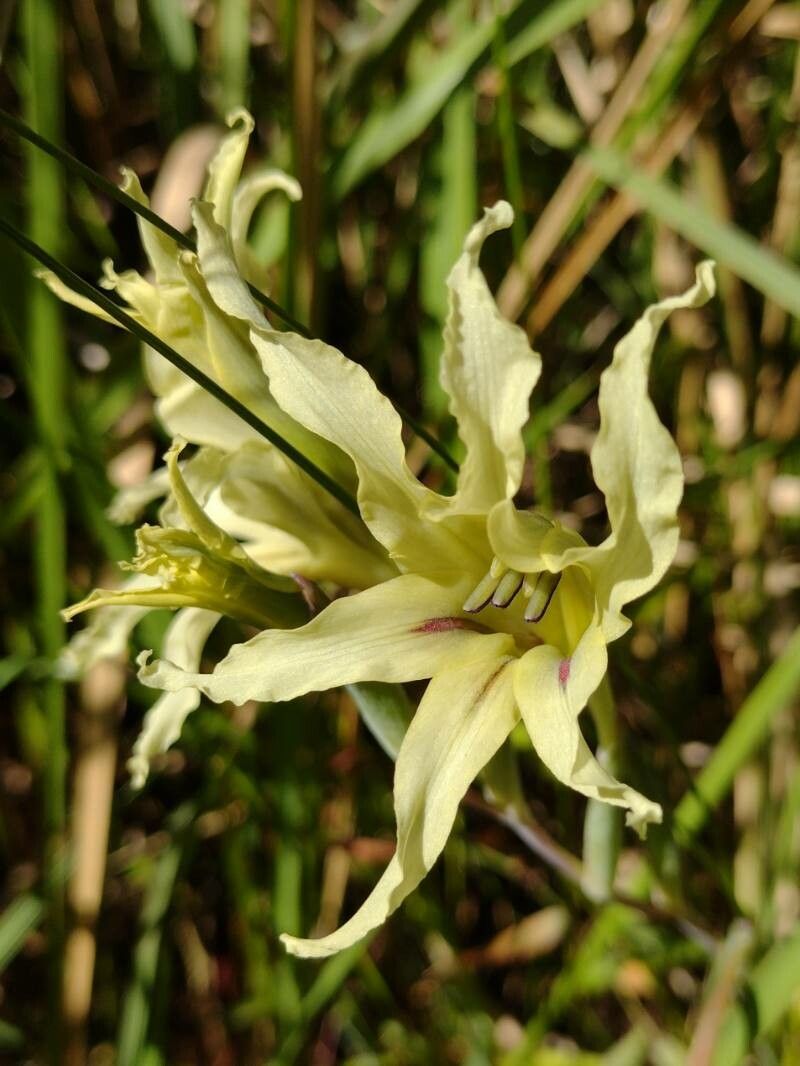
Oh, gladiolus! I just love seeing those tall, elegant spikes of color gracing a garden. And Gladiolus undulatus, with its delicate, ruffled petals and often charming fragrance, is a real treasure. If you’ve ever admired one and wished you had more, you’re in luck! Propagating them is a wonderfully rewarding experience, and I’m happy to share how I do it. For beginners, I’d say it’s moderately easy – a little patience goes a long way.
The Best Time to Start
For Gladiolus undulatus, the absolute best time to think about propagation is late summer to early autumn, right after the parent plant has finished flowering and its foliage is starting to turn yellow. This is when the corms (those onion-like structures at the base) are naturally storing energy and have put forth lots of those little baby corms, called cormels. Starting then gives them a good head start to develop before winter truly sets in.
Supplies You’ll Need
Here’s what I always have on hand:
- Well-draining potting mix: A good blend of peat moss, perlite, and compost is ideal.
- Sharp pruning shears or a clean knife: For making clean cuts.
- Rooting hormone (optional, but helpful): Especially for cormels.
- Small pots or seed trays: With drainage holes, of course!
- Watering can with a fine rose attachment: To avoid disturbing the delicate new beginnings.
- Labels and a permanent marker: Trust me, you’ll thank yourself later!
- A trowel: For gently separating corms.
- A sunny windowsill or a protected outdoor spot: Depending on your climate and the season.
Propagation Methods
The most effective and natural way to propagate Gladiolus undulatus is by dividing the corms and cormels.
Step 1: Digging Up the Corms
In late summer or early fall, carefully dig up your gladiolus. Gently loosen the soil around the base of the plant and lift it out. You’ll see the main corm from this year and, attached to its base, a cluster of smaller cormels. These are your future gladioli!
Step 2: Separating the Cormels
Gently brush off excess soil. You’ll see the papery outer layers on the cormels. Carefully snap or cut away the cormels from the parent corm. Be gentle; they’re small and can be fragile.
Step 3: Preparing for Planting
If you’re using rooting hormone, lightly dip the cut end of each cormel into it. This isn’t strictly necessary, but I find it gives them a little boost.
Step 4: Planting the Cormels
Fill your small pots or trays with your well-draining potting mix. Plant the cormels about 1-2 inches deep, with the pointy end facing up if you can discern it. Water them gently.
Step 5: Planting Larger Corms
You can also plant the larger, older corms, but they might not bloom as prolifically in their first year after being moved. Plant them a bit deeper, around 4-6 inches.
The “Secret Sauce” (Pro Tips)
- Don’t Rush the Dormancy: Resist the urge to dig them up too early! Let the foliage die back naturally. This is crucial for the corms to store enough energy to grow and bloom next year. If you dig them up green, your success rate will drop.
- Bottom Heat for Cormels (Optional but effective): If you have a heated propagator or even a warm spot in your greenhouse, placing your pots of cormels on it can significantly speed up germination and root development, especially if you’re starting a bit earlier than ideal.
- Label Everything: I can’t stress this enough! If you’re propagating multiple varieties or even just different ages of corms, label them clearly. Trust me, you’ll forget which is which by next spring.
Aftercare & Troubleshooting
Once your cormels are planted, keep the soil consistently moist but not waterlogged. They appreciate good light, so a bright windowsill is perfect. Over the next few months, you should start to see tiny green shoots emerge.
Signs of trouble? The most common issue is rot. If the soil stays too wet, the cormels can get mushy and fail to sprout. Make sure your pots have good drainage, and don’t waterlog the soil. Yellowing leaves on your new seedlings are usually a sign they’re getting enough energy to start; just let them be unless they’re clearly wilting from overwatering.
A Encouraging Closing
Propagating Gladiolus undulatus is a journey, and the greatest reward is watching those tiny cormels transform into beautiful blooms. Be patient with the process. It might take a year or two for the cormels to mature enough to give you a spectacular show, but the joy of creating new life from something you already love is truly unparalleled. Happy gardening!
Resource:
https://identify.plantnet.org/k-world-flora/species/Gladiolus%20undulatus%20L./data