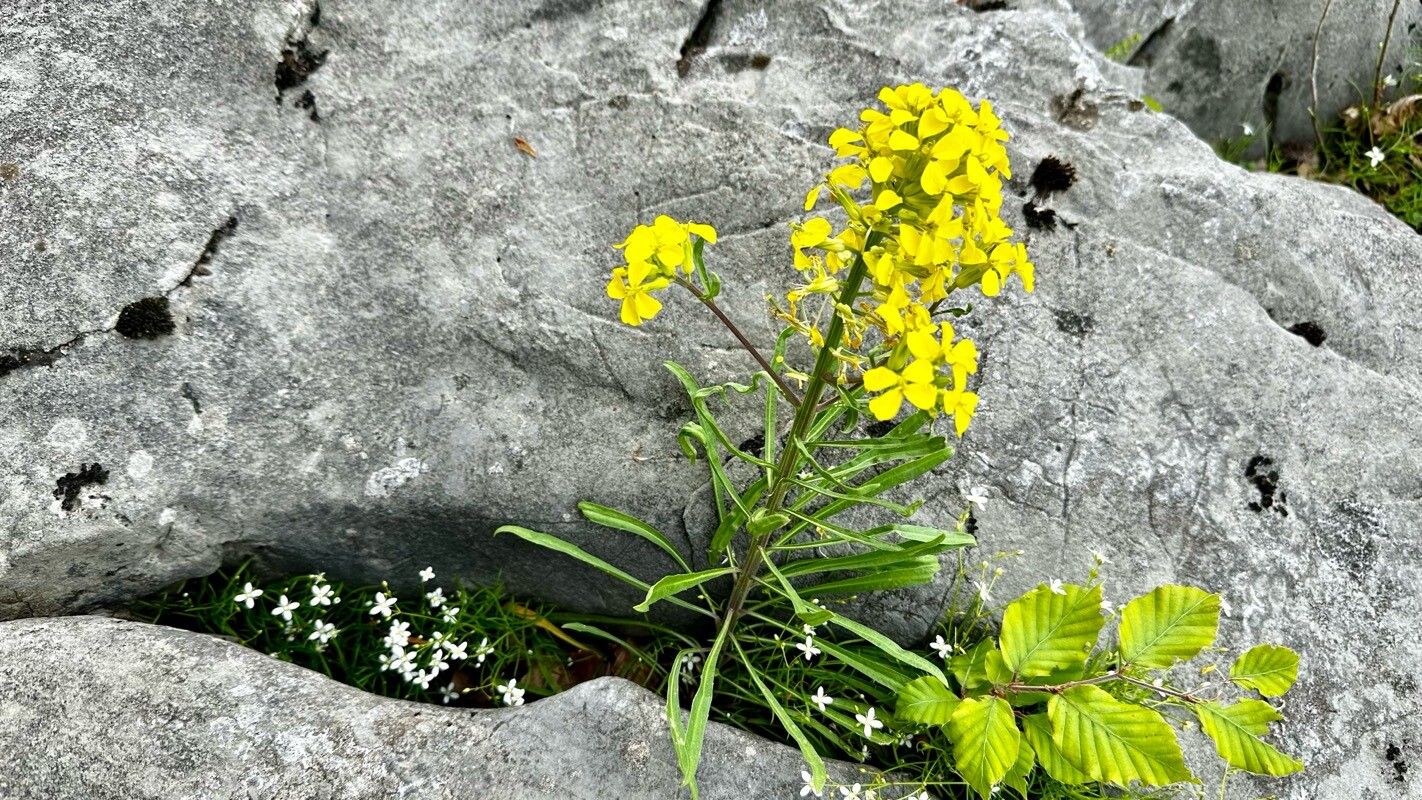
Oh, hello there! Come on in, grab yourself a mug of something warm. Today, we’re going to chat about a plant that’s really stolen my heart over the years: Erysimum commatum. If you’ve ever seen these beauties gracing a garden, with their elegant spikes of fragrant, jewel-toned flowers, you know why they’re so captivating. They bring such a wonderful splash of color and a delightful perfume, often right when we need it most – late spring and into summer.
Now, I know sometimes the word “propagation” can sound a bit intimidating, like it’s only for the folks with the perfectly organized greenhouses and a PhD in botany. But I promise you, with Erysimum commatum, it’s more accessible than you might think. I’d say it’s a moderately easy plant to propagate, especially if you have a few key things in mind. The reward of seeing those little newcomers take off and fill your garden (or a friend’s!) is just immense.
The Best Time to Start
For the highest success rate, I always turn to mid-spring to early summer. This is when the plant is actively growing and has plenty of energy to put into developing new roots. You want to look for stems that are a bit firm but not yet woody. Think of it as the “softwood” stage – firm enough to hold shape, but still flexible. Trying to take cuttings too early, when growth is spindly, or too late, when it’s getting tough, can be a bit more of a gamble.
Supplies You’ll Need
Before we get our hands dirty, let’s gather our tools. It’s always helpful to have everything ready beforehand.
- Sharp Pruning Shears or a Clean Knife: For making clean cuts. A dull tool can crush stems, making it harder for them to root.
- Rooting Hormone (Optional, but Recommended): This little powder or gel really gives cuttings a boost and increases your chances of success.
- Small Pots or Seed Starting Trays: Clean ones are key to preventing disease.
- Well-Draining Potting Mix: I like to use a mix of equal parts peat moss or coco coir and perlite or coarse sand. This ensures good aeration and prevents waterlogged conditions, which are the enemy of new cuttings.
- Watering Can with a Fine Rose: So you can water gently without disturbing the cuttings.
- Clear Plastic Bags or a Propagation Dome: To create a humid microclimate around your cuttings.
- Labels and a Permanent Marker: You’ll thank me later for remembering which plant is which!
Propagation Methods
We’ll focus on the method that tends to be most successful for Erysimum commatum: stem cuttings. It’s straightforward and yields great results.
Taking the Cuttings:
- Select your material: Find healthy, non-flowering stems from your established plant. Look for stems that are about 4-6 inches long.
- Make the cut: Using your sharp shears or knife, make a clean cut just below a leaf node (where a leaf attaches to the stem). These nodes are where the magic happens and roots usually form.
- Prepare the cutting: Gently remove the lower leaves from the stem, leaving just two or three leaves at the very top. This reduces water loss and prevents leaves from rotting once planted. If your cuttings are very large, you can even snip them in half diagonally to reduce the surface area.
Planting the Cuttings:
- Dip in rooting hormone (if using): Lightly dip the cut end of the stem into your rooting hormone powder or gel. Tap off any excess.
- Make a hole in the soil: Use a pencil or your finger to create a small hole in your prepared potting mix. This prevents the rooting hormone from being rubbed off when you insert the cutting.
- Insert the cutting: Gently place the cutting into the hole, ensuring the leaf node that was just below where you removed the leaves is buried in the soil.
- Firm the soil: Gently firm the soil around the base of the cutting to ensure good contact.
- Water gently: Water the pot thoroughly, allowing excess water to drain away.
- Create humidity: This is crucial! Cover the pot with a clear plastic bag, supported by skewers or stakes so the bag doesn’t touch the leaves, or place it under a propagation dome.
The “Secret Sauce” (Pro Tips)
Here are a few little tricks I’ve picked up over the years that make a real difference:
- Bottom Heat is Your Friend: If you have a heat mat, placing your pots on it can significantly speed up root development. It mimics the warmth of spring and gives those sleepy root cells a nudge. Aim for around 70-75°F (21-24°C).
- Avoid Leaf Rot at All Costs: I can’t stress this enough. Make sure no leaves are touching the soil or the sides of the plastic bag. Any foliage below the soil line or submerged in condensation is a recipe for fungal rot. Trim them off if necessary.
- Don’t Overwater, But Keep Them Moist: This is a delicate balance. The soil should feel consistently moist, like a wrung-out sponge, but never soggy. I usually check my cuttings every couple of days. If the soil feels dry, I give them a gentle watering. Lifting the pot is a good way to gauge moisture – a light pot means it’s time to water.
Aftercare & Troubleshooting
Once you start seeing signs of life – usually tiny new leaves or shoots emerging from the top – that’s your cue that roots are forming!
- Gradual Acclimation: Slowly get your new plants used to drier air. Start by opening the plastic bag or propagation dome for a few hours each day, gradually increasing the time until they can be removed permanently.
- Potting Up: Once your cuttings have developed a good root system (you can gently tug on them to feel resistance, or they might even start showing roots at the drainage holes), it’s time to pot them into their own individual, slightly larger pots with a good quality potting mix.
- Watch for Rot: The most common issue is stem rot, which looks like mushy, discolored stems, often at the soil line. This is usually caused by overwatering and poor air circulation. If you see this, unfortunately, that cutting is likely lost. Remove it immediately to prevent it from spreading.
- Wilting: Some initial wilting is normal as the cutting adjusts. However, if a cutting stays consistently wilted and doesn’t perk up after watering, it might not be rooting.
A Encouraging Closing
So there you have it! Propagating Erysimum commatum is a truly satisfying endeavor. Don’t get discouraged if your first few attempts aren’t perfect. Every gardener has their own learning curve. Be patient, observe your cuttings, and enjoy the process of nurturing new life. Soon, you’ll have a whole new generation of these lovely plants to enjoy! Happy gardening!
Resource:
https://identify.plantnet.org/k-world-flora/species/Erysimum%20commatum%20Pančić/data