Oh, hello there, fellow plant enthusiast! If you’ve ever been charmed by the vibrant blooms and quirky shapes of Echinopsis haematantha, you’re in for a treat. I’ve been growing these beauties for two decades, and let me tell you, sharing their magic through propagation is one of my greatest joys. It’s like having a little piece of garden success to gift or expand your own collection!
Why Echinopsis haematantha?
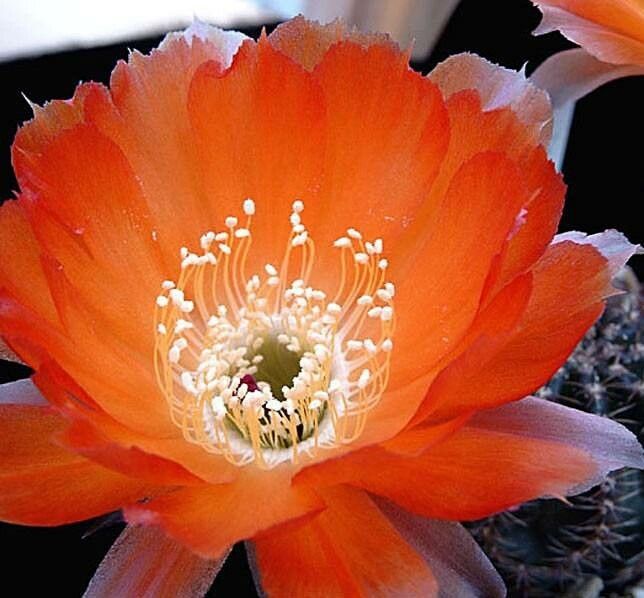
Echinopsis haematantha, with its striking, often fiery red flowers, is a real showstopper. These cacti are relatively forgiving and quite rewarding to work with, even for those just dipping their toes into the world of succulent propagation. Don’t worry, you’ve got this!
When is the Perfect Moment?
The sweet spot for propagating Echinopsis haematantha is usually late spring or early summer. This is when the plant is actively growing and has plenty of energy to put into establishing new roots. You want to aim for a time when temperatures are consistently warm but not scorching hot. Avoid doing this during their dormancy in cooler months.
Gearing Up: Your Propagation Toolkit
A few simple tools will make this process smoother:
- Sharp, clean pruning shears or a sharp knife: For making clean cuts.
- Rooting hormone (optional, but helpful): A powder or gel that encourages root development.
- Well-draining potting mix: A cactus or succulent blend is ideal. You can also mix your own with perlite or pumice.
- Small pots or trays: Clean terracotta or plastic pots work well.
- Gloves (optional): If you’re sensitive to cactus spines.
- Watering can or spray bottle: For gentle watering.
Let’s Get Propagating!
Echinopsis haematantha is a master at producing offsets, or “pups,” those little baby cacti that emerge from the base of the parent plant. This is typically the easiest and most successful way to propagate them.
Method: Division of Offsets (Pups)
- Inspect Your Parent Plant: Look for healthy pups that have reached a decent size. Ideally, they should be at least an inch or two wide and show signs of having their own root system forming at their base.
- Gently Loosen the Soil: If your plant is potted, carefully loosen the soil around the base of the pup you want to remove. You might need to gently pull parts of the parent plant aside.
- Make the Cut: Using your sharp, sterilized pruning shears or knife, carefully slice the pup away from the mother plant. Try to get as much of its base, including any nascent roots, as possible. If the pup is already showing roots, that’s a bonus!
- Let it Callus: This is a crucial step for cacti! Place the removed pup in a dry, well-ventilated spot away from direct sunlight for several days to a week. You’ll see the cut end dry and form a callus. This prevents rot from setting in when you plant it. Don’t rush this part!
- Planting Time: Once the callus has formed, plant the pup in a small pot filled with your well-draining cactus mix. Make sure the callused end is buried just enough to support the pup upright.
- Hold Off on Watering: Resist the urge to water immediately. Wait for at least a week after planting before giving it its first gentle drink. This gives any minor wounds time to heal.
My “Secret Sauce” for Success
Here are a couple of things I’ve learned over the years that really make a difference:
- The “Dry Shake” Trick: When separating pups, sometimes they can break away more cleanly if you let the parent plant dry out thoroughly for a week or two beforehand. The soil will be looser, and the pups might detach with less resistance.
- Gentle Support: If your pup is a bit wobbly after planting, you can place a few small pebbles around its base to help it stand up straight. This also adds a nice decorative touch.
Aftercare and What to Watch For
Once your pup is planted, be patient. Keep it in a bright spot with indirect light. Water very sparingly at first. Wait until you see new growth or feel resistance when gently tugging on the pup – these are signs that roots have formed!
The most common issue you might encounter is rot. This usually happens if the plant is kept too wet, especially before roots have formed. You’ll notice the pup becoming mushy and discolored. If you see this, sadly, it’s often too late. The best prevention is good drainage and careful watering.
Keep Blooming and Growing!
Propagating Echinopsis haematantha is such a rewarding journey. It takes a little patience, a touch of observation, and a gentle hand, but the payoff is so worth it. Enjoy watching those little pups transform into magnificent cacti, ready to grace your home with their spectacular blooms. Happy gardening!
Resource: