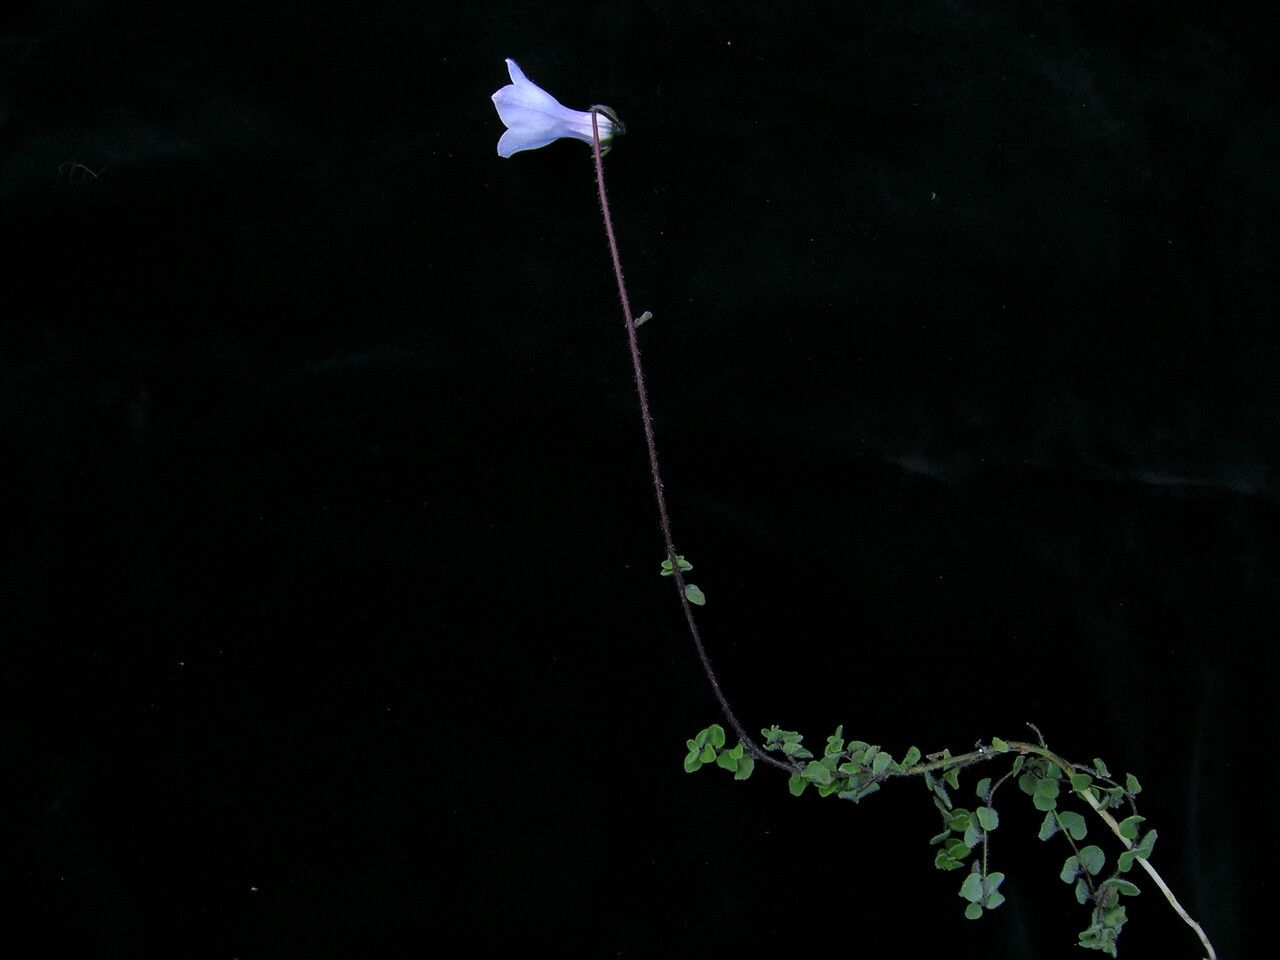
Oh, Codonopsis thalictrifolia! What a gem. If you’re looking for a plant that’s a bit unusual, a delightful climber with lovely little bell-shaped flowers that have a charming, almost whimsical appearance, then this is it. Its delicate foliage makes it a wonderful addition to any garden trellis or even a hanging basket. And the best part? Growing more of them from your existing plants is incredibly satisfying. They aren’t the most straightforward plant to propagate for absolute beginners, but with a little care and patience, you’ll be well on your way to success.
The Best Time to Start
For Codonopsis thalictrifolia, the sweet spot for propagation is usually late spring to early summer. This is when the plant is actively growing and has plenty of energy. You’re looking for young, semi-ripe stems. These are stems that have started to firm up but aren’t yet woody. Think of them as being just past that super-soft, brand-new growth.
Supplies You’ll Need
To get your propagation station ready, gather these essentials:
- Sharp pruning shears or a clean, sharp knife: For taking clean cuts.
- Rooting hormone: A powder or gel will help encourage root development.
- Well-draining seed-starting mix or a 50/50 blend of perlite and peat moss: This is crucial. These plants hate soggy feet!
- Small pots or trays with drainage holes: Clean ones, please!
- Plastic bags or a propagator lid: To create a humid environment.
- Watering can with a fine rose: Gentle watering is key.
- Optional: Heat mat: For bottom warmth, which can significantly speed things up.
Propagation Methods
I find that stem cuttings are generally the most reliable way to propagate Codonopsis thalictrifolia. Here’s how I do it:
-
Take Your Cuttings: On a dry day, select healthy stems from your mature plant. Make cuts just below a leaf node (where a leaf attaches to the stem). You want cuttings that are about 3-4 inches long. Quickly dip the cut end into your rooting hormone, tapping off any excess.
- Tip: While you’re at it, you might want to take a few extra cuttings – just in case!
-
Prepare the Cuttings: Gently remove the lower leaves from your cuttings. You only want to leave a couple of leaves at the very top. This reduces water loss and prevents the leaves from rotting in the soil.
-
Plant Your Cuttings: Fill your clean pots or trays with your well-draining soil mix. Make a small hole in the center with a pencil or your finger. Carefully insert the cut end of each cutting into the hole, ensuring the rooting hormone remains intact. Gently firm the soil around the base of the cutting.
-
Create a Humid Environment: Water the soil gently, just enough to moisten it. Then, cover the pots with a plastic bag, securing it loosely around the rim with a rubber band or tape, or pop them into a propagator. Make sure the plastic doesn’t touch the leaves if possible.
-
Provide the Right Conditions: Place your newly planted cuttings in a bright spot with indirect light. Avoid direct, hot sun. If you have a heat mat, placing the pots on it will provide gentle bottom warmth, which is a big help.
The “Secret Sauce” (Pro Tips)
- Bottom Heat is Your Friend: I’ve found that providing gentle bottom heat (around 65-70°F or 18-21°C) makes a world of difference. It encourages those roots to form much more readily. A simple seedling heat mat works wonders.
- Don’t Overwater, Ever! This is probably the biggest mistake people make. The soil should be consistently moist, but never waterlogged. Soggy conditions are a death sentence for most cuttings, and Codonopsis is no exception. Check the moisture regularly and water only when the top layer of soil starts to feel dry.
- Watch for the “Green Surge”: Sometimes, before you see roots, you might notice a subtle surge of new growth at the tip of the cutting, or new tiny leaves starting to unfurl. This is a fantastic sign that the roots are forming underneath and the cutting is taking!
Aftercare & Troubleshooting
Once you start to see signs of rooting – usually after several weeks, but it can take longer – it’s time to transition your new plants.
- Acclimatize: Gradually begin to ventilate the propagator or poke a few small holes in your plastic bag over a few days to help the new plants adjust to normal humidity.
- Transplanting: When the roots have filled the pot and you can see them coming out of the drainage holes, it’s time to pot them up into slightly larger containers with a good potting mix.
- Watch for Rot: The most common sign of failure is rot at the base of the cutting. This looks like a mushy, brown stem. It almost always means the conditions were too wet. If you see this, unfortunately, it’s usually best to discard the affected cutting.
- Wilting: A little wilting before roots have formed is normal, especially if the environment isn’t humid enough. But if a cutting wilts completely and looks a bit limp after you think it should have rooted, it might mean that root development isn’t happening.
A Little Patience, a Lot of Reward
So there you have it! Propagating Codonopsis thalictrifolia takes a touch of understanding and a watchful eye, but it’s absolutely doable. Remember to be patient, keep things clean and well-drained, and enjoy the magical process of bringing new life into your garden. Happy propagating!
Resource:
https://identify.plantnet.org/k-world-flora/species/Codonopsis%20thalictrifolia%20Wall./data