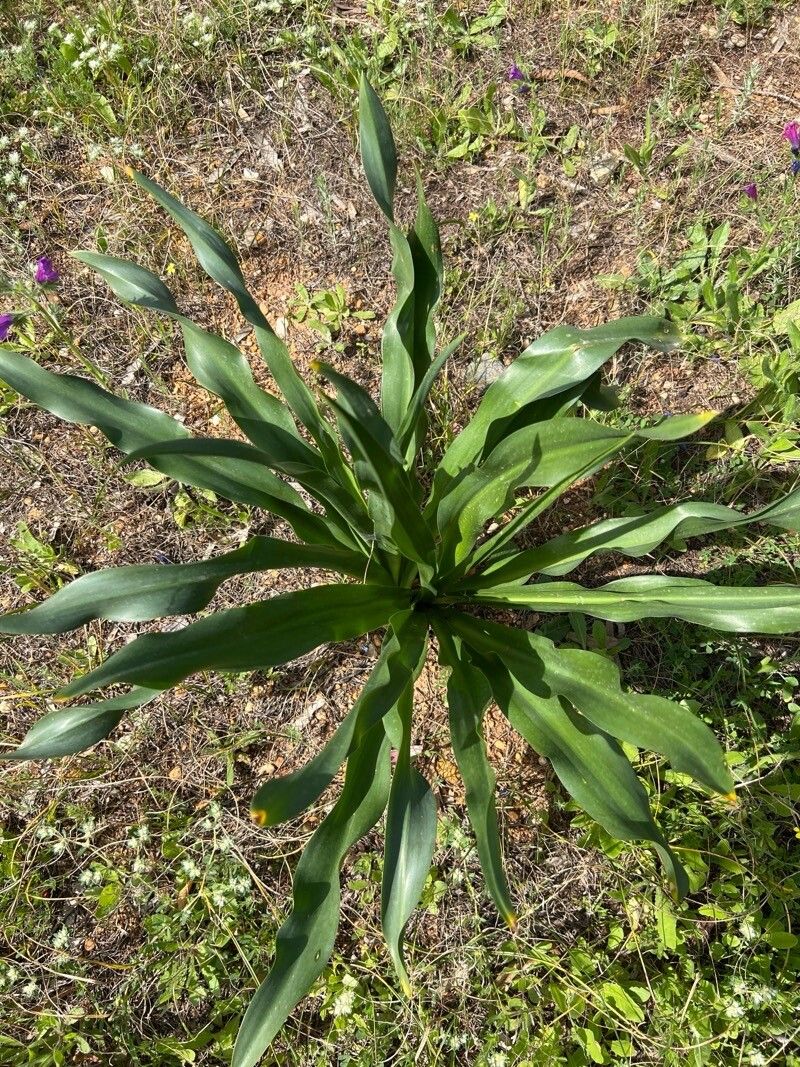
Hello there, fellow garden enthusiasts! I’m so excited to share a little gem from my garden with you today: Chlorogalum pomeridianum, often called the soap plant or California soap root. You know, those gorgeous strappy leaves that unfurl with such elegance? And the amazing thing is, you can easily bring more of this beauty into your life through propagation. It’s a truly rewarding process, and I promise, it’s not as complicated as you might think! For beginners, I’d say this plant is moderately easy, offering a satisfying challenge without being overly daunting.
The Best Time to Start
When it comes to Chlorogalum pomeridianum, timing is key to setting yourself up for success. The absolute best time to propagate is during its active growing season, which typically falls in spring or early summer. This is when the plant has the most energy stored up, making it more receptive to new growth. You’re looking for healthy, vigorous plant material – think of it as harvesting from a well-nourished friend!
Supplies You’ll Need
Before we get our hands dirty, let’s gather our tools. A little preparation goes a long way!
- Sharp Pruning Shears or a Knife: Clean cuts are crucial, so make sure they’re nice and sharp.
- Well-Draining Potting Mix: I like to use a mix that’s about 50% potting soil and 50% perlite or coarse sand. This ensures good aeration and prevents soggy roots.
- Small Pots or Containers: Whatever you have on hand will do, as long as they have drainage holes.
- Rooting Hormone (Optional but Recommended): This is a little boost for those new roots.
- Watering Can with a Fine Rose: Gentle watering is key.
- Labels and a Marker: To keep track of what you’ve propagated and when.
- Plastic Bag or Dome (for some methods): This helps maintain humidity.
Propagation Methods
The most effective way to propagate Chlorogalum pomeridianum is through division of its bulbs. These plants produce offsets, which are essentially baby bulbs, that cluster around the mother bulb.
Division of Bulbs:
- Gentle Excavation: The best time to do this is when the plant is dormant or just finished flowering, usually in late summer or fall. Carefully dig around the base of the plant to expose the bulb cluster. Be gentle here; you don’t want to damage the bulbs.
- Separate the Offsets: Once you see the offsets, which are smaller bulbs attached to the main bulb, you can gently pull them apart. They should come away fairly easily. If a larger bulb has a significant number of offsets, you might even be able to tease them apart without much effort.
- Inspect and Trim: Check the separated bulbs for any signs of damage or rot. Trim away any dead or mushy bits. The offsets should have their own root structure.
- Planting: Plant each offset in its own pot filled with your well-draining potting mix. Plant them so the top of the bulb is just at or slightly below the soil surface.
- Watering: Water thoroughly after planting to settle the soil.
The “Secret Sauce”
Over the years, I’ve learned a few little tricks that really make propagation smoother.
- Don’t Over-Water the Newly Divided Bulbs: While they need moisture to establish, soggy soil is the quickest way to invite rot. Let the soil surface dry out slightly between waterings, especially in the first few weeks.
- Give Them a Little Warmth: If you can, placing your newly potted bulbs in a spot that gets gentle bottom heat (like on top of a warm refrigerator or using a seedling heat mat set to a low temperature) can significantly speed up root development.
- Patience is Your Best Friend: Especially with division, sometimes it takes a while for the new bulbs to show signs of life. Don’t despair if you don’t see new leaves popping up immediately. They are busy building root systems beneath the surface.
Aftercare & Troubleshooting
Once roots have formed and you see new growth emerging, your Chlorogalum pomeridianum babies are well on their way!
- Light: Gradually introduce them to brighter light, but avoid direct, scorching sun initially. Dappled shade or bright, indirect light is perfect.
- Watering: Continue to water when the top inch or two of soil feels dry. As the plant matures, you can adjust your watering based on its needs.
- Fertilizing: You don’t need to fertilize immediately. Once you see consistent new growth, you can start with a diluted, balanced liquid fertilizer every 4-6 weeks during the growing season.
The most common issue you might encounter is rot, often caused by overwatering or poor drainage. If you notice mushy stems or bulbs, or if the leaves start to yellow and droop without explanation, it’s a sign that the roots are unhappy. Pull the bulb out and inspect it. If it’s rotted, unfortunately, it’s unlikely to recover. You’ll need to discard it and make sure your soil and watering practices are adjusted for future attempts.
A Little Encouragement
There you have it! Propagating Chlorogalum pomeridianum is a wonderful way to expand your garden and gain a deeper understanding of these beautiful plants. Remember to be patient with yourself and with your new sprouts. Gardening is an art, and every gardener, no matter how seasoned, has had their share of learning curves. Enjoy the process, celebrate the small victories, and soon you’ll have a whole patch of these lovely soap plants to admire! Happy gardening!
Resource:
https://identify.plantnet.org/k-world-flora/species/Chlorogalum%20pomeridianum%20(DC.)%20Kunth/data