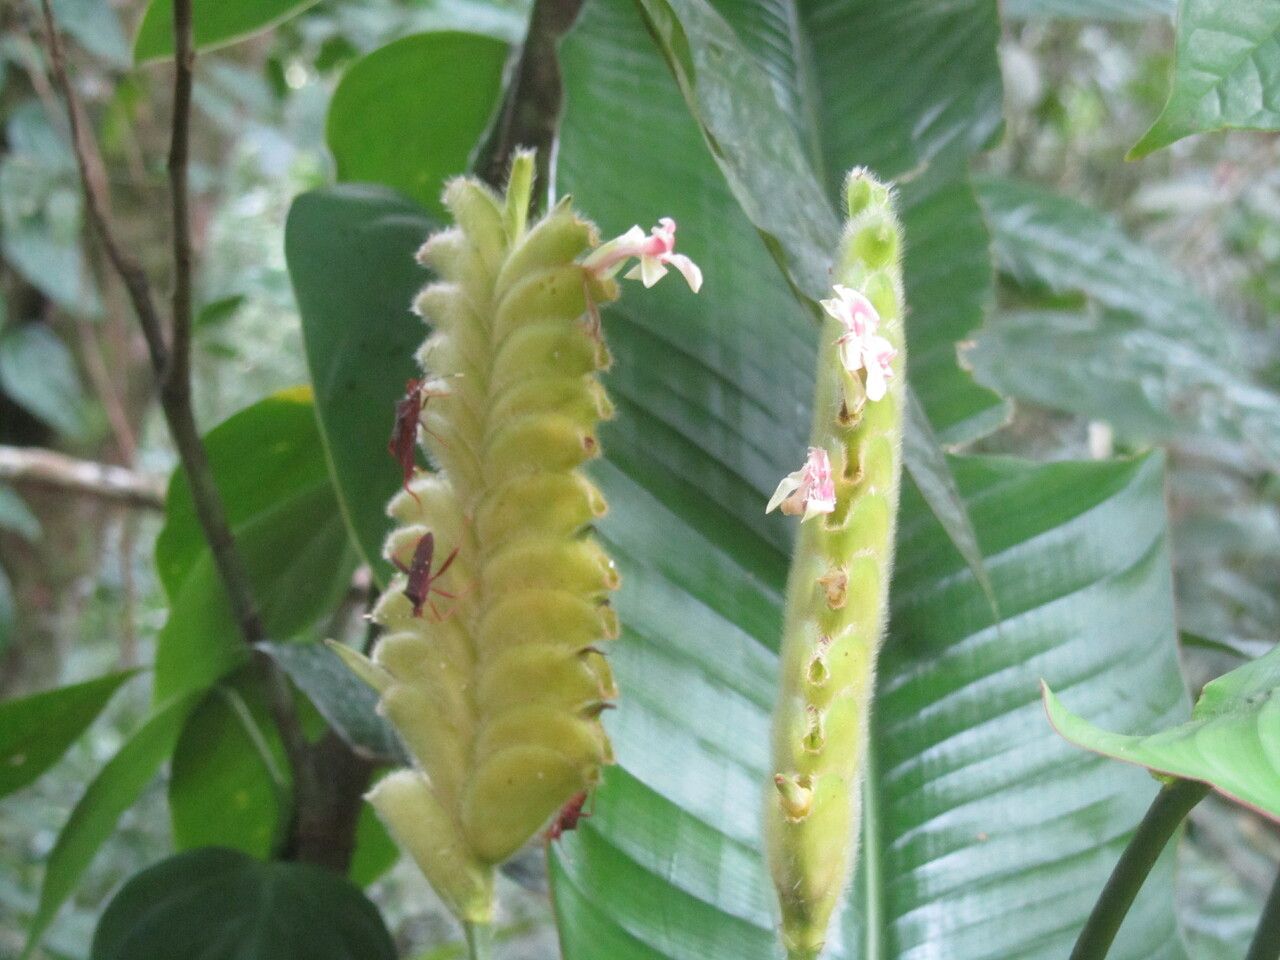
Oh, Calathea lasiostachya! If you’ve ever marveled at those stunning, velvety leaves, with their intricate patterns dancing in the light, you already know why this plant captures hearts. Propagating this beauty isn’t just about getting more plants; it’s about connecting with its essence, understanding its growth cycle, and yes, sharing that magic with others. Now, for the honest truth – Calatheas, in general, can be a little finicky. So, while this particular one is slightly more forgiving, I wouldn’t call it a “beginner’s plant” for propagation just yet. But don’t let that deter you! With a little care and these tips, you’ll be well on your way.
The Best Time to Start
The sweet spot for propagating Calathea lasiostachya is definitely spring and early summer. This is when the plant is actively growing and has the most energy. You’ll know it’s ready when you see new shoots emerging from the base or along the stems. Avoid propagating during the plant’s dormancy in cooler months; it’s just too much of a shock.
Supplies You’ll Need
Gathering your supplies upfront makes the whole process much smoother. Here’s what I always have on hand:
- Sharp, clean pruning shears or a sharp knife: Essential for making clean cuts to prevent disease.
- Potting mix: A well-draining mix is crucial. I love a blend of equal parts peat moss, perlite, and compost. You can also find specialized Aroid or Calathea mixes.
- Small pots or propagation trays: Clean, with drainage holes, of course!
- Rooting hormone (optional but recommended): This little boost can significantly speed up root development. Look for a powdered or liquid variety.
- Plastic bags or a propagation dome: To create a humid environment for your cuttings.
- Water: Clean, room-temperature water.
- A grow light (optional): If you don’t have a bright, indirect light source, this can be a lifesaver.
Propagation Methods
For Calathea lasiostachya, the most successful method I’ve found is division. While stem cuttings can work, they often take longer and have a lower success rate with Calatheas. Let’s focus on the reliable way!
Method: Division
This is really about separating the plant into smaller, viable units.
- Gently remove the mother plant from its pot. Loosen the soil around the edges and gently ease it out.
- Inspect the root ball. You’re looking for distinct clumps of growth, often identifiable by multiple stems emerging from what looks like a separate root system at the base.
- Carefully tease the root systems apart. You can use your fingers or a clean, sharp knife or trowel. The goal is to separate it into sections, each with a good amount of roots and at least one or two healthy shoots. Don’t worry if a few roots break; it’s natural.
- If a section seems difficult to separate, don’t force it to the point of damaging all the roots. It’s better to have slightly larger divisions than tiny ones with minimal roots.
- Pot up your new divisions. Fill your clean pots with your well-draining potting mix. Make a small hole in the center and place one division in each pot.
- Firm the soil gently around the base of the plant. You want it to be stable but not compacted.
- Water thoroughly. Ensure all the soil is moistened, and excess water drains out.
- Create a humid environment. You can place a plastic bag loosely over the pot, held up by stakes so it doesn’t touch the leaves, or use a propagation dome. This humidity is key to preventing the new divisions from drying out.
- Place in bright, indirect light. Avoid direct sunlight, which can scorch their delicate leaves.
The “Secret Sauce” (Pro Tips)
Here are a couple of things I’ve learned over the years that make a difference:
- Don’t overwater the divisions initially. While they need moisture, soggy soil is the fastest way to invite rot for Calatheas. Water thoroughly once, then err on the side of caution. Let the top inch of soil dry out slightly before watering again.
- Consider bottom heat. If you have a seedling heat mat, placing your pots on it can give your new divisions a gentle warmth that encourages root growth. It doesn’t need to be hot, just comfortably warm to the touch.
- Be patient with new growth. It can take several weeks, sometimes even a couple of months, for a newly divided Calathea to show signs of new leaf unfurling. Don’t despair if you don’t see immediate results!
Aftercare & Troubleshooting
Once your divisions are established and you see new leaf growth peeking out, you can gradually acclimate them to normal conditions. Remove the plastic bag or dome progressively over a week or so. Continue to provide bright, indirect light and consistent moisture (not soggy soil).
The most common issue you’ll encounter is root rot. If you notice yellowing leaves that feel mushy, or the stems at the soil line are darkening and collapsing, it’s a sign of overwatering and potential rot. If caught early, you might be able to save it by repotting in fresh, dry soil and being much more careful with watering. Unfortunately, once rot sets in significantly, it’s often hard to recover. Watch for wilting leaves even after watering – this can also indicate root issues.
A Encouraging Closing
Propagating, especially with plants that have a bit of a reputation, is always an experiment. So, take a deep breath, trust your instincts, and remember that even if not every attempt is a roaring success, you’ll learn so much along the way. Enjoy the process of nurturing these new baby Calatheas. Before you know it, you’ll have a whole jungle of your own! Happy gardening!
Resource:
https://identify.plantnet.org/k-world-flora/species/Calathea%20lasiostachya%20Donn.Sm./data