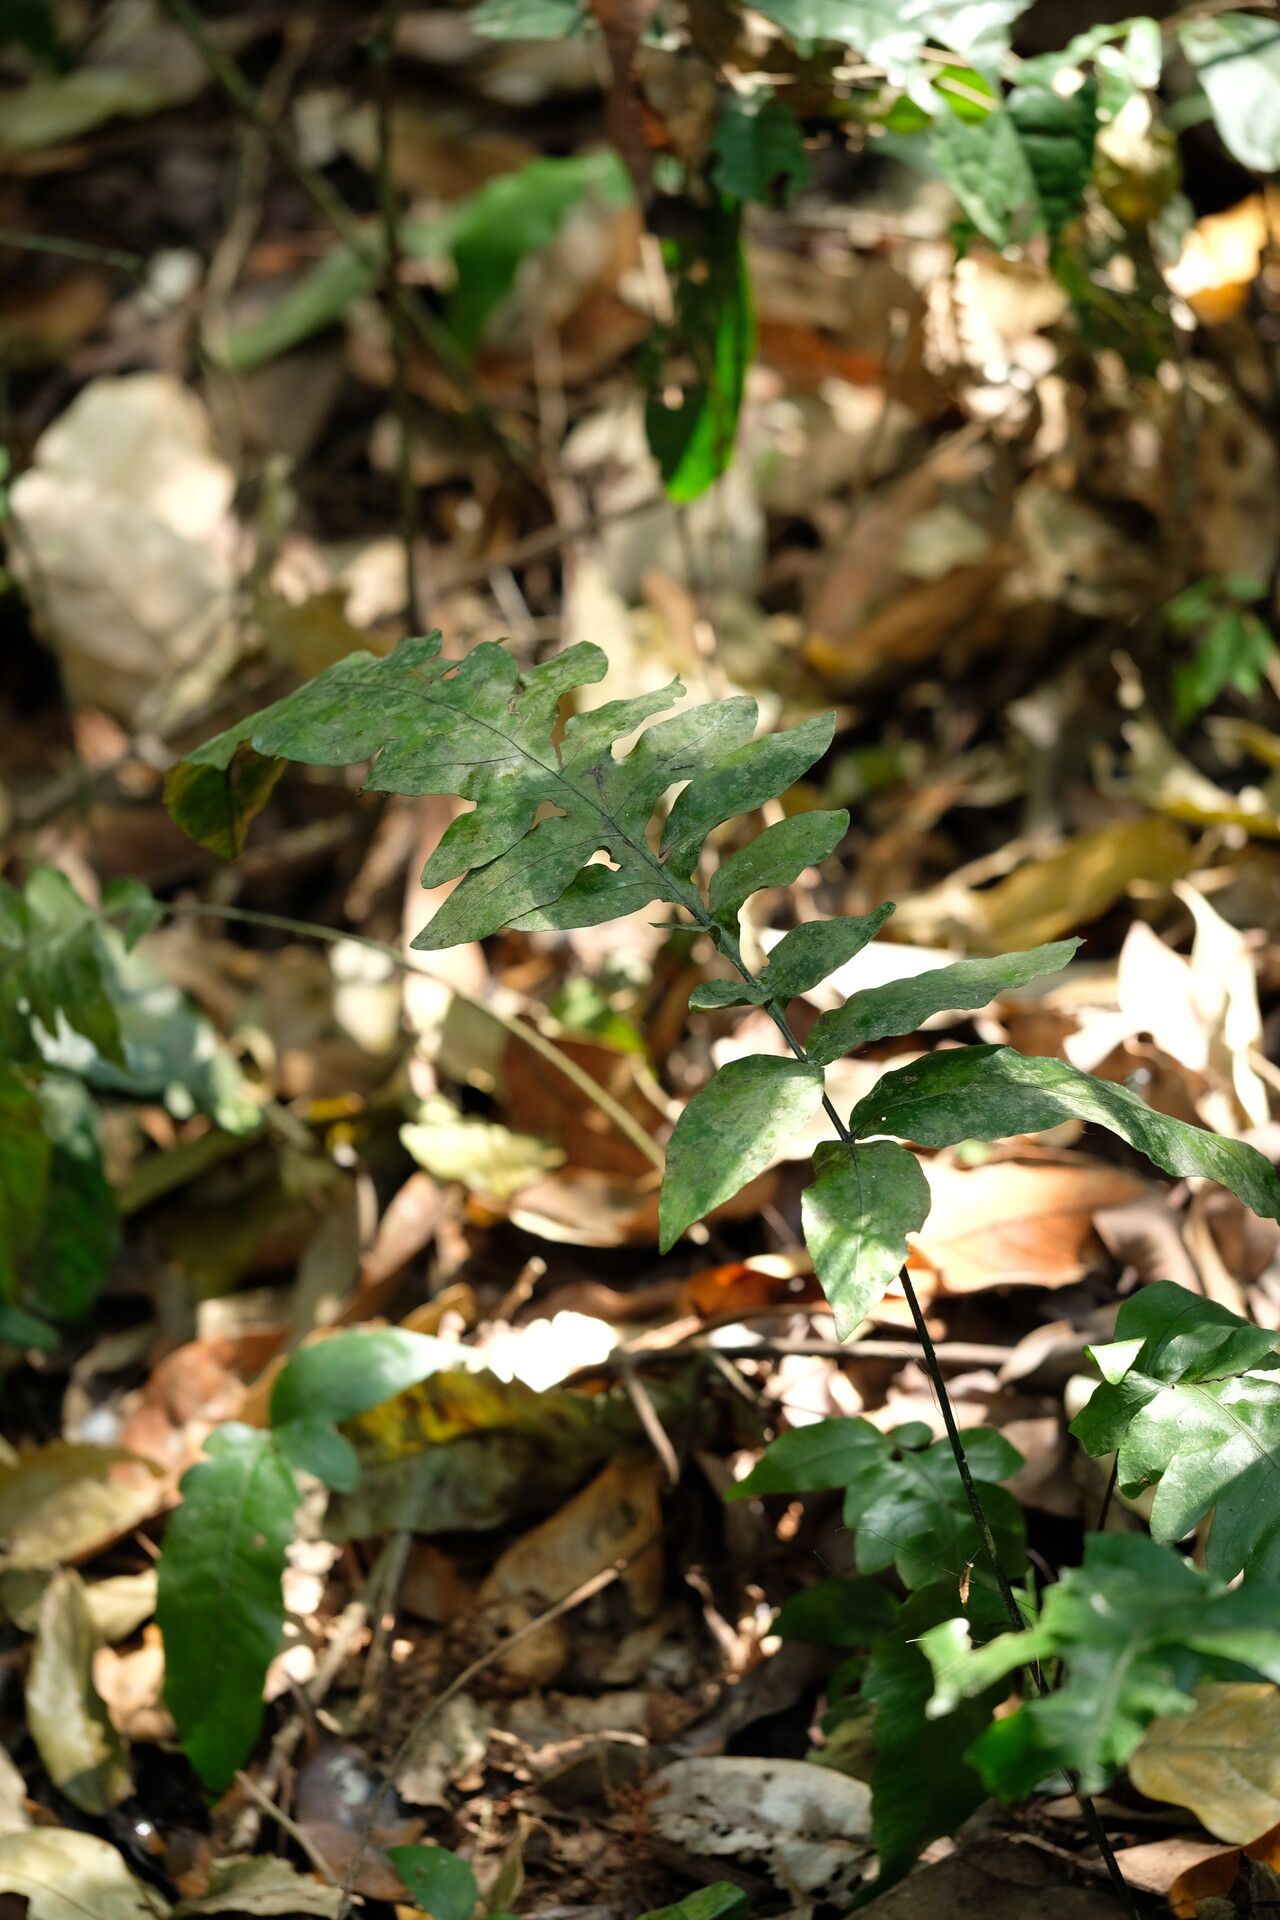
Oh, hello there! Come on in, grab a mug, and let’s chat about one of my absolute favorites: Bolbitis boivinii. This fern, with its beautifully lobed, almost tropical-looking fronds, brings such a lush, jungle-like feel to any shady corner of the garden or even a bright indoor spot. And believe me, when you see a little piece you’ve nurtured take hold and unfurl its own new fronds, it’s pure magic.
Now, about propagation: is it a breeze? For Bolbitis boivinii, I’d say it’s moderately easy. It’s not quite as fuss-free as, say, splitting a spider plant, but with a little attention, you’ll be rewarded with plenty of new babies. It’s a wonderfully satisfying project, and before you know it, you’ll have more of these beauties than you know what to do with!
The Best Time to Start
When it comes to getting new Bolbitis started, spring and early summer are your golden ticket. This is when the plant is actively growing and has all that natural energy to push out new roots. Starting during a plant’s active growth phase means it’s less likely to go into shock and more likely to thrive. You can also propagate them at other times, but you might find your success rate is a bit lower, and it might take longer for things to get going.
Supplies You’ll Need
You don’t need much to get started! Most of these are probably already hanging out in your gardening shed:
- Sharp pruning shears or a clean knife: For making clean cuts.
- A well-draining potting mix: I like a blend of peat moss, perlite, and a bit of compost. For ferns, something that stays just a little bit moist but doesn’t get waterlogged is key.
- Small pots or containers: Seedling trays or small terracotta pots work wonderfully.
- Plastic bags or a propagation dome: To create a humid microclimate.
- Watering can with a fine rose: For gentle watering.
- Optional: Rooting hormone: I sometimes use it, especially if I’m propagating a larger division, but it’s not always strictly necessary for this fern.
Propagation Methods
Bolbitis boivinii is a champion at growing from divisions. It’s my go-to method because it’s so reliable and gives you a good head start.
Propagation by Division
This is like giving your mature fern a little haircut and getting new plants from the pieces.
- Gently remove the parent plant from its pot. If it’s in the ground, carefully dig around it, trying to keep as much of the root ball intact as possible.
- Inspect the rhizome. This is the thick, creeping stem that runs along the surface of the soil or just beneath it. You’ll see where new growth is emerging from different points.
- Using your clean pruning shears or knife, carefully separate the rhizome into sections. Each section should have at least one healthy leaf or bud. Don’t be afraid to be decisive here; a clean cut is better than ripping.
- Pot up the new divisions. Place each section in its own small pot filled with your well-draining potting mix. You want the rhizome to be at or just barely below the soil surface.
- Water gently. Give the newly potted divisions a good, but gentle, watering. You want the soil to be moist.
- Create humidity. Cover the pots loosely with a plastic bag or place them under a propagation dome. This is crucial for keeping the humidity high around the new cuttings. Place them in a bright spot, but out of direct sunlight, which can scorch the delicate new growth.
The “Secret Sauce” (Pro Tips)
Over the years, I’ve learned a few little tricks that really seem to give my Bolbitis cuttings an extra boost.
- Don’t let the leaves touch the water (if you were to try water propagation, which I find less successful for this guy). For divisions, this applies more to ensuring the rhizome is properly in contact with the soil, not suspended above it. A dangling rhizome won’t root.
- Bottom heat can be a game-changer, especially if your home is on the cooler side. Placing your pots on a seedling heat mat encourages root development and can speed up the process significantly. Just make sure the heat isn’t too intense; you don’t want to cook your little plants!
- Be patient with the initial unfurling. Sometimes, a newly divided rhizome might look a bit sad for a few days, but if the rhizome itself is firm and plump, it’s likely just settling in. New growth might start as a tiny fiddlehead that slowly unfurls.
Aftercare & Troubleshooting
Once you start seeing new growth – the unfurling of tiny fiddleheads or new leaves appearing – you’re on the right track! Continue to keep the soil consistently moist but not soggy. You can gradually decrease the humidity over a couple of weeks by opening the plastic bag a little more each day, allowing the plant to acclimate to your home’s humidity levels.
The most common issue you might encounter is rot. This usually happens if the soil stays too wet for too long or if the humidity is too high without adequate air circulation. You’ll see the rhizome or stem turn mushy and black. If you spot this, unfortunately, that particular cutting is likely lost. The best defense is good drainage and proper watering. If your plant looks really sad but not rotted, it might be too dry, so give it a good soak.
A Little Patience Goes a Long Way
Propagating Bolbitis boivinii is a lovely way to spend an afternoon, and watching those new shoots emerge is incredibly rewarding. Don’t get discouraged if your first attempt isn’t perfect. Gardening is all about learning and experimenting. So, dive in, get your hands a little dirty, and enjoy the process of bringing more of this beautiful fern into your life! You’ve got this.
Resource:
https://identify.plantnet.org/k-world-flora/species/Bolbitis%20boivinii%20(Mett.)%20Ching/data