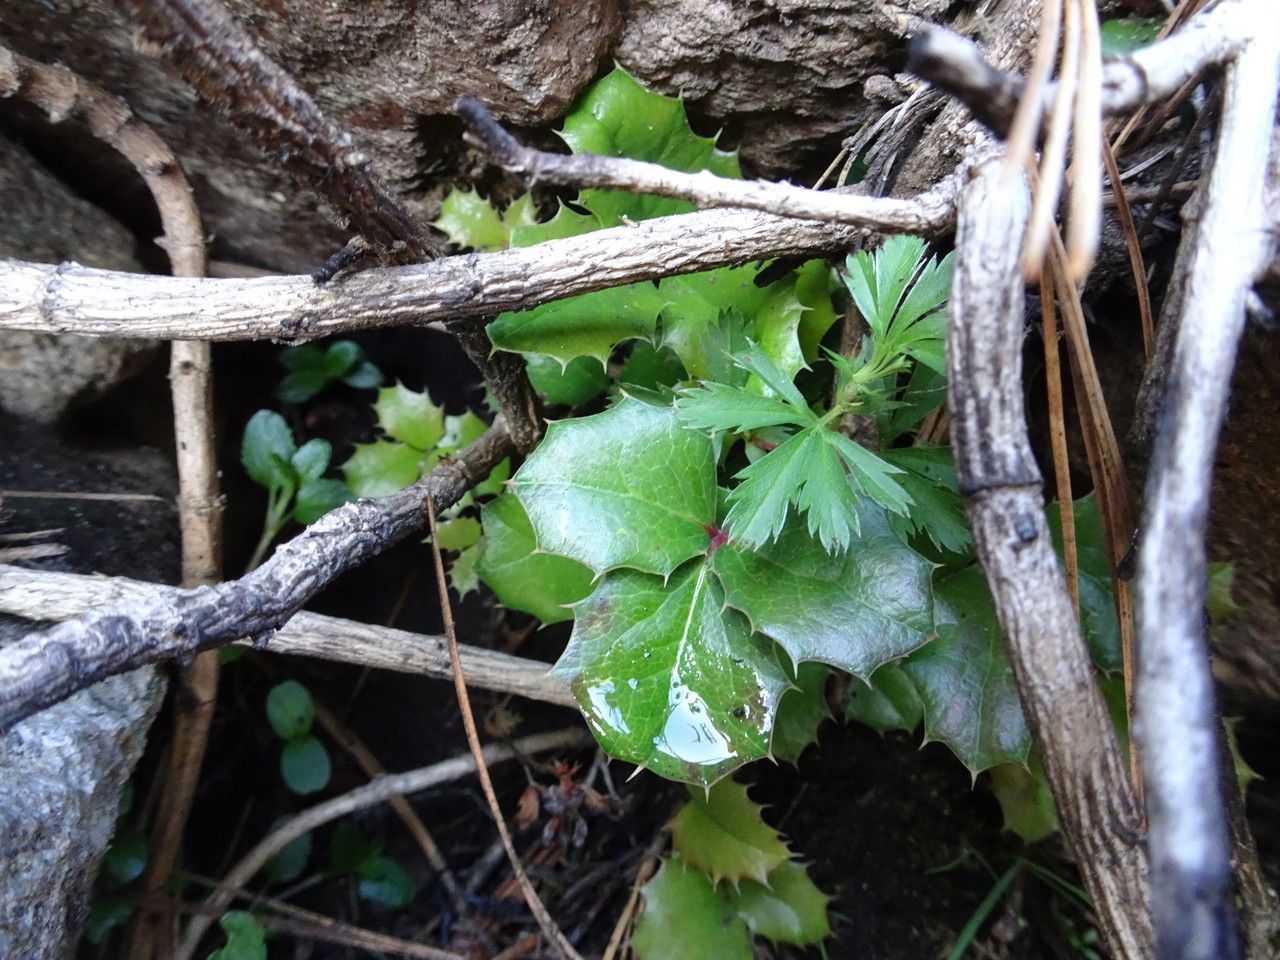
Hello fellow garden enthusiasts! Today, we’re going to talk about a plant that really brightens up the landscape, especially when other things are winding down: Berberis alpina, also known as Alpine Barberry. I just love these guys. They offer such lovely silver-green foliage and in the autumn, vibrant red berries that birds adore. Plus, they’re generally quite hardy and offer a beautiful structure to any garden.
Now, if you’re thinking about adding more of these beauties to your collection, propagating them yourself is incredibly satisfying. And good news for beginners – Alpine Barberry is quite forgiving when it comes to propagation. You don’t need to be a seasoned pro to have success.
The Best Time to Start
For the highest success rate, I find the late spring to early summer is the absolute sweet spot for propagating Berberis alpina. Look for new growth that has started to harden off a bit. It shouldn’t be floppy and brand new, but also not woody and mature. This ‘semi-ripe’ stage is perfect.
Supplies You’ll Need
Here’s what you’ll want to have handy before you begin:
- Sharp pruning shears or a clean knife: For taking cuttings.
- Rooting hormone (optional but recommended): A powder or gel will encourage faster root development.
- Potting mix: A light, well-draining mix is crucial. I usually use about a 50/50 blend of seed-starting mix and perlite.
- Small pots or trays: With drainage holes, of course!
- Plastic bags or a propagator: To create a humid environment.
- Water: For misting and watering.
- Labels and a pen: To keep track of what you’ve planted and when.
Propagation Methods
While there are a few ways to go about it, I find softwood cuttings are the most reliable and easiest for Berberis alpina.
- Take Your Cuttings: In late spring or early summer, select healthy, non-flowering shoots from your mature plant. Using your sharp shears or knife, cut lengths of about 4-6 inches. Make the cut just below a leaf node (where a leaf joins the stem).
- Prepare the Cuttings: Gently remove the lower leaves from the cutting. You want to expose the leaf nodes, as this is where roots will form. If the cutting has any flower buds, pinch them off.
- Apply Rooting Hormone (Optional): Dip the cut end of each cutting into a small amount of rooting hormone, tapping off any excess.
- Pot Them Up: Fill your pots or trays with your prepared potting mix. Make a hole in the center of the mix with a pencil or your finger. Insert the prepared cutting into the hole, ensuring the lower leaf nodes are covered by the soil. Gently firm the soil around the stem.
- Create Humidity: Water the soil gently. Then, you can either cover the pots with a clear plastic bag (making sure the leaves don’t touch the plastic) or place them in a propagator. This creates a humid microclimate, which is essential for cuttings to root without drying out.
- Placement: Place your pots in a bright location, but out of direct, harsh sunlight. A shaded spot on a patio or a windowsill that doesn’t get intense midday sun is perfect.
The “Secret Sauce” (Pro Tips)
- Bottom Heat is Your Friend: While not strictly essential for Berberis alpina, if you happen to have a heat mat for seedlings, placing your pots on it can significantly speed up rooting. It mimics the warmth of summer soil and encourages root development from below.
- Don’t Overwater, But Keep it Moist: It’s a delicate balance. You want the soil to be consistently moist, but not soggy. Soggy soil is an invitation for rot. I often check the moisture level by gently pressing the soil. If it springs back a little, it’s good. If it feels waterlogged, you might need to improve drainage or air circulation.
- Air Them Out: At least once a day, lift the plastic bag or open the propagator for a few minutes. This allows for fresh air circulation and helps prevent fungal diseases from setting in.
Aftercare & Troubleshooting
Once your cuttings have taken root – you’ll know because you’ll see new growth emerging from the top, or you can gently tug on the cutting and feel resistance – it’s time to gradually acclimatize them.
Once you see those signs of life, slowly reduce the humidity over a week or two. This means lifting the plastic bag for longer periods or opening the propagator more frequently.
When the new plants are strong enough to handle it (usually after a few weeks of hardening off), you can transplant them into individual, slightly larger pots. Use a good quality potting mix and water them thoroughly. Keep them in a sheltered location and continue to water regularly.
The most common sign of failure is rot. If your cuttings turn black and mushy, it’s usually a sign of too much moisture and not enough air circulation. Don’t be discouraged if you lose a few; it happens to all of us! Just try again, perhaps adjusting your watering or humidity levels.
A Little Patience Goes a Long Way
Propagating plants is a wonderful way to connect with nature and build your garden. Be patient, observe your cuttings, and enjoy the process. You might be surprised at how many new Alpine Barberries you can create! Happy gardening!
Resource:
https://identify.plantnet.org/k-world-flora/species/Berberis%20alpina%20Zamudio/data