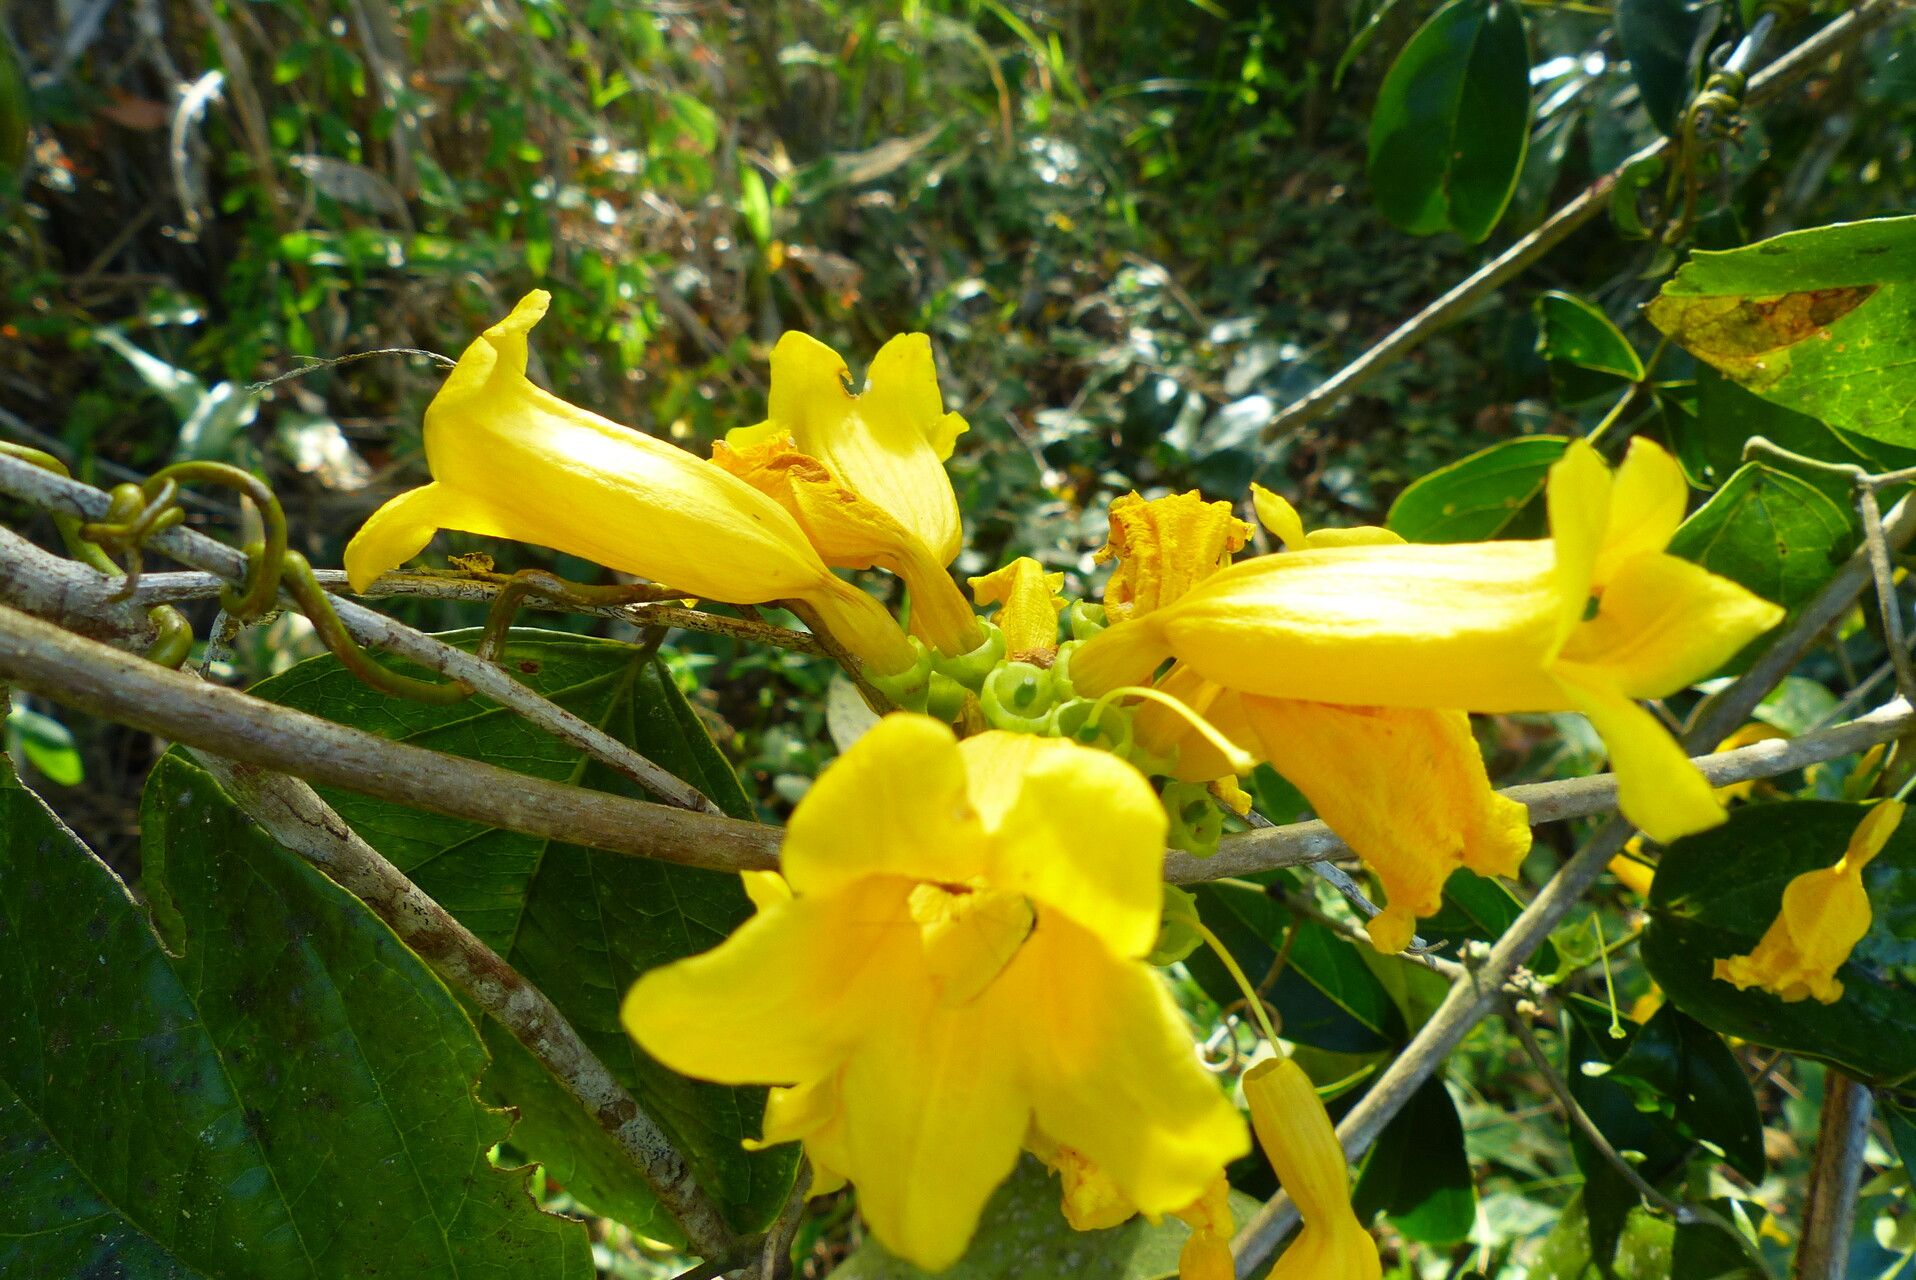
Oh, hello there! Pull up a chair. Let’s chat about one of my absolute favorite tropical beauties: Adenocalymma marginatum. You know, the one with those gorgeous, cheerful yellow trumpet flowers that seem to just explode with sunshine? It’s a real showstopper, and honestly, one of the most rewarding plants to bring into the world yourself. If you’re looking for a little gardening magic, propagating this gem is a fantastic place to start. And guess what? It’s quite forgiving, even for those who are just dipping their toes into the world of plant propagation.
The Best Time to Start
For Adenocalymma marginatum, spring and early summer are your golden ticket. Think of it as when the plant is really kicking into high gear, full of fresh, vibrant growth. This is when cuttings will have the most energy to put into forming those lovely roots. You can also have success with softwood cuttings in late spring or semi-hardwood cuttings in mid-summer, but truly, the earlier you start, the better.
Supplies You’ll Need
Here’s what I always have on hand when I’m getting ready to propagate:
- Sharp Pruning Shears or a Clean Knife: You want to make clean cuts, not squish the stems.
- Rooting Hormone (Optional but Recommended): This is a little boost for your cuttings, helping them along. I prefer powders or gels.
- Well-Draining Potting Mix: A good blend of perlite or vermiculite mixed with a standard potting soil works wonders. You can also find specific propagation mixes.
- Small Pots or Seedling Trays: Clean ones are a must to avoid any funky business.
- Plastic Bag or Clear Dome: This creates a mini-greenhouse effect, keeping humidity high.
- Watering Can with a Fine Rose: Gentle watering is key.
- Labels and a Marker: Trust me, you’ll thank yourself later!
Propagation Methods
I find Adenocalymma marginatum is happiest when propagated from stem cuttings. It’s straightforward and usually gives excellent results.
- Take Your Cuttings: Look for healthy, non-flowering stems that are about 6-8 inches long. Using your clean shears, make a clean cut just below a leaf node (where a leaf attaches to the stem). Remove the lower leaves, leaving just a couple at the top.
- Prepare the Cuttings: This is where the rooting hormone comes in. Dip the cut end of the stem into your rooting hormone, tapping off any excess.
- Plant Your Cuttings: Fill your small pots with your prepared potting mix. Make a hole in the center with your finger or a pencil, then gently insert the treated end of your cutting. Firm the soil gently around the stem. I usually aim for 2-3 cuttings per pot to increase your chances.
- Water Gently: Water the soil lightly but thoroughly until you see a little bit draining from the bottom of the pot.
- Create a Humid Environment: Place your pots inside a clear plastic bag (make sure the bag isn’t touching the leaves, you can use stakes to prop it up) or cover them with a clear dome. This is crucial for keeping humidity high, which is what those cuttings are craving.
- Provide Light and Warmth: Place your pots in a bright spot, but out of direct sunlight. They also appreciate a little warmth. If your home tends to be on the cooler side, bottom heat can be a game-changer. A propagation mat is fantastic for this.
The “Secret Sauce” (Pro Tips)
Here are a couple of things I’ve learned that make a real difference:
- Don’t Let the Leaves Touch the Water (If Water Propagating): While I primarily advocate for soil propagation for Adenocalymma, if you do decide to try water, it’s vital that the leaves stay above the water line. Submerged leaves will just rot, and that’s the last thing you want for your hopeful new plant.
- Bottom Heat is Your Friend: Seriously, if you’re struggling with slow rooting, adding a gentle bottom heat source can dramatically speed things up. It mimics the conditions of spring soil, giving your cuttings that extra encouragement.
- Use the Right Soil Mix: Don’t skimp on the drainage! Adenocalymma cuttings hate sitting in soggy soil. A good mix with plenty of perlite or vermiculite will prevent dreaded rot.
Aftercare & Troubleshooting
Once your cuttings have developed a good root system – you’ll know when you gently tug on the stem and feel resistance, or if you see roots peeking out the bottom of the pot – it’s time to give them a little more space. Gently transplant them into individual pots with a slightly richer potting mix. Continue to keep them in bright, indirect light and water when the top inch of soil feels dry.
Keep an eye out for signs of trouble. The most common issue is rot, which usually happens if the soil is too wet or doesn’t drain well. You’ll see the stem turning mushy and black. If you spot this, sadly, it’s usually too late for that cutting. Another sign of failure is if the leaves start to yellow and drop off without any new growth appearing after several weeks. This could mean it’s not getting enough light, or perhaps the humidity dropped too low.
A Encouraging Closing
Propagating plants is a journey of patience and a little bit of wonder. Don’t be discouraged if not every cutting makes it. Just keep trying! Each little sprout that takes root is a testament to your nurturing touch. Enjoy the process, celebrate your successes, and soon you’ll have a whole collection of these cheerful trumpet vines to share with friends. Happy propagating!
Resource:
https://identify.plantnet.org/k-world-flora/species/Adenocalymma%20marginatum%20(Cham.)%20DC./data