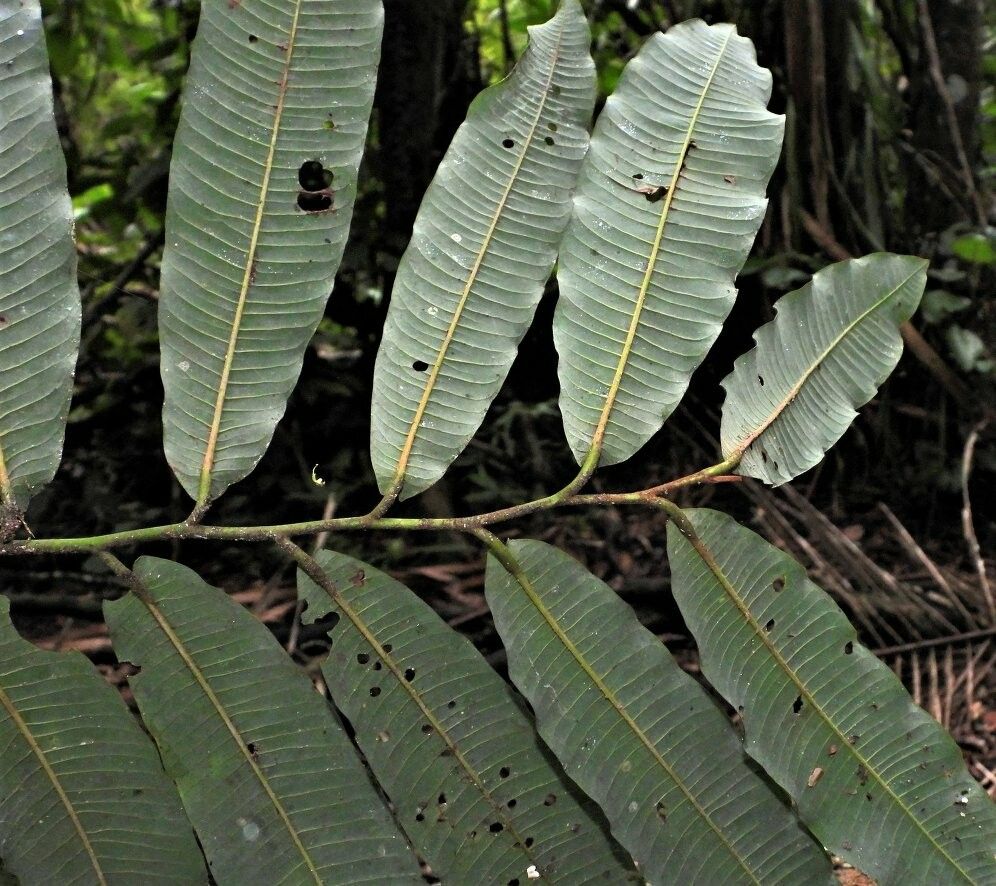
Hello fellow green thumbs! Today, we’re diving into the wonderful world of Virola flexuosa. If you’ve ever marveled at its beautiful, often striking foliage and wondered how to bring more of that green goodness into your life, you’re in the right place. Propagating plants is one of my absolute favorite gardening joys – it’s like creating little leafy miracles right in your own home. Virola flexuosa can be a little bit of a patient gardener’s plant, not the absolute easiest for a complete beginner, but with a bit of know-how and a dash of perseverance, it’s incredibly rewarding.
The Best Time to Start
For Virola flexuosa, your best bet is to start propagation in the spring or early summer. This is when the plant is actively growing and has the most energy to put into developing new roots. You’re looking for healthy, vibrant new growth – usually a stem or branch that’s showing good vigor, not old, woody material.
Supplies You’ll Need
Here’s a handy list of what you’ll want to gather:
- Sharp pruning shears or a clean knife: For making clean cuts.
- Rooting hormone: This isn’t strictly essential for every plant, but it really boosts your success rate with fussier propagators like Virola. Look for a powdered or gel type.
- Well-draining potting mix: A good blend of peat moss, perlite, and a bit of compost works wonders. You can also use a dedicated orchid mix or a seedling starter.
- Small pots or trays: With drainage holes, of course!
- Plastic bags or a propagation dome: To create a humid environment.
- Watering can or spray bottle: For gentle watering.
- Optional: Heating mat: For bottom heat, which I’ll tell you more about later.
Propagation Methods: Let’s Get Our Hands Dirty!
The most effective way to propagate Virola flexuosa is through stem cuttings. It’s a tried-and-true method that gives you the best chance of success.
Stem Cuttings:
- Select your cutting: Look for a healthy, semi-hardwood stem that’s about 6-8 inches long. It should have at least a few sets of leaves. Avoid flowering stems.
- Make the cut: Using your sharp pruning shears or a clean knife, make a cut right below a leaf node (where a leaf attaches to the stem). This is a key area where roots love to form.
- Prepare the cutting: Gently remove the lower leaves from the cutting, leaving only the top 2-3 sets. This prevents them from rotting in the soil.
- Apply rooting hormone: Dip the cut end of the stem into your rooting hormone, making sure it’s evenly coated. Tap off any excess.
- Plant your cutting: Fill your small pot or tray with your well-draining potting mix. Make a small hole in the center with your finger or a pencil.
- Insert the cutting: Carefully place the prepared cutting into the hole, ensuring the leaf nodes that were removed are below the soil line. Gently firm the soil around the stem to hold it in place.
- Mist and cover: Mist the soil lightly and then cover the pot or tray with a plastic bag or propagation dome. This creates the humid microclimate that cuttings crave. Make sure the leaves aren’t touching the plastic if possible – you can use stakes to prop it up.
The “Secret Sauce” (Pro Tips)
Now for a couple of my favorite tricks that often make all the difference:
- Bottom heat is your friend! If you can, place your potted cuttings on a gentle heating mat. This mimics the warmth of spring soil and significantly encourages root development. You don’t want it too hot, just a cozy warmth.
- Don’t overwater! It’s tempting to keep things super wet, but soggy soil is the enemy of cuttings. Let the surface of the soil dry out slightly between light waterings. You’ll learn to recognize what ‘just moist’ feels like.
- Consider a foliar spray. Once your cuttings are rooted and you’ve removed the dome, a dilute liquid fertilizer spray on the leaves can give them a nice boost.
Aftercare & Troubleshooting
Once you start seeing new leaf growth, that’s a fantastic sign! It means roots are forming.
- Gradual acclimatization: Once you see that new growth, start slowly introducing your new little Virola to normal room conditions. Gradually open the plastic bag or dome for longer periods each day over a week or two.
- Transplanting: When your cutting has a strong root system (you can gently check by giving the pot a little tug – if there’s resistance, it’s rooted!), it’s time to transplant it into a slightly larger pot with fresh potting mix.
- Signs of trouble: The most common issue is rot. If your cutting looks mushy, black, or has an unpleasant smell, it’s likely rotted. This usually means the soil was too wet, or it didn’t have enough airflow. Don’t despair; just try again!
A Little Patience Goes a Long Way
There you have it! Propagating Virola flexuosa can be a journey, but watching those first tiny roots emerge and then new leaves unfurl is pure magic. Be patient, enjoy the process, and celebrate each small victory. Happy propagating!
Resource:
https://identify.plantnet.org/k-world-flora/species/Virola%20flexuosa%20A.C.Sm./data