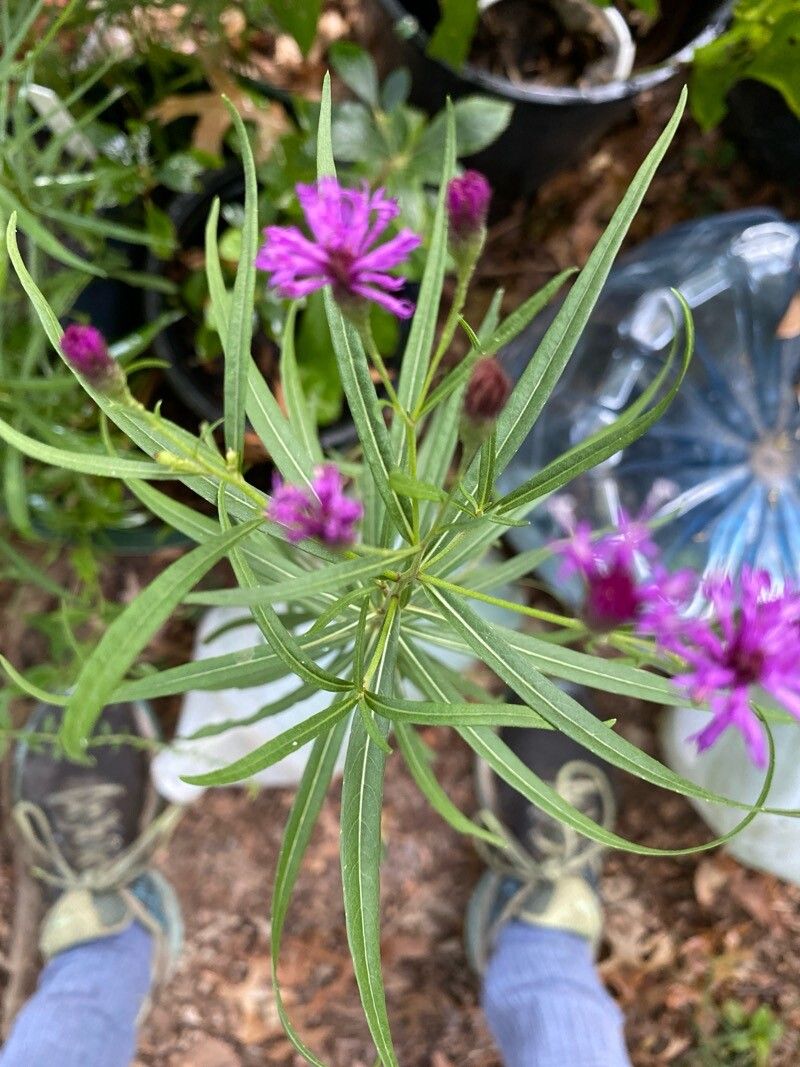
Oh, Vernonia angustifolia! Isn’t she a beauty? I just adore those delicate, starry purple blooms that seem to shimmer in the late summer sun. They bring such a wonderful burst of color and a touch of wild charm to any garden. Plus, learning to propagate them yourself? It’s incredibly satisfying. You get to create more of these lovely plants, share them with friends (or just keep them all for yourself!), and truly connect with their growth cycle. Honestly, I’d say this one is quite approachable for beginners. You’ll be a pro in no time!
The Best Time to Start
When it comes to getting the best bang for your buck with propagation, timing is everything. For Vernonia angustifolia, I find that late spring to early summer is absolutely perfect. This is when the plant is actively growing, boasting vigorous young stems that are full of life and ready to root. Waiting until after the initial flush of spring growth gives you nice, pliable shoots to work with.
Supplies You’ll Need
Before we dive in, let’s gather our tools:
- Sharp pruning shears or a clean, sharp knife: For making precise cuts.
- Rooting hormone powder or gel: This is a game-changer for encouraging root development.
- Small pots or propagation trays: With good drainage holes.
- A well-draining potting mix: I like a blend of equal parts peat moss or coco coir and perlite. Some add a bit of coarse sand too.
- A spray bottle with water: For misting.
- Plastic bags or a propagator lid: To create a humid environment.
- Optional: Bottom heat mat: Especially helpful if your home is a little cool.
Propagation Methods: Let’s Get Our Hands Dirty!
We’ll focus on the most reliable method for Vernonia angustifolia: stem cuttings.
- Take Your Cuttings: Select healthy, non-flowering stems from your mature plant. Look for stems that are about 4-6 inches long. The best stems are often those that are soft and green at the tip, hardening slightly but not woody at the base. Using your clean shears or knife, make a clean cut just below a leaf node (where a leaf emerges from the stem).
- Prepare the Cuttings: Gently remove the leaves from the lower half of the cutting. Pinching off the very top leaves can also help the plant focus its energy on rooting.
- Apply Rooting Hormone: Dip the cut end of each stem into your chosen rooting hormone. Give it a gentle tap to shake off any excess. This step is like giving your cutting a little boost to start its root-building journey.
- Plant Your Cuttings: Fill your small pots or trays with your well-draining potting mix. Make a pilot hole with your finger or a pencil. Insert the treated end of the cutting into the hole, ensuring at least one leaf node is buried beneath the surface. Gently firm the soil around the cutting.
- Create a Humid Environment: Water the soil lightly to settle it around the cuttings. Then, cover the pots with a plastic bag or a propagator lid. This traps moisture and humidity, which is crucial for cuttings to root. You can use a rubber band to secure the bag around the rim of the pot.
- Provide Light and Warmth: Place the pots in a bright location, but out of direct sunlight. A bright windowsill is usually perfect. If you have a bottom heat mat, now’s the time to use it! Place the pots on it to provide gentle warmth from below.
The “Secret Sauce” (Pro Tips)
Over the years, I’ve learned a few tricks that really make a difference:
- Don’t Let Those Leaves Touch the Water! If you’re tempted to try water propagation (which can work, though I prefer soil for this one), make sure none of the leaves are submerged. They’ll just rot. Only the stem should be in the water.
- Bottom Heat is Your Best Friend: If your propagation attempts have been a bit hit-or-miss, I highly recommend investing in a small bottom heat mat. The consistent, gentle warmth from below makes a monumental difference in encouraging roots to form quickly and healthily. It keeps the soil at the perfect temperature, even if your room is a bit cool.
- A Gentle Misting is Key: While you want humidity, you don’t want water sitting on the leaves all the time, which can encourage fungal issues. Mist your cuttings lightly with your spray bottle every day or two, especially if you don’t have a propagator lid. Just enough to keep the leaves looking turgid and happy.
Aftercare & Troubleshooting
Once you start seeing new leaf growth, that’s a good sign that roots are developing! You can gently tug on a cutting – if there’s resistance, roots have formed. It usually takes anywhere from 3-6 weeks to see roots.
Once roots are established, you can gradually acclimate your new plants to normal humidity. Remove the plastic bag or propagator lid for increasing periods each day. Once they’re strong enough to handle, carefully transplant them into slightly larger pots with fresh potting mix. Continue to water them regularly, but allow the soil to dry out slightly between waterings.
Now, about troubleshooting. The most common sign of failure is rotting. If your cuttings look mushy, black, or just generally unhealthy, it’s usually a sign of too much moisture and not enough airflow. Make sure your soil is draining well and you’re not overwatering. If you see signs of mold, improve air circulation and remove any affected parts immediately. Don’t be discouraged if a few don’t make it; it’s a learning process!
And there you have it! Go forth and multiply your Vernonia angustifolia. Be patient with your little green babies, watch them grow, and enjoy the magic of creating life from a simple stem. Happy gardening!
Resource:
https://identify.plantnet.org/k-world-flora/species/Vernonia%20angustifolia%20Michx./data