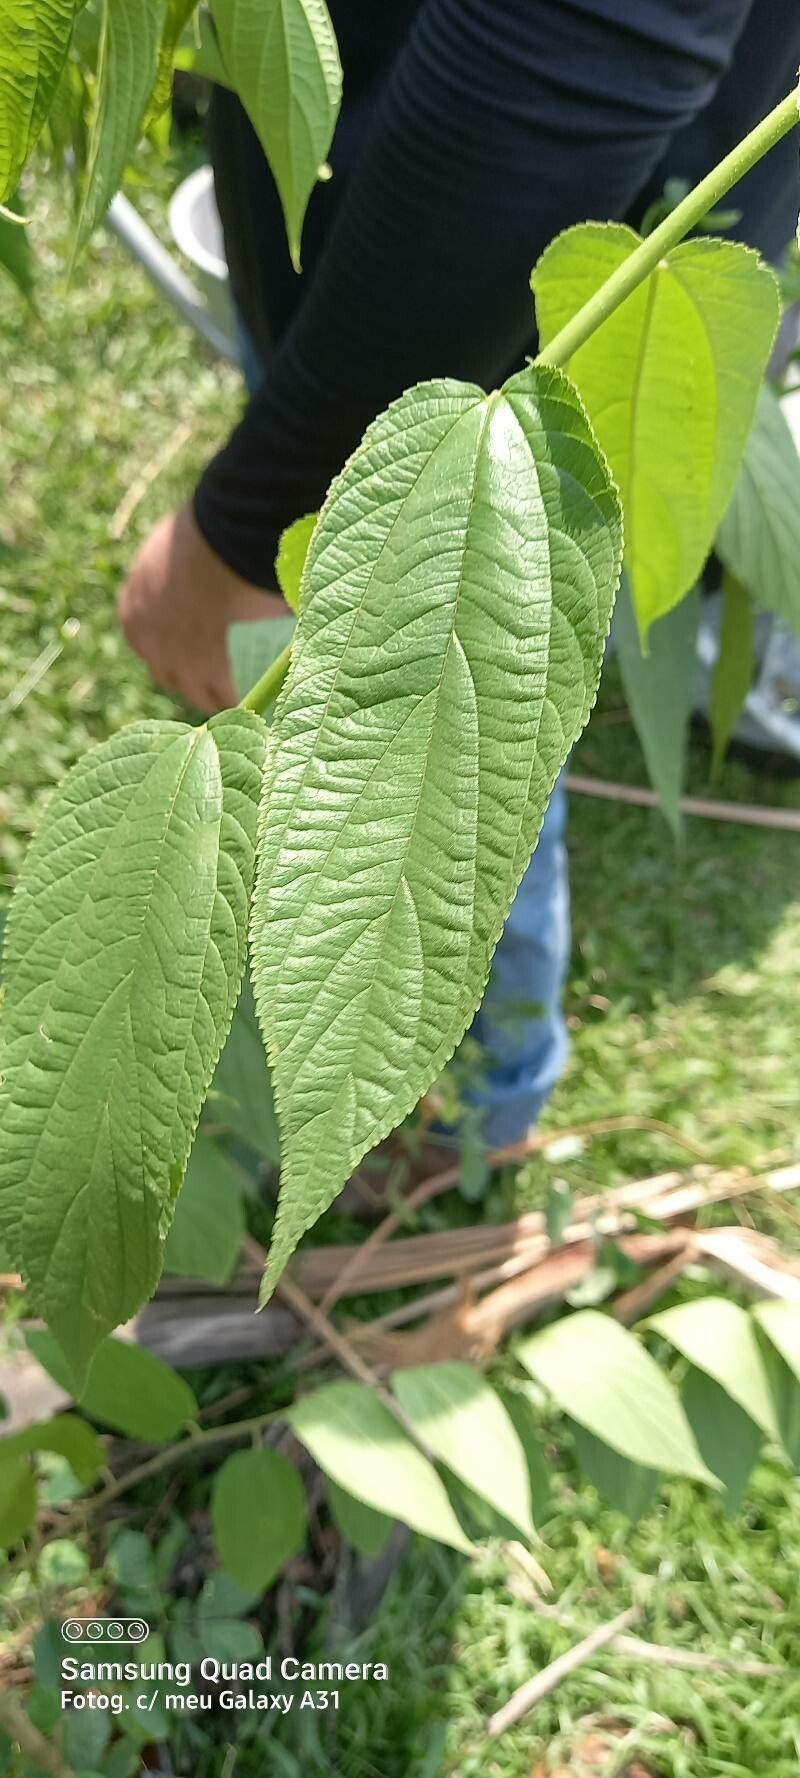
Oh, hello there! Pull up a chair, let’s chat about growing more of that lovely Trema micranthum. If you’ve ever admired its airy, delicate foliage and the way it seems to dance in the breeze, you’re not alone. I’ve been working with plants for two decades now, and Trema has a special charm. It’s a relatively fast-growing native species, often found in disturbed areas, and getting more of it for your own garden or to share is incredibly satisfying. For beginners, I’d say propagating Trema is moderately easy. It’s not as foolproof as, say, a spider plant, but with a little attention, you’ll be successful.
When to Get Your Hands Dirty
The sweet spot for striking Trema cuttings is definitely during its active growing season. Think late spring through summer. This is when the plant has plenty of energy to put into new growth, and those cuttings are more likely to root. Avoid trying this when the plant is stressed from extreme heat or during dormancy.
What You’ll Want to Gather
When I’m prepping for a propagation session, I make sure I have these things on hand:
- Sharp Pruning Shears or a Craft Knife: Cleanliness is key to prevent disease transfer.
- Rooting Hormone (Optional but Recommended): A powder or gel can give your cuttings a real boost.
- Well-Draining Potting Mix: I like a blend of peat moss, perlite, and a bit of compost. Or, a commercial seedling mix works well.
- Small Pots or Seedling Trays: Clean recycled containers are my go-to.
- Plastic Bags or a Mini Greenhouse: To maintain humidity around your cuttings.
- Water: For a quick dip of cuttings and for misting.
Let’s Get Propagating!
There are a couple of tried-and-true ways to get more Trema. I find the simplest method is often by stem cuttings.
- Select Your Cuttings: Look for healthy, non-flowering stems on your mature Trema plant. You want stems that are supple but not brand new, soft growth. Aim for cuttings that are about 4-6 inches long.
- Make the Cut: Using your clean shears or knife, make a clean, angled cut just below a leaf node. This is where roots are most likely to form.
- Prepare the Cutting: Gently remove the lower leaves, leaving just a few at the top. If you have any blooms or developing seed pods, pinch those off too.
- Dip in Hormone (If Using): Lightly dip the cut end of the stem into your rooting hormone. Tap off any excess.
- Planting the Cuttings: Insert the cut end about an inch deep into your pre-moistened potting mix. Gently firm the soil around the stem.
- Create a Humid Environment: Water gently, then cover the pot with a plastic bag, propped up with a stick so it doesn’t touch the leaves. You can also use a clear plastic dome or place the pot in a propagator.
My Little “Secret Sauce”
Over the years, I’ve picked up a few tricks that seem to make all the difference.
- The Water Dip Trick: Before I put cuttings into soil, I sometimes give the cut end a quick dip in plain water. This helps the rooting hormone adhere better and also rinses away any excess that might inhibit rooting.
- Bottom Heat is Your Friend: If you have a heat mat designed for seedlings, great! Placing your pots on one can significantly speed up root development. Trema likes warmth, so giving its base a gentle warmth really encourages things to get moving.
Aftercare and What to Watch For
Once your cuttings are in their cozy, humid environment, patience is key.
- Keep it Moist: The soil should remain consistently moist but not waterlogged. Mist the inside of the plastic bag or dome occasionally if the soil surface looks dry.
- Check for Roots: After a few weeks, you can gently tug on a cutting. If you feel resistance, it’s a good sign roots are forming. You might also see new leaf growth.
- Transitioning: Once you’re confident your cuttings have a good root system, gradually introduce them to drier air. Remove the plastic for longer periods each day over a week or so.
- Troubleshooting: The most common issue is rot. If you see stems turning mushy and black, it’s usually a sign of overwatering or poor drainage. Unfortunately, there’s often not much you can do to save a rotting cutting. Prevention is key here – ensure excellent drainage and avoid overwatering. Another sign of failure is simply a cutting that never roots and eventually dries out. Don’t take it personally; some simply don’t make it.
Happy propagating! Don’t be discouraged if your first few attempts aren’t perfect. Every gardener learns through doing, and the joy of seeing a tiny cutting transform into a new plant is truly special. Enjoy the process, and before you know it, you’ll have a whole collection of Trema micranthum to admire!
Resource:
https://identify.plantnet.org/k-world-flora/species/Trema%20micranthum%20(L.)%20Blume/data