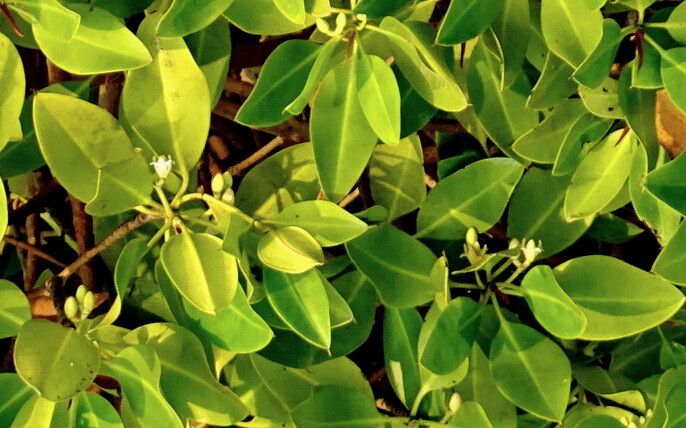
Well hello there, fellow plant lovers! It’s so lovely to have you join me today. We’re diving into the wonderful world of Rhizophora mucronata, often called the Narrow-leaved Mangrove. If you’re looking for a plant that brings a touch of the exotic and a whole lot of resilience to your home, you’ve come to the right place. Their silvery-green leaves and unique aerial roots are just captivating. Propagating them can be incredibly satisfying, a real testament to nature’s ingenuity. Now, I’ll be honest, Rhizophora isn’t always the easiest for absolute beginners. It has its own rhythm and specific needs, but with a little know-how and patience, you can absolutely succeed!
The Best Time to Start
For the highest success rate with Rhizophora mucronata, I find that spring through early summer is your golden window. This is when the plant is actively growing and has the most energy reserves to put into developing new roots. You’ll want to take cuttings from healthy, mature stems that are neither too young and spindly nor too old and woody. Look for stems that have a bit of flexibility, not completely rigid.
Supplies You’ll Need
Gathering your supplies beforehand makes the whole process smoother. Here’s what I usually have on hand:
- Sharp Pruning Shears or a Blade: Make sure they are clean to prevent disease.
- Rooting Hormone (Optional but Recommended): A powder or liquid formulation can give your cuttings a helpful boost.
- Well-Draining Potting Mix: I love a blend of coarse sand, perlite, and a good quality peat-free potting compost. Mangroves don’t like soggy feet!
- Small Pots or Trays: About 4-6 inches deep are perfect.
- Plastic Bags or a Propagator Lid: To create a humid environment.
- Spray Bottle: For misting.
- Labels and a Marker: Don’t forget to label your precious propagations!
Propagation Methods
Rhizophora mucronata is most commonly propagated by stem cuttings. This is your go-to method.
Stem Cuttings: Step-by-Step
- Select Your Cutting: Locate a healthy stem on your mature Rhizophora. You’re looking for a piece that’s about 6-10 inches long. Make sure it has at least two to three nodes (where leaves emerge from the stem).
- Make the Cut: Using your clean pruners or blade, make a clean cut just below a node. This is where the root initiation is most likely to occur.
- Prepare the Cutting: Gently remove the lower leaves from the cutting. You want to leave just one or two sets of leaves at the very top to help with photosynthesis. This prevents them from rotting in the soil or water.
- Apply Rooting Hormone (Optional): If you’re using rooting hormone, dip the cut end of the stem into the powder or liquid, tapping off any excess.
- Planting the Cutting: Fill your pot with your well-draining mix. Make a hole in the center with your finger or a pencil. Insert the cut end of the stem into the hole, ensuring at least one node is buried beneath the soil surface. Gently firm the soil around the cutting.
- Water and Cover: Water the pot thoroughly until water drains from the bottom. Then, place a plastic bag over the pot, creating a mini-greenhouse effect. You can secure it with a rubber band around the pot rim. Alternatively, use a propagator lid.
Water Propagation (Another Option):
While I lean towards soil propagation for Rhizophora for long-term success, you can try water.
- Follow steps 1-3 above.
- Place the prepared cutting in a jar or glass of clean, room-temperature water.
- Ensure that no leaves are touching the water. Only the submerged stem nodes should be in contact.
- Change the water every few days to keep it fresh and prevent bacterial growth.
- Once you see a good mass of roots (about an inch or two long), carefully transplant the cutting into your well-draining potting mix. Be gentle with those new roots!
The “Secret Sauce” (Pro Tips)
After years of fumbling and figuring things out, I’ve learned a few tricks that really seem to make a difference:
- Bottom Heat is Your Friend: Mangroves love warmth. If you can, place your pots on a heated propagator mat or in a warm spot in your home. This consistently warm temperature helps those roots develop much faster and more reliably.
- Don’t Be Afraid to Mist: Once you’ve got your cuttings potted and covered, lightly mist the leaves every day or two through the plastic. This helps maintain the high humidity they crave and keeps the leaves from drying out while they’re trying to root.
- Patience is Key with Nodes: When you’re taking cuttings, sometimes you might see tiny aerial root nubbins already forming on the main stem. This is a good sign! Just make sure you bury at least one node in the soil when you plant. Those are the powerhouses for root development.
Aftercare & Troubleshooting
Once you see new growth emerging from the top of your cutting – usually after 4-8 weeks, but sometimes longer – it’s a good sign roots are forming.
- Continue Humidity: Gradually reduce the humidity over a week or two by opening the bag or propagator lid a little more each day. This helps the new plant acclimatize to ambient conditions.
- Watering: Keep the soil consistently moist but not waterlogged. You’ll learn your plant’s rhythm. When the top inch of soil feels dry, it’s time to water.
- Light: Place your new propagations in a bright spot with indirect sunlight. Direct sun can scorch delicate new growth.
Now, what if things go wrong? The most common issue is rot. If your cutting turns mushy and black, it’s likely succumbed to rot. This is often due to too much moisture, poor drainage, or bacteria. Don’t despair! If you see this, remove the affected cutting immediately to prevent it from spreading. Just start again with a fresh cutting and ensure good drainage and air circulation. Fungal issues can also arise, so keeping your tools clean is crucial.
A Little Encouragement to Grow On
Propagating plants is a journey, not a race. It’s about observation, learning, and connecting with the natural world. Don’t get discouraged if your first attempt isn’t a roaring success. Every cutting, every plant, teaches you something new. Enjoy the process, celebrate every tiny sprout, and soon you’ll have a beautiful new Rhizophora mucronata to call your own. Happy propagating!
Resource:
https://identify.plantnet.org/k-world-flora/species/Rhizophora%20mucronata%20Poir./data