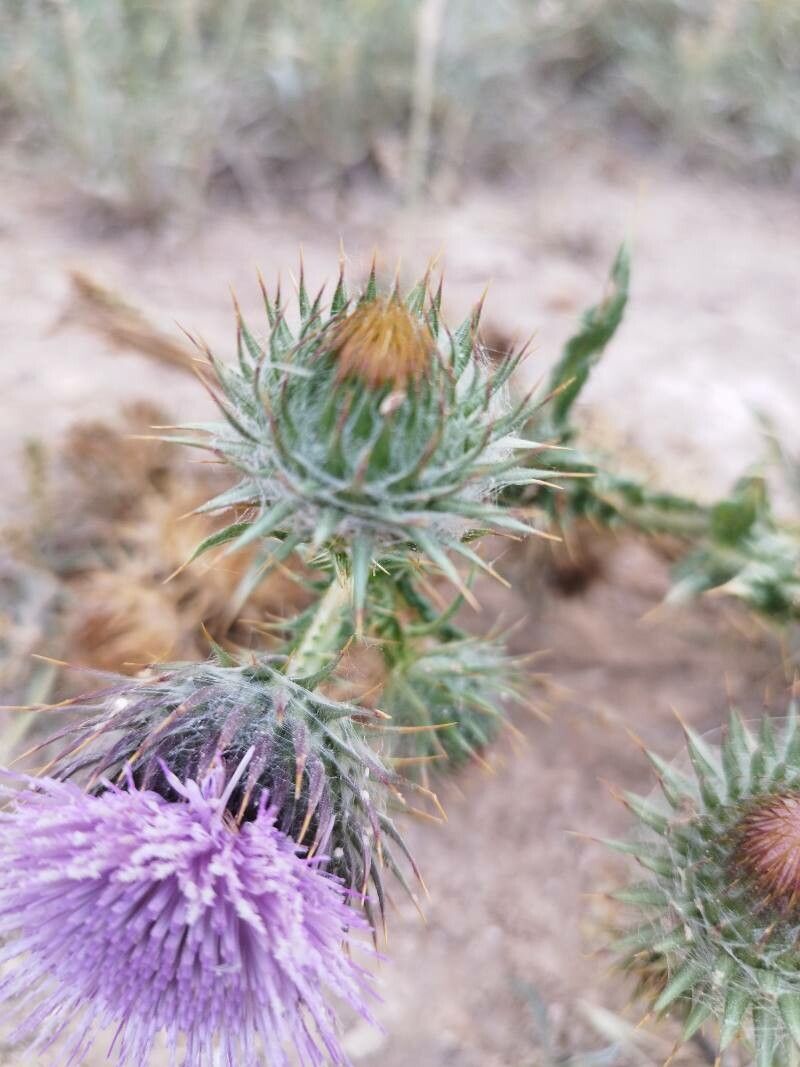
Hey there, fellow plant lovers! I’m so excited to dive into the world of Onopordum corymbosum with you today. This magnificent plant, often called a Scotch thistle, is a true showstopper in the garden. Its architectural spires of fuzzy, silver-grey leaves and striking purple flower heads command attention. And guess what? Growing more of these beauties from existing ones is surprisingly achievable. If you’ve ever admired these giants and wished you had more, you’re in the right place. Don’t be intimidated by their spiky appearance; propagating them is a very rewarding beginner-friendly process.
The Best Time to Start
For Onopordum corymbosum, the golden window for propagation is really when the plant is in its most vigorous phase. This typically means late spring to early summer. You’ll want to catch it either before it gets too tall and leggy, or just after flowering has finished. This gives the newly propagated pieces plenty of growing season to establish themselves.
Supplies You’ll Need
Getting your workspace ready is half the fun! Here’s what I always have on hand:
- Sharp pruning shears or a clean knife: For making those crucial cuts.
- Seedling trays or small pots: About 4-6 inches in diameter work well.
- Well-draining potting mix: I like to mix equal parts peat moss, perlite, and compost. This provides good aeration and nutrients.
- Rooting hormone (optional but recommended): Powder or gel forms are fine. It really gives cuttings a head start.
- Small watering can with a fine rose: To avoid disturbing your precious new plants.
- Labels and a marker: Trust me, you’ll thank yourself later!
- A small trowel or dibber: For making holes to place your cuttings.
Propagation Methods
Let’s get our hands dirty! The most straightforward way to multiply your Onopordum corymbosum is through stem cuttings.
- Select Your Source: Choose a healthy, non-flowering stem from a mature plant. Look for stems that are at least 6-8 inches long and have plenty of healthy leaves. Avoid any that look wilted or discolored.
- Make the Cut: Using your clean pruning shears or knife, make a clean cut just below a leaf node. A leaf node is that little bump where a leaf attaches to the stem. This is where roots are most likely to form.
- Prepare the Cutting: Gently remove the lower leaves from the cutting, leaving just the top 2-3 leaves. If the remaining leaves are quite large, you can even cut them in half horizontally to reduce water loss.
- Apply Rooting Hormone (Optional): Dip the cut end of the stem into your rooting hormone, tapping off any excess.
- Plant Them Up: Fill your pots or trays with your moistened, well-draining potting mix. Use your dibber or finger to make a hole big enough for the cut end. Carefully insert the cutting into the hole, making sure the leaf nodes are below the soil surface. Gently firm the soil around the base.
- Water Gently: Water thoroughly but gently, ensuring the soil is evenly moist.
The “Secret Sauce” (Pro Tips)
After coaxing bits of thistle from their parent, here are a few tidbits that have upped my success rate:
- Bottom Heat is Your Friend: For stem cuttings, I always pop them onto a heated propagator mat. This gentle warmth encourages root development from below, making a noticeable difference in speed and success.
- Mist, Don’t Drown: While you want moisture, I find that lightly misting the foliage of the cuttings daily, especially in the first few weeks, helps keep them hydrated without the risk of rot that can come from over-watering the soil.
- Think About Airflow: Good air circulation is key to preventing fungal issues on cuttings. If you’re using a propagator lid, propping it open slightly or removing it periodically for a few hours really helps.
Aftercare & Troubleshooting
Once you’ve planted your cuttings, the real magic begins!
Keep the pots in a bright location but out of direct, scorching sun. The goal is consistent moisture, not soggy soil. Water when the top inch of soil feels dry.
You’ll know your cuttings have rooted when you see new leaf growth. This can take anywhere from 3 to 6 weeks, sometimes longer. Gently tugging on a cutting; if there’s resistance, you’ve got roots!
The most common hiccup is rot. This usually happens if the soil stays too wet for too long, or if there’s not enough airflow. If you see your cutting looking limp and mushy, or the stem turning black at the soil line, sadly, it’s likely lost. Don’t despair; just try again with a fresh cutting and perhaps adjust your watering or airflow.
A Encouraging Closing
So there you have it! Propagating Onopordum corymbosum is a wonderful way to share these amazing plants or expand your own collection. Be patient with the process; nature does her best work on her own timeline. Enjoy the journey of nurturing these new lifeforms, and I can’t wait to see your magnificent thistles thriving!
Resource:
https://identify.plantnet.org/k-world-flora/species/Onopordum%20corymbosum%20Willk./data