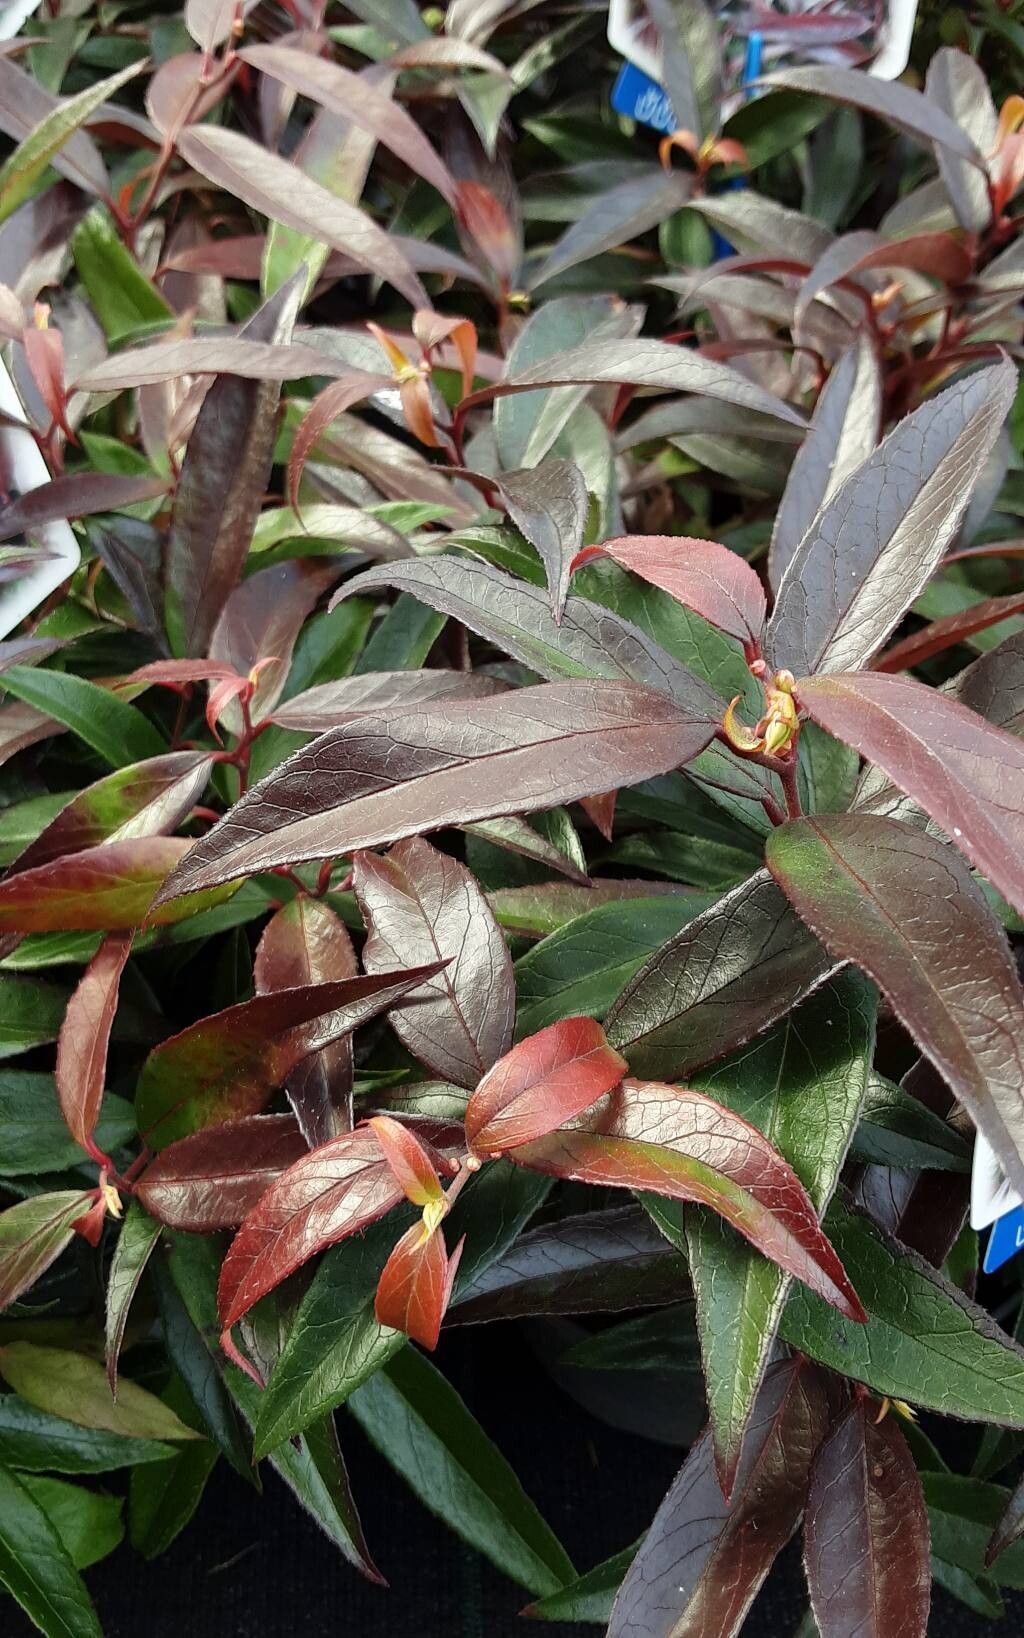
Oh, hello there! Come on in, grab a cuppa. I’m so glad you’re curious about propagating Leucothoe keiskei. It’s a truly lovely shrub, isn’t it? With its cascades of white bell-shaped flowers in spring and that beautiful, often glossy foliage, it really brings a touch of elegance to any shady corner. And the best part? It’s not nearly as tricky to multiply as you might think. In fact, I’ve found it to be a rather rewarding plant for even those just dipping their toes into the world of propagation.
The Best Time to Start
For Leucothoe keiskei, the sweet spot for taking cuttings is late spring to early summer. This is when the plant is actively growing, and you’ll find the new, vigorous shoots are most receptive to rooting. Think of it as taking advantage of the plant’s peak energy. You want to select stems that are no longer completely soft and floppy, but not yet woody and stiff. We’re looking for that perfect “semi-hardwood” stage.
Supplies You’ll Need
Gathering your supplies beforehand makes the whole process much smoother. Think of this as setting up your own little propagation station!
- Rooting Hormone Powder or Gel: This is a little boost to encourage root development.
- Sharp Pruning Shears or a Craft Knife: Clean cuts are crucial!
- Small Pots or Trays: For starting your cuttings. Ensure they have drainage holes.
- A Well-Draining Potting Mix: A 50/50 blend of perlite and peat moss or coco coir works wonders. Some gardeners also add a bit of horticultural sand to this mix.
- Plastic Bags or a Propagation Dome: This creates a humid environment for your cuttings.
- Watering Can or Spray Bottle: For gentle watering.
- Labels: To keep track of what you’ve planted!
Propagation Methods
I usually stick to the stem cutting method for Leucothoe keiskei, and I find it yields the best results. It’s straightforward, and with a little patience, you’ll have new plants in no time.
- Take Your Cuttings: In the late spring or early summer, select healthy, non-flowering shoots. Using your sharp pruning shears, take cuttings that are about 4-6 inches long. Try to make the cut just below a leaf node (where a leaf attaches to the stem).
- Prepare the Cuttings: Gently remove the lower leaves from the cutting, leaving just the top 2-3 leaves intact. If the remaining leaves are quite large, I sometimes like to cut them in half horizontally. This reduces water loss without sacrificing too much surface area.
- Apply Rooting Hormone: Dip the cut end of each stem into your rooting hormone. Tap off any excess – you don’t want clumps.
- Plant Your Cuttings: Fill your small pots or trays with your sterile potting mix. Make a small hole in the center with your finger or a pencil. Insert the coated end of the cutting into the hole, ensuring the leaf nodes where you removed leaves are below the soil surface. Gently firm the soil around the stem.
- Create a Humid Environment: Water the mix gently. Then, cover each pot loosely with a clear plastic bag, creating a mini-greenhouse effect. You can prop it up with a few stakes so the plastic doesn’t touch the leaves. If you’re using a tray, a propagation dome or a larger plastic bag over the entire tray works well.
The “Secret Sauce” (Pro Tips)
Here are a couple of tricks I’ve picked up over the years that really can make a difference:
- Bottom Heat is Your Friend: Many plants, including Leucothoe, root much faster and more successfully when their roots are kept warm. If you have one, placing your pots on a heated propagation mat can significantly speed up the process. It gives those little root initials a real nudge.
- Don’t Drown Them! While humidity is essential, soggy soil is the enemy of cuttings. Ensure your potting mix is well-aerated and dries out just a bit between waterings. Overwatering is a surefire way to invite rot and lose your precious cuttings. You want it moist, not waterlogged.
Aftercare & Troubleshooting
Once your cuttings are potted, place them in a bright, indirect light spot. Avoid direct sun, which can scorch the delicate leaves.
Keep an eye on the humidity. If the inside of your plastic bag seems dry, give it a light misting. Resist the urge to peek constantly, though!
You’ll know your cuttings are rooting when you see new leaf growth or feel a gentle resistance when you lightly tug on the stem. This usually takes anywhere from 4 to 8 weeks, sometimes longer depending on conditions.
The main thing to watch out for is rot. If you see stems turning black and mushy, or the leaves wilting and becoming slimy, it’s likely too much moisture or a lack of air circulation. Unfortunately, that cutting is probably a goner. Just remove it and try to improve drainage and ventilation for the others.
A Little Patience Goes a Long Way
Propagating plants is a journey, and like any good garden adventure, it requires a bit of patience. Don’t be discouraged if not every cutting takes. Celebrate the successes, learn from any setbacks, and just enjoy the process of nurturing new life. Before you know it, you’ll have a whole grove of beautiful Leucothoe keiskei to admire or even share! Happy propagating!
Resource:
https://identify.plantnet.org/k-world-flora/species/Leucothoe%20keiskei%20Miq./data