Cultivating Your Own Little Blue Gems: Propagating Gentianopsis thermalis
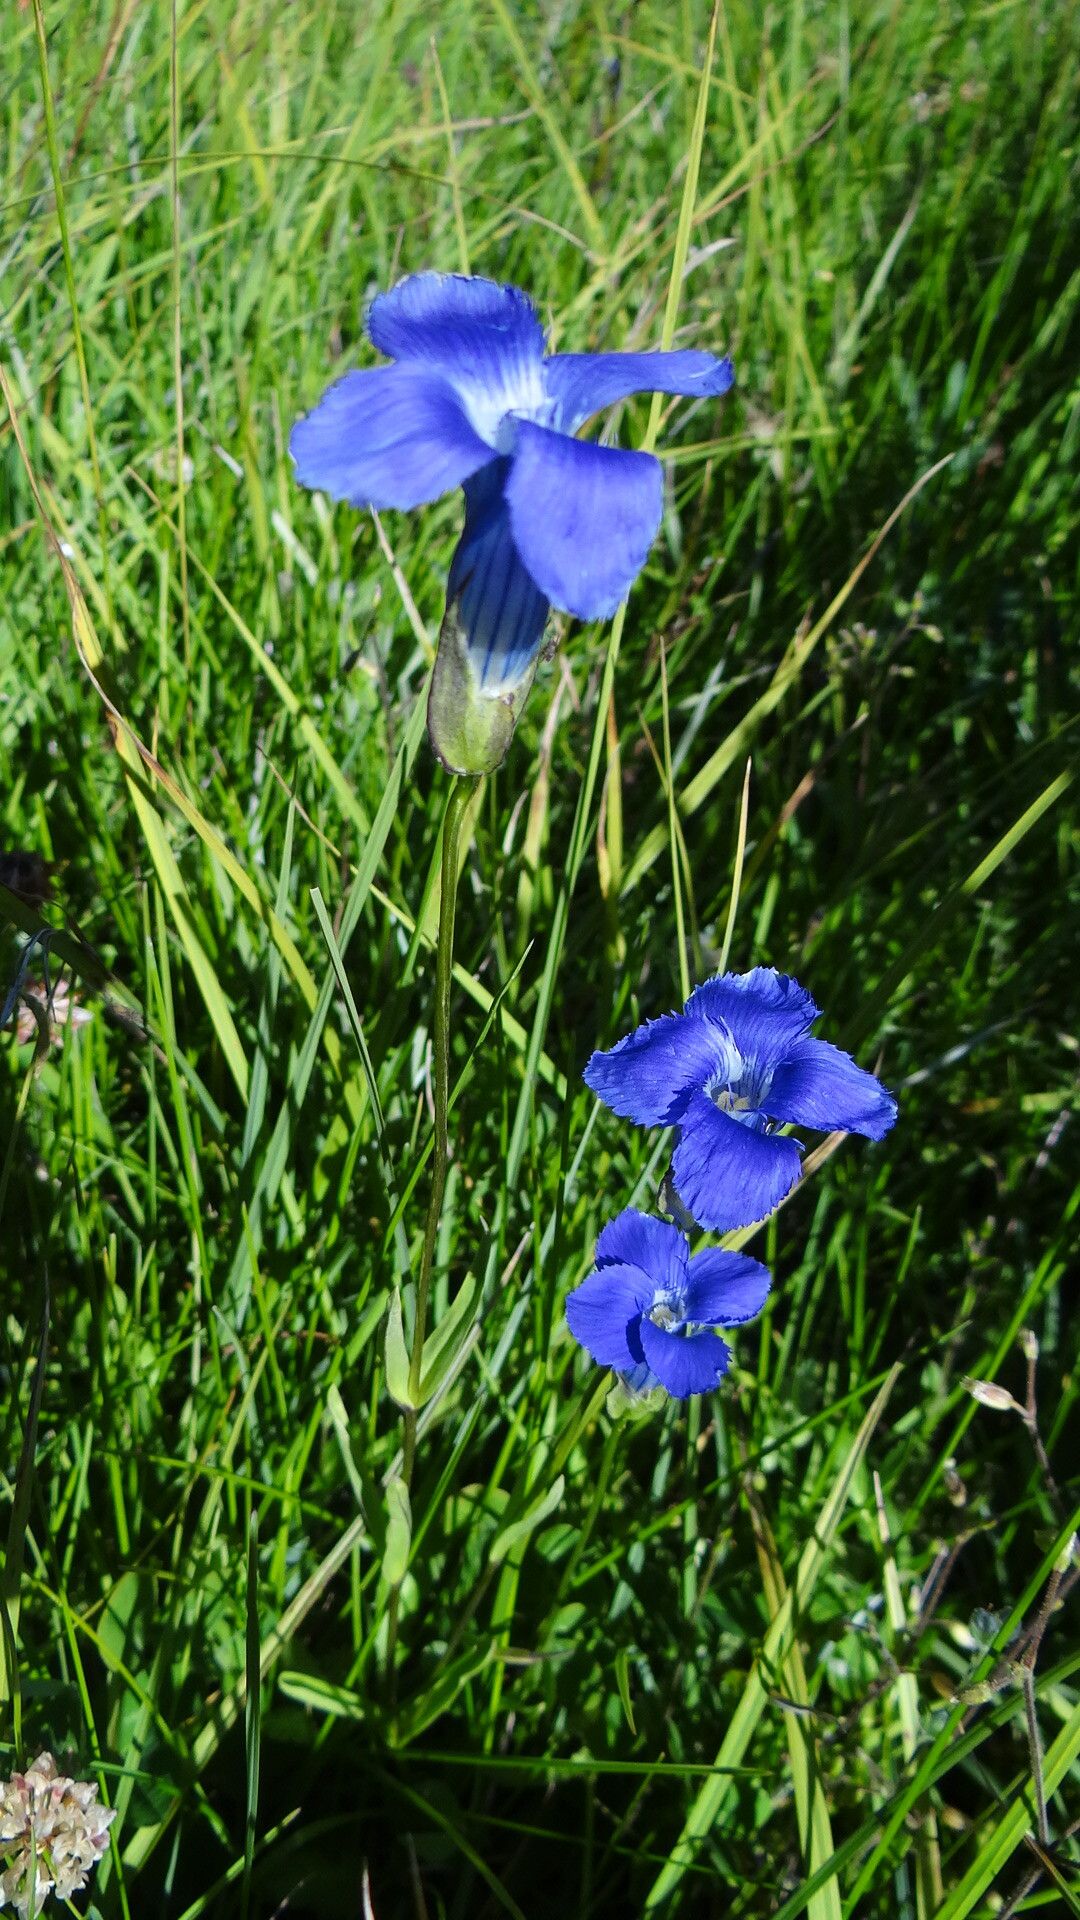
Oh, Gentianopsis thermalis, isn’t she a beauty? Those vibrant, trumpet-shaped blossoms of the most exquisite azure, nodding gently in the breeze – they just capture your heart, don’t they? I’ve been growing them for years, and there’s something incredibly satisfying about coaxing new life from a plant you already love. If you’re dreaming of a bit more of that cerulean magic in your garden, propagating them yourself is a wonderful way to go.
Now, between us, Gentianopsis thermalis can be a touch fussy. She’s not exactly the “set it and forget it” type of plant. But with a little care and attention, you can absolutely be successful. Don’t let that deter you; the reward is well worth the effort!
The Best Time to Start
My favorite time to get my hands dirty with Gentianopsis thermalis is right in the late spring to early summer. This is when the plant is actively growing and has plenty of energy to put into developing new roots. You’ll be looking for those lovely, sturdy stems that haven’t yet started to flower.
Supplies You’ll Need
Here’s what I like to have on hand before I begin:
- Sharp, clean pruning shears or a sharp knife: Crucial for clean cuts.
- A well-draining potting mix: I usually use a 50/50 blend of seed-starting mix and perlite. This ensures good aeration.
- Small pots or seed trays: Clean ones, of course!
- Rooting hormone (optional but recommended): A powdered or liquid hormone can give your cuttings a helpful boost.
- A watering can with a fine rose: For gentle watering.
- A clear plastic bag or dome: To create a humid environment.
- A pebble tray (optional): To help maintain humidity.
Propagation Methods: Let’s Get Rooting!
For Gentianopsis thermalis, the most reliable method I’ve found is stem cuttings. It’s tried and true, and when you get it right, it’s incredibly rewarding.
Stem Cuttings:
- Take Your Cuttings: Using your sharp shears or knife, select a healthy, non-flowering stem from a mature plant. Aim for cuttings that are about 3-4 inches long. Make your cut just below a leaf node (where a leaf attaches to the stem).
- Prepare the Cuttings: Gently remove the lower leaves from the cutting, leaving just a couple of leaves at the top. This helps prevent them from rotting in the soil.
- Apply Rooting Hormone (if using): Dip the cut end of the stem into your rooting hormone, tapping off any excess.
- Plant Your Cuttings: Fill your small pots or trays with your well-draining potting mix. Make a small hole in the center with your finger or a pencil. Insert the cut end of the stem into the hole, ensuring it makes good contact with the soil. Gently firm the soil around the stem.
- Water Gently: Water your cuttings thoroughly but gently, so as not to dislodge them. You want the soil to be moist but not waterlogged.
- Create Humidity: Cover the pots or trays with a clear plastic bag or a propagation dome. This traps moisture and creates the humid environment that cuttings need to form roots. I like to place the pots on a pebble tray filled with water, but make sure the pots aren’t sitting directly in the water.
- Provide Light and Warmth: Place your cuttings in a bright location, but avoid direct sunlight, which can scorch them. They appreciate warmth, so a spot where the temperature stays relatively consistent is ideal.
The “Secret Sauce” (Pro Tips)
Here are a few little tricks I’ve learned over the years that really seem to make a difference:
- Don’t let those top leaves touch the bottom of the plastic bag! If they are, it can encourage rot. You can use little stakes to prop up the bag if needed.
- Bottom heat is your friend! If you have a heat mat designed for seedlings, placing your pots on it can really speed up root formation. It mimics that lovely spring warmth that plants crave.
- Patience is key, but don’t forget to peek! While you want to leave them undisturbed as much as possible, every week or so, gently lift a cutting to check for roots. You’re looking for signs of resistance when you give it a tiny tug.
Aftercare & Troubleshooting
Once you see roots forming, which can take anywhere from 3-6 weeks depending on conditions, it’s time to transition them.
- Gradually remove the humidity cover. Start by taking it off for a few hours each day, then leave it off completely over a week. This helps your new little plants acclimatize to drier air.
- Continue to water gently, ensuring the soil stays consistently moist but never soggy.
- Wait until your cuttings have a good root system before you consider potting them up into larger containers. You’ll know they’re ready when they are starting to show new leaf growth.
Now, what if things don’t go as planned? The most common culprit is rot. If you notice your cuttings are turning mushy and black, it’s usually a sign of too much moisture and not enough air circulation. This is where that well-draining mix and good ventilation come in. Don’t be discouraged if a few don’t make it; it’s part of the process for any gardener.
Happy Propagating!
Seeing those tiny leaves emerge on a cutting you nurtured from scratch is truly a gardener’s joy. Be patient with your Gentianopsis thermalis, give them the right conditions, and you’ll be rewarded with a garden sparkling with their beautiful blue blooms before you know it. Enjoy the process, and happy gardening!
Resource:
https://identify.plantnet.org/k-world-flora/species/Gentianopsis%20thermalis%20(Kuntze)%20Iltis/data