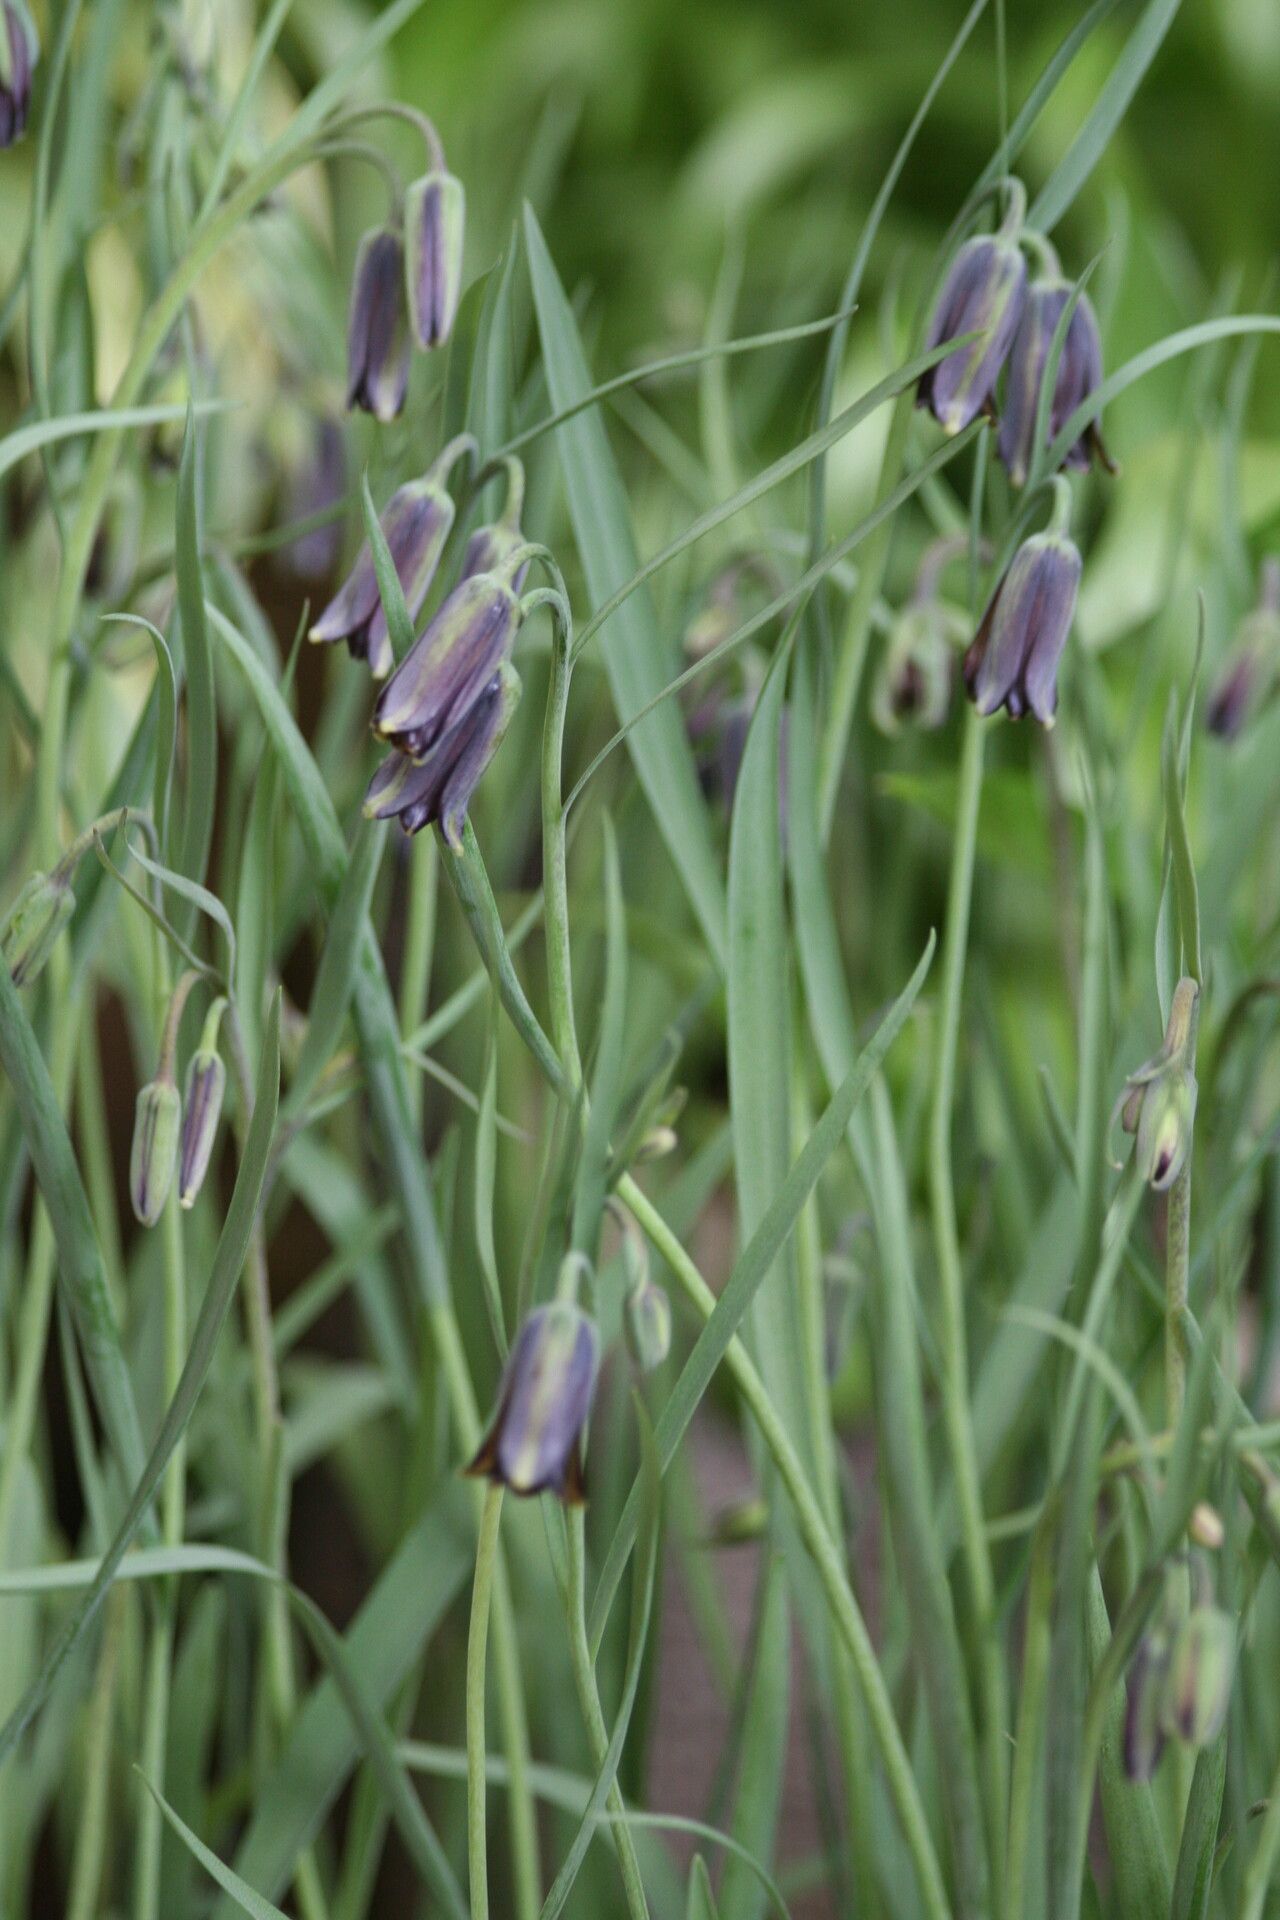
Oh, Fritillaria elwesii! Isn’t that one of the most charming little bulbs out there? Those delicate, bell-shaped flowers, often in shades of soft green and purple, have a way of peeking out just as winter’s grip loosens. They bring such a hopeful splash of color to the early spring garden. And the thought of coaxing more of them into existence? That’s a little gardening magic I’m always happy to share.
Now, if you’re new to the gardening world, I won’t sugarcoat it: Fritillaria elwesii can be a tad on the fussy side when it comes to propagation. It’s not the “stick it in the ground and forget it” type of plant for doubling your numbers. But don’t let that deter you! With a little care and understanding, it’s absolutely achievable and incredibly rewarding.
The Best Time to Start
The absolute sweet spot for propagating Fritillaria elwesii is late spring to early summer, right after the plant has finished flowering and its leaves are beginning to yellow and die back. This is the time when the bulb is actively storing energy and preparing for its dormant period. Trying to divide or take cuttings when it’s actively growing or just waking up from dormancy is much less likely to yield good results. Think of it as working with the plant when it’s naturally winding down its show and getting ready for a good rest.
Supplies You’ll Need
To give your Fritillaria elwesii the best chance at success, gather these goodies:
- Well-draining potting mix: A blend of equal parts potting soil, coarse sand, and perlite is perfect. If you can find a specific mix for bulbs or alpine plants, even better.
- Sharp pruning shears or a clean knife: For making precise cuts.
- Small pots or trays: Clean, with drainage holes, of course!
- A small watering can with a fine rose: For gentle watering.
- Optional: Rooting hormone: While not strictly necessary for division, it can be helpful for specific cutting types.
Propagation Methods
For Fritillaria elwesii, the most reliable method by far is division. While it’s technically possible to try from seed, that’s a project for the very patient (we’re talking years for blooms!). Let’s focus on the quicker wins.
Division: The Bulking Best Friend
- Wait for dormancy: As mentioned, this is crucial. Once the foliage has yellowed and dried, it’s time to gently unearth your Fritillaria.
- Careful excavation: Using your trowel or even your hands, carefully dig around the plant. You want to expose the bulb cluster without damaging any of the individual bulbs. They often grow in little clumps.
- Separate the bulbs: Gently tease apart the bulb offsets. They usually pull away fairly easily. If you encounter resistance, don’t force it; a clean knife can help you make a neat cut if needed. Look for bulbs that are roughly the size of a pea or larger. Tiny bulblets might not survive the initial separation.
- Inspect and replant: Check the bulbs for any signs of rot or disease. Discard any that look unhealthy. Now, here’s where you get to replant! You can put them back in their original spot in the garden, ensuring good drainage, or pot them up individually or in small groups. Bury them at about twice their depth.
The “Secret Sauce” (Pro Tips)
Here are a few little tricks I’ve learned over the years working with these lovely bulbs:
- Don’t let dormant bulbs dry out completely: While they need to be dormant, totally desiccating them can be fatal. I like to store them in slightly damp sphagnum moss in a cool, dark place until I’m ready to replant or pot them up.
- Bottom heat for curious cuttings (if you dare!): If you were to attempt stem cuttings (which is trickier with Fritillaria), providing a bit of bottom heat from a propagation mat can really encourage root development. But honestly, for elwesii, stick with division!
- Airflow is your friend: When you’re dividing, make sure the bulbs have plenty of air circulation. Mold can be their enemy, especially in humid conditions. Don’t pile them too tightly together right after division.
Aftercare & Troubleshooting
Once you’ve potted up your divisions, water them gently. It’s best to keep them in a bright spot but out of intense direct sun. Allow the soil to dry slightly between waterings. Overwatering is the cardinal sin for bulbs, and Fritillaria elwesii is no exception.
Of course, things don’t always go perfectly, right? The most common sign of trouble you’ll see is rot. If you notice a bulb turning mushy, brown, and smelly, it’s likely succumbed to moisture levels that were too high or poor drainage. Yellowing leaves on a newly planted bulb might just be it settling in, but if it feels soft and mushy, it’s probably not a good sign. If you see signs of rot, discard the affected bulb immediately and check the moisture levels of its neighbors.
A Encouraging Closing
Taking cuttings or dividing bulbs always feels like a leap of faith, doesn’t it? But with Fritillaria elwesii, your focus on timing and gentle handling will set you up for success. Be patient with your new little treasures; they’re working hard to establish themselves. Enjoy the process, and soon you’ll have even more of those exquisite bells gracing your garden! Happy propagating!
Resource:
https://identify.plantnet.org/k-world-flora/species/Fritillaria%20elwesii%20Boiss./data