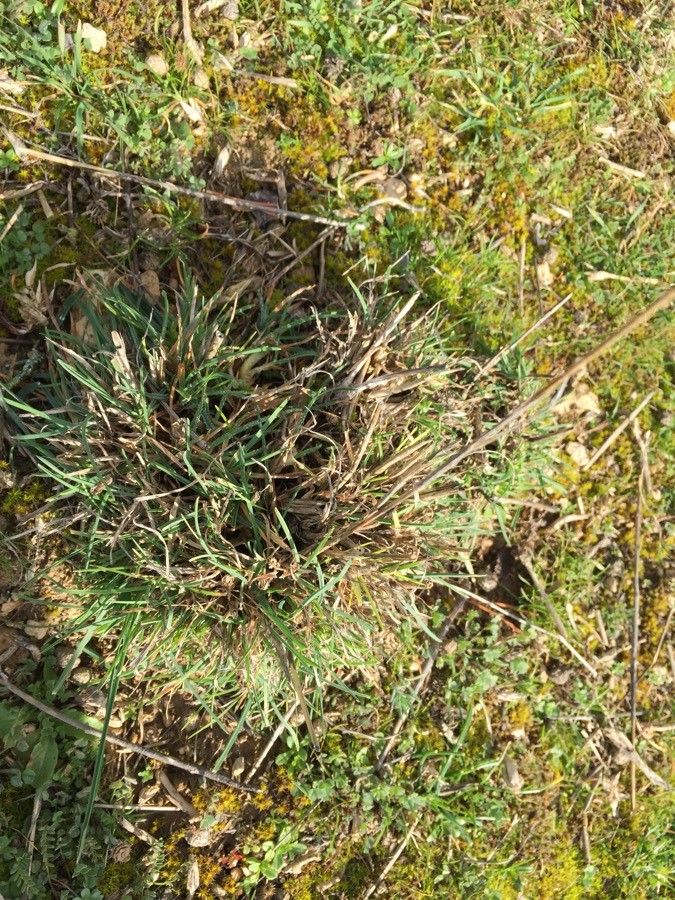
Hello there, fellow garden enthusiasts! I’m so delighted you’re here today to chat about a plant that’s truly captured my heart over the years: Festuca heteromalla. You might know it by its common name, the Tufted Hair Grass. If you’re looking for ornamental grass that brings a bit of wild, feathery charm without demanding a whole lot of fuss, this is your gal. Its delicate, arching blades create such a lovely texture in the garden, like soft waves in a gentle breeze. And the best part? Propagating it is a incredibly rewarding experience! Whether you’re a seasoned pro or just dipping your toes into the wonderful world of plant propagation, you’ll find Festuca heteromalla to be a forgiving and delightful subject.
The Best Time to Start
For the highest success rate with Festuca heteromalla, I always recommend working with it in the late spring or early summer. This is when the plant is actively growing and has plenty of energy to put into developing new roots. You’ll want to select a healthy, established clump that’s showing vigorous new growth. Trying to propagate when the plant is stressed, perhaps due to extreme heat or cold, will only make your job harder.
Supplies You’ll Need
Gathering your supplies beforehand makes the whole process so much smoother. Here’s what I usually have on hand:
- Sharp pruning shears or a clean knife: For making precise cuts.
- Well-draining potting mix: A good blend of peat moss, perlite, and a bit of compost works beautifully. Avoid anything too heavy that will hold excess moisture.
- Small pots or seed trays: Clean ones, of course!
- Rooting hormone (optional but recommended): A powder or gel can give your cuttings a helpful boost.
- Watering can with a fine rose: For gentle watering.
- Clear plastic bag or humidity dome: To create a mini greenhouse effect.
- Labels and a permanent marker: So you remember what’s what!
Propagation Methods: Division is Best!
While you could technically try stem cuttings, I’ve found that division is by far the easiest and most successful method for propagating Festuca heteromalla. It’s a natural process for this clumping grass, and it gives you a great excuse to tidy up your existing plants!
Here’s how I do it:
- Prepare Your Plant: Water your Festuca heteromalla a day or two before you plan to divide it. This helps the soil cling to the roots, making the process easier and reducing transplant shock.
- Gently Lift the Clump: Carefully dig around the base of the plant with your spade or trowel, then lift the entire clump from the ground. You can also do this with a pot by gently tipping it on its side and coaxing the plant out.
- Separate the Divisions: This is the fun part! You can often pull the clump apart with your hands. For tougher sections, don’t be afraid to use your clean pruning shears or knife to cut through the root ball. Aim for divisions that have plenty of healthy roots and a few shoots or leaves. Don’t be too precious; even small pieces can often take root successfully.
- Trim Excess Foliage (Optional): If your divisions have very long or tattered leaves, you can trim them back by about a third. This reduces water loss from the leaves while the roots establish themselves.
- Pot Up Your New Plants: Fill your clean pots with your well-draining potting mix. Make a little hole in the center of the soil with your finger or a trowel.
- Plant the Divisions: Place each division into the hole, ensuring the roots are spread out. The crown of the plant (where the leaves emerge from the roots) should be at soil level.
- Water Gently: Water the newly potted divisions thoroughly until water drains from the bottom of the pot.
The “Secret Sauce” (Pro Tips)
Here are a few little tricks I’ve picked up that really make a difference:
- Don’t Overcrowd: When you’re dividing, resist the urge to pack too many tiny divisions into one pot. Each little plant needs its own space to thrive.
- Embrace the Humidity: New divisions are a bit delicate. Once potted, I’ll place the pots inside clear plastic bags or cover them with a humidity dome. This creates a humid microclimate that encourages root development. Just ensure the leaves aren’t directly touching the plastic, as this can encourage rot. You might need to prop the bag up a bit.
- Location, Location, Location: Place your newly divided plants in a bright spot, but out of direct, scorching sunlight. A greenhouse, a shaded porch, or even a bright window indoors are perfect.
Aftercare & Troubleshooting
Once your Festuca heteromalla divisions are potted and happy, a little gentle care goes a long way. Keep the soil consistently moist but never soggy. Check the moisture level by gently pressing your finger into the soil. If it feels dry about an inch down, it’s time to water.
You’ll know your new plants are taking hold when you start to see new green shoots emerging. This usually happens within a few weeks.
Of course, gardening isn’t always sunshine and roses, and sometimes things don’t go quite as planned. The most common issue you might encounter is rot. This is usually a sign of overwatering or poor drainage. If you notice your divisions looking limp, discolored, or mushy, it’s a sign things have gone too far. In this case, it’s best to discard the affected plant and try again, paying extra attention to watering and soil drainage.
Happy Growing!
See? Propagating Festuca heteromalla isn’t nearly as intimidating as it might sound. It’s a wonderful way to expand your garden and share these beautiful grasses with friends. Be patient with your new plants. They’re working hard to establish themselves! Enjoy the process, and before you know it, you’ll have a whole patch of feathery goodness to admire. Happy gardening!
Resource:
https://identify.plantnet.org/k-world-flora/species/Festuca%20heteromalla%20Pourr./data