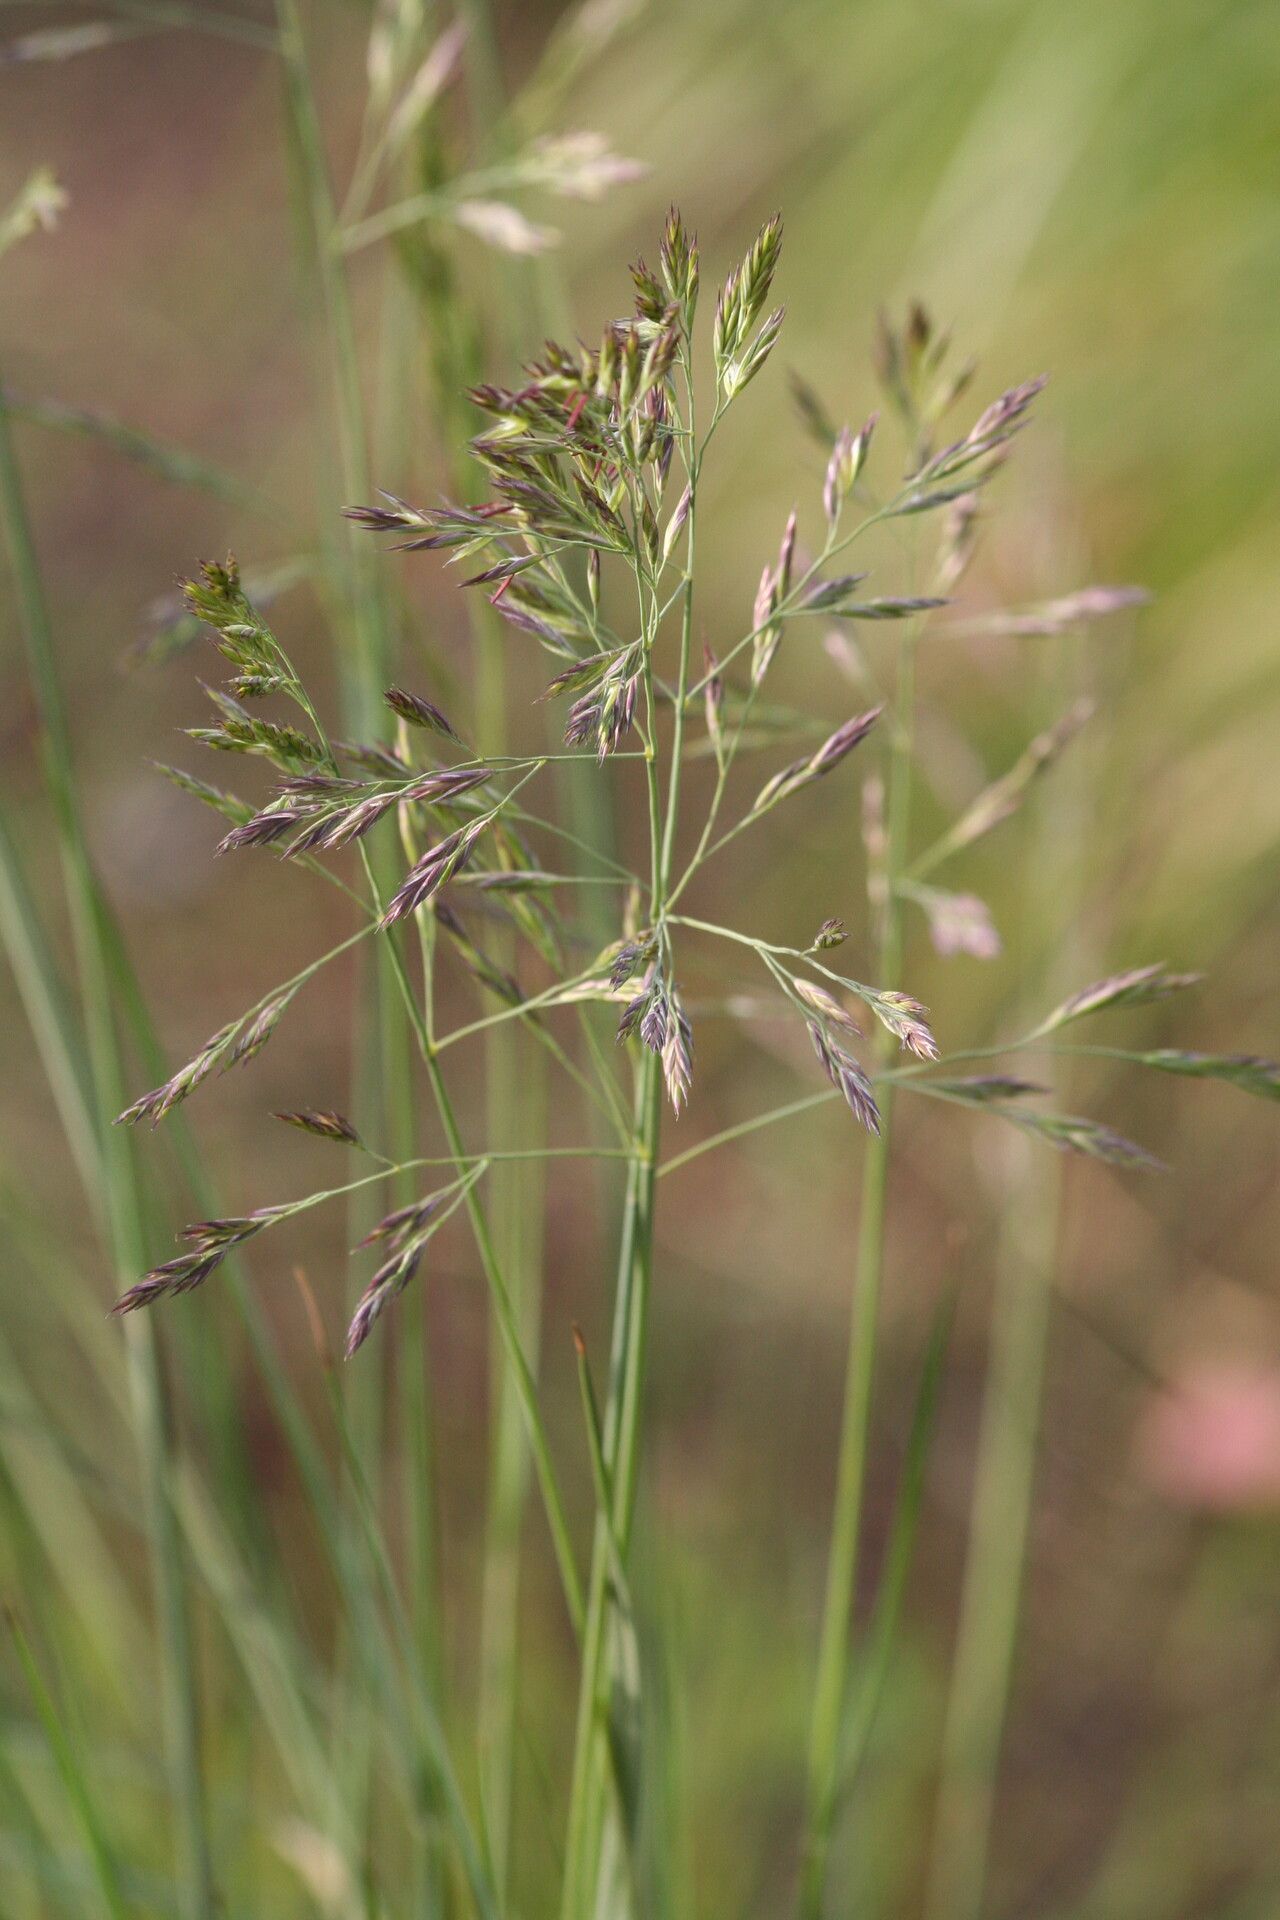
Oh, my friends, let’s talk about one of my absolute favorite California natives: Festuca californica, or California fescue. This grass is just a dream. It forms these beautiful, arching mounds of fine, blue-green foliage that really bring a sense of calm and elegance to any garden. Plus, it’s incredibly low-maintenance once established, thriving in our Californian sunshine. Propagating it is a wonderfully rewarding project, and I’m happy to say, it’s quite approachable even for those of you just dipping your toes into the world of plant propagation.
The Best Time to Start
For Festuca californica, spring is your golden ticket. As the days start to lengthen and the soil warms up, the plant is buzzing with energetic growth. This is the perfect moment to take cuttings or divide established clumps. Aim for just as new shoots are emerging, usually a few weeks after the last frost.
Supplies You’ll Need
Gathering your tools makes the whole process go so much smoother. Here’s what I always have on hand:
- Sharp pruning shears or a clean knife: For making clean cuts, vital for preventing disease.
- Well-draining potting mix: A blend of compost, perlite, and a bit of sand works wonders. You want something that won’t hold too much water.
- Small pots or trays: Choose something with drainage holes, of course!
- Rooting hormone (optional but helpful): Especially for cuttings. Look for one formulated for woody cuttings.
- Watering can with a fine rose attachment: To avoid disturbing delicate new roots.
- Labels and a permanent marker: Trust me, you’ll thank yourself later for labeling everything!
- Mulch (for division): A light layer of compost or shredded bark.
Propagation Methods
Festuca californica is most easily propagated by division. It’s like giving your plant a little haircut and creating new babies from it!
Division Method:
-
Digging Up: Gently dig around the base of your mature Festuca californica clump with a shovel or trowel. You want to get as much of the root ball as possible. Loosen the soil and carefully lift the entire plant.
-
Separating: Gently shake off some of the excess soil. You’ll want to find natural divisions within the clump. You can often use your hands to gently pull the root ball apart. If it’s a bit stubborn, use your sharp knife or trowel to make a clean cut through the roots, making sure each section has plenty of healthy roots and at least a few shoots.
-
Replanting: Immediately replant your divisions into prepared pots filled with your well-draining mix, or directly back into the garden if the soil is suitable. Plant them at the same depth they were originally growing.
-
Watering: Give them a good, thorough watering.
Stem Cuttings (a bit more advanced, but doable!):
-
Taking Cuttings: In early spring, select healthy, non-flowering stems. Using your sharp shears, make a clean cut just below a leaf node (where a leaf attaches to the stem). Aim for cuttings that are about 4-6 inches long.
-
Preparing Cuttings: Remove the lower leaves, leaving only a few at the top. This reduces moisture loss and prevents leaves from rotting in the soil. If you’re using rooting hormone, dip the cut end into it now, tapping off any excess.
-
Planting Cuttings: Fill small pots with your well-draining mix. Make a hole with a pencil or dowel and insert the cutting, ensuring the leaf nodes are buried. Gently firm the soil around the stem.
-
Creating a Humid Environment: This is key! Cover the pots with a clear plastic bag or place them in a propagation tray with a lid. Make sure the leaves aren’t touching the plastic.
The “Secret Sauce” (Pro Tips)
Here are a couple of tricks I’ve picked up over the years that really make a difference:
- Bottom Heat for Cuttings: If you’re doing cuttings, placing your pots on a heat mat designed for plants can significantly speed up root development. It mimics the warmth of spring soil and encourages those roots to form much faster. You’ll see success in weeks, not months!
- Don’t Drown Them!: Especially with divisions, it’s easy to overwater in the initial stages. Keep the soil consistently moist but never waterlogged. Overwatering is the quickest way to invite rot. Feel the soil an inch down; if it’s dry, it’s time to water.
Aftercare & Troubleshooting
Once your divisions or cuttings show signs of new growth – new leaves or shoots pushing upwards – that’s a fantastic sign roots are forming!
- Acclimating Cuttings: If you’ve used a plastic bag, gradually remove it over a few days to let the cuttings adjust to drier air.
- Transplanting: Once your new plants have a good root system (you might see roots peeking out of the drainage holes), they’re ready to be moved into slightly larger pots or planted directly into your garden.
- What to Watch For: The biggest enemy is rot. If you see stems turning mushy and black, or the whole plant collapsing, it’s usually due to too much moisture. Sometimes, you can try to save it by removing the rotted parts and repotting in drier soil, but prevention is key! Also, keep an eye out for the usual suspects: aphids or spider mites. A gentle spray of water or insecticidal soap usually does the trick.
A Encouraging Closing
Be patient with your Festuca californica. Propagation is a journey, and sometimes plants take their sweet time. Don’t get discouraged if not every cutting or division takes off immediately. The joy is in the process, in nurturing something from a small piece into a vibrant, thriving plant that will bring beauty to your garden for years to come. Happy propagating!
Resource:
https://identify.plantnet.org/k-world-flora/species/Festuca%20californica%20Vasey/data