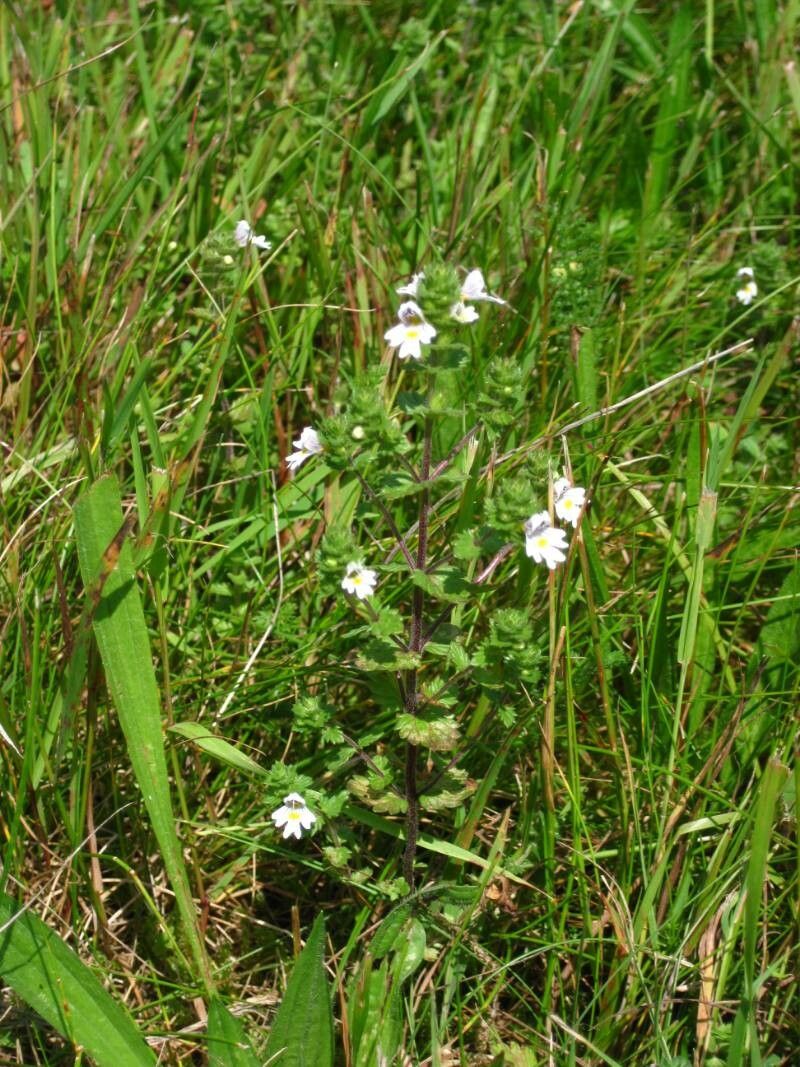
Oh, hello there! Pull up a chair and let’s chat about a little plant that truly captures the magic of the wild – our friend, Euphrasia officinalis, commonly known as Eyebright. It’s such a charming little bloom, isn’t it? With its delicate white and purple flowers, it brings a touch of understated elegance to any garden. And the joy of coaxing new life from cuttings or seeds? Well, that’s just pure gardening gold, if you ask me. For some, Eyebright might seem a tad tricky, but I promise, with a little patience and the right approach, it’s absolutely achievable, even for those just dipping their toes into propagation.
The Best Time to Start
Timing is everything in the garden, and with Eyebright, the sweet spot for propagation is generally in the late spring or early summer. This is when the plant is in a vigorous growth phase, meaning it’s full of energy and more likely to respond well to our efforts. You’ll want to look for softwood cuttings, taken from new growth that’s still somewhat flexible, not woody and stiff. If you’re considering seeds, collecting them when they’re ripe in late summer or autumn is your best bet.
Supplies You’ll Need
Before we get our hands dirty, let’s gather our tools. Having everything ready makes the process so much smoother.
- Sharp, clean pruning shears or a sharp knife: For making clean cuts.
- A well-draining seed starting mix or a perlite/peat moss blend: Eyebright hates soggy feet.
- Small pots or trays with drainage holes: To house your cuttings or sow your seeds.
- Rooting hormone powder (optional but recommended for cuttings): Gives those new roots a helpful nudge.
- A spray bottle filled with water: For keeping things moist without drowning.
- Plastic bags or a propagator lid: To create a humid environment for cuttings.
- Label markers: So you don’t forget what you’ve planted!
Propagation Methods
Eyebright can be a bit particular, but we’ll focus on the methods that tend to give us the best results.
Stem Cuttings
This is often my go-to for many flowering plants, and Eyebright can respond well.
- Take your cuttings: In late spring or early summer, select healthy, non-flowering stems. Using your clean shears or knife, take cuttings that are about 3-4 inches long. Make a cut just below a leaf node (where a leaf attaches to the stem).
- Prepare the cuttings: Gently remove the lower leaves, leaving just a few at the top. This helps the plant focus its energy on rooting rather than leaf production.
- Apply rooting hormone (optional): Dip the cut end of each stem into rooting hormone powder, tapping off any excess.
- Pot them up: Fill your small pots with your prepared, moistened-but-not-soggy potting mix. Make a small hole in the center of each pot with your finger or a pencil. Insert the cutting into the hole, ensuring the leaf nodes are below the soil surface. Gently firm the soil around the stem.
- Create humidity: Water gently and then cover the pot with a plastic bag or propagator lid. Poke a few holes in the bag for air circulation, or slightly prop open the propagator lid.
Seed Sowing
Eyebright seeds are fascinating and often benefit from a chill.
- Prepare your trays: Fill trays or small pots with your seed-starting mix.
- Sow the seeds: Eyebright seeds are usually quite small. Gently scatter them across the surface of the soil. You don’t need to bury them deeply; a light dusting of soil or vermiculite on top is sufficient.
- Water and chill: Lightly mist the soil surface with water. You’ll want to provide a period of cold stratification. This means placing the sown trays in the refrigerator for 4-6 weeks before bringing them back to room temperature to germinate. This mimics the natural wintering process.
The “Secret Sauce”
Here are a few little tricks I’ve picked up over the years that can really boost your success with Eyebright.
- Don’t let leaves touch the water: If you’re doing water propagation (which can be tricky with Eyebright, but some try), ensure the leaves are well above the water line. Rot can set in if they sit in stagnant water.
- Bottom heat is your friend: For cuttings, a little warmth from below, using a heat mat, can significantly speed up root development. About 70-75°F (21-24°C) is ideal.
- Be patient with seeds: Eyebright seeds can be notoriously slow germinators. Don’t give up if you don’t see anything after a week or two. They can sometimes take several weeks, or even months, to sprout, especially if they haven’t had a proper chilling period.
Aftercare & Troubleshooting
Once your cuttings show signs of life – usually new leaf growth – or your seeds have germinated, it’s time for a little attentive care.
- Gradually acclimate: If you’ve covered your cuttings, slowly introduce them to normal air by gradually opening the bag or propagator over a few days.
- Provide light: Place your new plants in a bright location, but out of direct, scorching sunlight. A grow light is fantastic if you don’t have a sunny windowsill.
- Water carefully: Continue to keep the soil consistently moist but not waterlogged. Overwatering is the quickest way to invite root rot, which will show up as wilting, yellowing leaves, and potentially a mushy stem base.
- Transplanting: Once your seedlings are large enough to handle (usually when they have a few sets of true leaves) and have developed a decent root system, you can carefully transplant them into slightly larger pots.
A Encouraging Closing
So there you have it! Propagating Eyebright might require a touch more patience than, say, a begonia, but the rewards are so worth it. Don’t be discouraged if your first attempt isn’t a showstopper. Gardening is a journey, and every little sprout is a victory. Keep at it, observe your plants, and most importantly, enjoy the wonderful process of nurturing them into being. Happy gardening!
Resource:
https://identify.plantnet.org/k-world-flora/species/Euphrasia%20officinalis%20L./data