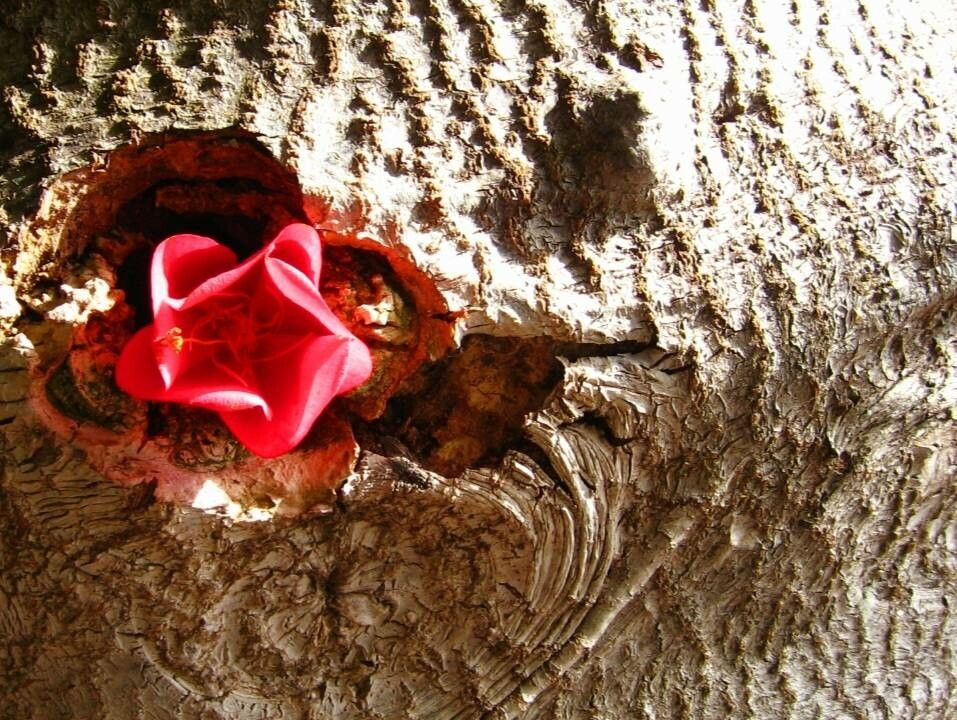
Oh, Dombeya cacuminum! If you’ve ever seen one of these beauties in full bloom, you know exactly why I’m so excited to talk about it. Those magnificent, often fragrant, clusters of flowers are just breathtaking. And the best part? You can have more of them! Propagating Dombeya cacuminum is a wonderfully rewarding process, offering a chance to expand your garden with these spectacular plants. While it might sound a bit intimidating, I promise, it’s quite manageable, even for those just starting their gardening journey.
The Best Time to Start
For the absolute best results, I always aim to take cuttings in the late spring or early summer. This is when the plant is actively growing and has plenty of energy to put into root development. Look for new, semi-hardened stems. These are usually a bit more flexible than brand-new, floppy shoots but not woody and stiff. Think of it as finding that perfect balance – not too soft, not too hard.
Supplies You’ll Need
Gathering your supplies beforehand makes the whole process smoother. Here’s what I usually have on hand:
- Clean, sharp pruning shears or secateurs: This is crucial for making clean cuts, which helps the plant heal and reduces the risk of disease.
- Rooting hormone powder or gel: While not strictly essential for every plant, it really gives Dombeya a boost and improves your success rate, especially with stem cuttings.
- Well-draining potting mix: I like to use a blend of equal parts perlite, peat moss, and compost. You can also buy a commercially available mix specifically for cuttings or succulents.
- Small pots or trays: Clean pots are a must!
- Plastic bags or a propagator: This helps maintain humidity, which is vital for cuttings.
- Watering can with a fine rose or spray bottle: Gentle watering is key.
Propagation Methods
Let’s dive into how we can get these beauties multiplying!
Stem Cuttings
This is my go-to method for Dombeya cacuminum. It’s reliable and gives you a good chance of success.
- Select your cutting: Look for a healthy stem that’s about 4-6 inches long. You want a section that has at least two sets of leaves.
- Make the cut: Using your clean pruning shears, make a clean cut just below a leaf node. A leaf node is where the leaves attach to the stem.
- Prepare the cutting: Gently remove the lower leaves, leaving just the top two to four leaves. If the remaining leaves are very large, you can trim them in half diagonally. This reduces water loss from the leaves while the cutting is trying to establish roots.
- Apply rooting hormone: Dip the cut end of the stem into your rooting hormone. Tap off any excess.
- Plant the cutting: Make a small hole in your prepared potting mix with a pencil or your finger. Insert the cut end of the stem, making sure the leaf nodes where you removed leaves are covered by the soil. Gently firm the soil around the stem.
- Water gently: Water the pot lightly to settle the soil around the cutting.
- Create a humid environment: Cover the pot with a clear plastic bag, or place it in a propagator. Make sure the leaves don’t touch the sides of the bag, as this can lead to rot. You can use stakes to keep the bag propped up.
- Place in bright, indirect light: Find a warm spot that receives bright, filtered sunlight. Avoid direct sun, which can scorch the young cuttings.
Water Propagation (for the patient!)
Some varieties of Dombeya can also be propagated in water, although stem cuttings in soil are generally more successful for this particular species. If you want to try:
- Follow steps 1-3 for stem cuttings.
- Instead of rooting hormone and soil, place the prepared cutting in a clean glass or jar filled with clean water.
- Ensure that the leaf nodes are submerged in the water, but do not let the leaves themselves touch the water. Leaves sitting in water will quickly rot.
- Place the jar in a bright spot away from direct sunlight.
- Change the water every few days to keep it fresh and prevent bacterial growth.
- You’ll start to see roots emerging from the submerged nodes. Once the roots are an inch or so long, you can then carefully transplant them into your well-draining potting mix, following steps 5-8 above.
The “Secret Sauce” (Pro Tips)
Here are a few things I’ve learned over the years that really make a difference:
- Bottom Heat is Your Friend: Dombeya cuttings absolutely love a little warmth from below. If you have a seedling heat mat, placing your pots on it can significantly speed up root development. Just a gentle warmth, not hot!
- Don’t Disturb Too Soon: Resist the urge to tug on your cuttings to see if they have roots. They can be very delicate. Wait until you see new top growth appearing. That’s a sure sign that roots are forming below.
- The Power of Humidity: I can’t stress this enough! That plastic bag or propagator isn’t just for show. It creates a mini greenhouse effect, keeping the humidity high enough for the leaves to stay turgid while the roots are trying to establish.
Aftercare & Troubleshooting
Once you see sturdy new growth on your cutting, it’s a good sign that roots are developing.
- Gradually Acclimate: Slowly begin to introduce your new plant to drier air. Remove the plastic bag for an hour or two each day, gradually increasing the time until you can remove it completely.
- Watering: Keep the soil consistently moist but not waterlogged. It’s easier to overwater a new cutting than underwater.
- Repotting: Once the plant has a good root system and is showing vigorous growth, you can move it into a slightly larger pot.
What if things go wrong? The most common culprit is rot. This usually happens when the cuttings are kept too wet, or in too little light, and the environment is not well-ventilated. If you see the base of the stem turning black or mushy, or the leaves wilting and yellowing despite moist soil, it’s likely rot. At that point, sadly, the cutting is usually beyond saving. Ensure your soil is very well-draining and use bottom heat if possible.
A Encouraging Closing
Growing new plants from cuttings is such a rewarding feeling. It’s a little bit of magic, witnessing a new life sprout from what was just a piece of a mother plant. Be patient with your Dombeya cacuminum cuttings. Not every single one will make it, and that’s okay! Just keep trying, learn from each attempt, and most importantly, enjoy the process of nurturing something new. Happy gardening!
Resource:
https://identify.plantnet.org/k-world-flora/species/Dombeya%20cacuminum%20Hochr./data