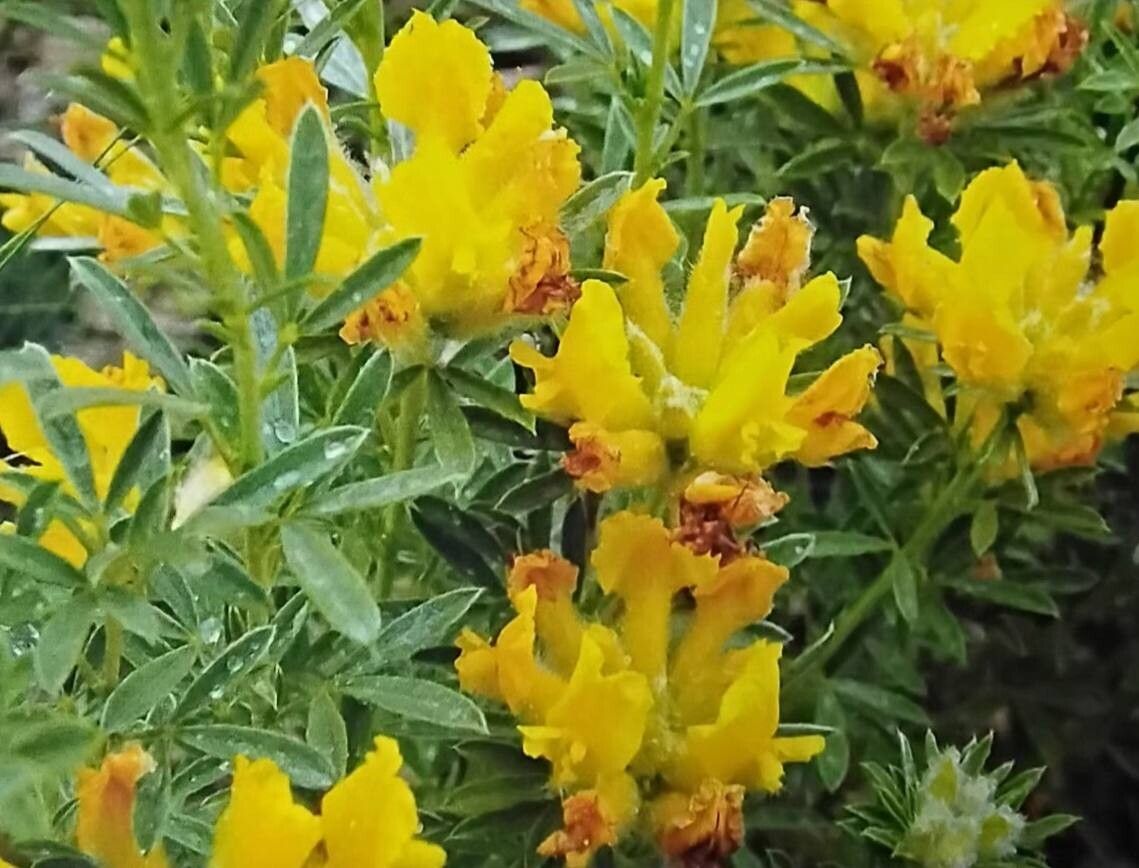
Oh, Chamaecytisus austriacus! Isn’t it just a darling little legume? Those soft, fuzzy leaves and cheerful yellow blooms have a way of brightening up any corner of the garden. I’ve spent my fair share of years admiring them, and let me tell you, the idea of having more of these beauties is incredibly rewarding. If you’re wondering if it’s a good plant for a beginner to try propagating, I’d say it’s moderately easy. Not quite as foolproof as a spider plant, but with a little care, you’ll do wonderfully.
The Best Time to Start
For the highest success rate with Chamaecytisus austriacus, I’ve found that late spring through early summer is your sweet spot. This is when the plant is actively growing, and you’ll find nice, semi-hardwood stems that are pliable enough to root but have started to mature. Avoid trying this when the plant is stressed from extreme heat or during its dormant period.
Supplies You’ll Need
Gathering your tools ahead of time makes the whole process so much smoother. Here’s what I like to have on hand:
- Sharp pruning shears or a clean knife: For making precise cuts.
- Rooting hormone powder (optional but recommended): This gives your cuttings a helpful boost.
- Propagation tray or small pots: Clean ones are crucial to prevent disease.
- Well-draining potting mix: A 50/50 blend of perlite and peat moss or coir works beautifully. Some folks swear by a specialized seedling mix too.
- Plastic bags or a humidity dome: To maintain moisture around your cuttings.
- Water mister or spray bottle: For keeping things humid.
- Gloves (optional): Some plants can be a little sticky or cause mild irritation.
Propagation Methods
I’ve had the most luck with stem cuttings for Chamaecytisus austriacus. It’s straightforward and yields great results.
- Take Your Cuttings: Select healthy, non-flowering stems from your parent plant. Look for stems that are about 4-6 inches long. Make a clean cut just below a leaf node (where a leaf attaches to the stem). This is where the magical rooting hormones live!
- Prepare the Cuttings: Gently remove the lower leaves, leaving just a couple of leaves at the top. If your cuttings are particularly long, you can trim the remaining leaves in half to reduce water loss.
- Apply Rooting Hormone: If you’re using it, dip the cut end of each stem into the rooting hormone powder, tapping off any excess.
- Plant Your Cuttings: Fill your pots or tray with your prepared potting mix. Make a small hole with a pencil or your finger and insert the cut end of the stem. Firm the soil gently around it.
- Create a Humid Environment: Water the soil lightly. Then, cover the pots with a clear plastic bag or place them under a humidity dome. This creates a mini-greenhouse effect, keeping the humidity high and preventing the cuttings from drying out. You can prop up the bag with a couple of skewers so it doesn’t touch the leaves.
- Place Them in a Bright Spot: Find a location that gets bright, indirect light. Avoid direct sun, which can scorch the delicate cuttings.
The “Secret Sauce” (Pro Tips)
Here are a couple of things I’ve learned over the years that really seem to make a difference:
- Bottom Heat is Your Friend: If you have a heat mat designed for seedlings, placing your propagation tray on it can significantly speed up root development. It mimics that lovely warm soil that plants just adore.
- Don’t Drench, Just Dampen: Overwatering is the quickest way to invite rot. Your potting mix should feel consistently moist, like a wrung-out sponge, but never soggy. I like to mist the inside of the plastic bag occasionally if it starts to look dry.
Aftercare & Troubleshooting
Once your cuttings have started to root – and this can take anywhere from 4 to 8 weeks, so be patient! – you can start to acclimate them to less humid conditions. Gradually open the plastic bag over a few days. Then, you can begin watering them as you would a young plant. Look for new leaf growth as a sure sign of success.
The most common problem you might encounter is rot. If you see your cuttings turning mushy, black, or falling over, that’s usually a sign of too much moisture and not enough air circulation. Unfortunately, once rot sets in, it’s hard to save them. Ensure your soil drains well and you’re not overwatering.
A Encouraging Closing
Growing new plants from cuttings is such a satisfying journey. It’s a little bit of magic, really, watching a sleepy stem awaken with new life. Don’t get discouraged if every single cutting doesn’t make it – that’s part of the learning process for all of us, myself included! Just keep at it, enjoy the quiet satisfaction of nurturing something new, and soon you’ll have an abundance of Chamaecytisus austriacus to enjoy or share. Happy gardening!
Resource:
https://identify.plantnet.org/k-world-flora/species/Chamaecytisus%20austriacus%20(L.)%20Link/data