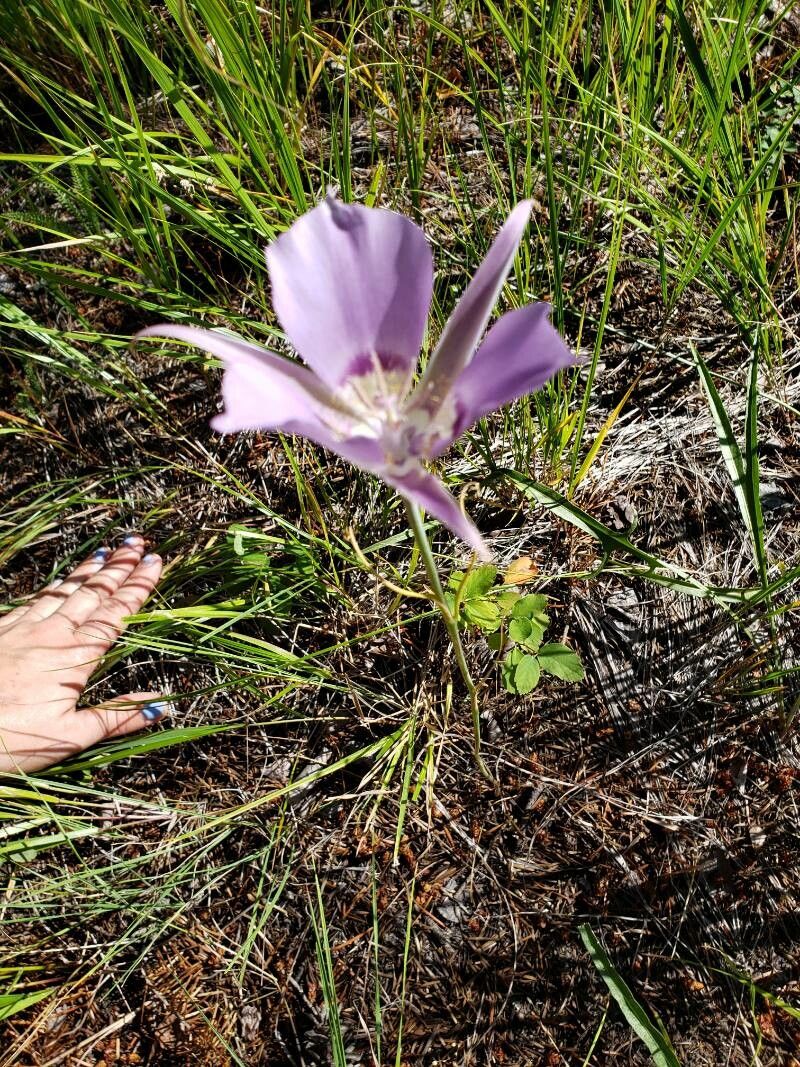
Ah, the Mariposa Lily! Calochortus macrocarpus, with its elegant, goblet-shaped blooms, is a true gem of the western North American landscape. I’ve spent years admiring these beauties in their native habitats, and bringing them into my own garden has been such a joy. If you’re looking for a native plant that offers spectacular, short-lived flowers (they tend to bloom for just a day or two, but oh, what a show!), then you’re in for a treat.
Many gardeners find propagating Calochortus a bit of a challenge, and that’s okay! It’s not the easiest plant to start from scratch, but with a little understanding and the right approach, you can absolutely succeed. The reward of seeing your own little Mariposa Lilies unfurl their delicate petals is well worth the effort.
The Best Time to Start
For Calochortus macrocarpus, late summer to early fall is your golden window. This is the time when the bulbs are typically dormant or just beginning their rest period after flowering. Trying to propagate when the plant is actively growing and flowering is much less likely to be successful. You want to catch them when they’re just “taking a break.”
Supplies You’ll Need
To give your Calochortus the best chance, gather these supplies:
- Well-draining potting mix: A gritty mix is crucial. I like to use a blend of equal parts horticultural grit, perlite, and a good quality potting soil. For Calochortus, you can even lean more heavily on the grit and perlite.
- Shallow trays or small pots: These help keep the moisture levels consistent.
- Sharp pruning shears or a clean knife: For making clean cuts. Sterilize them before use to prevent disease!
- Rooting hormone (optional but recommended for cuttings): A powdered or liquid form can give your cuttings a helpful boost.
- Watering can with a fine rose or a spray bottle: To water gently without disturbing seedlings or cuttings.
- Labels and a marker: So you don’t forget what you’ve planted and when!
Propagation Methods
Calochortus macrocarpus is primarily propagated by its bulbs, but you can also try from seed, though this takes patience and a specific touch.
1. Division of Bulbs (Most Reliable)
This is my go-to method for Calochortus.
- Dig Carefully: In late summer, when the foliage has died back, gently dig around the bulb. Be very careful not to damage the delicate bulb tunics.
- Locate Offsets: You’ll often find small offsets or bulblets attached to the main bulb.
- Separate Gently: Using a clean knife or your fingers, carefully separate the offsets from the parent bulb. If an offset has no roots attached yet, that’s okay, but try to keep a bit of the parent bulb’s tissue connected if possible.
- Plant Them Up: Pot each offset into its own small pot filled with your gritty, well-draining mix. Plant them about an inch deep.
- Water Sparingly: Give them a light watering and place them in a sheltered, dry spot out of direct sun. They don’t need much water while dormant.
2. Growing from Seed (Requires Patience!)
This method closely mimics their natural germination sequence.
- Collect Fresh Seed: Collect seeds from your mature Calochortus plants as soon as the seed pods begin to dry and open, usually in mid-summer.
- Stratification: Calochortus seeds require a period of cold, moist stratification to break dormancy. Mix the clean seeds with a damp (not wet) medium like vermiculite or sand in a zip-top bag.
- Refrigerate: Place the bag in your refrigerator for 2-3 months. Check periodically to ensure the medium stays slightly damp.
- Sow: After stratification, sow the seeds thinly on the surface of your gritty potting mix in a shallow tray. Do not cover the seeds.
- Moist and Cool: Keep the soil consistently moist but not waterlogged, and keep the tray in a cool location, ideally around 40-50°F (4-10°C). Indoors, a cool basement or unheated garage can work.
- Patience is Key: Germination can be erratic and may not occur until spring or even the following year. They often germinate with the onset of cooler weather.
The “Secret Sauce” (Pro Tips)
Here are a few things I’ve learned over the years that can make a big difference:
- “Dry Rest” is Non-Negotiable: Calochortus bulbs absolutely hate sitting in water, especially during their dormant period. Ensure they have a proper dry rest period in the summer. If you’re growing them in pots, pull the bulbs out and store them in dry peat moss or perlite in a cool, dry place.
- Don’t Overcrowd Your Pots: When planting offsets or seeds, give them a little breathing room. Overcrowding leads to competition for resources and can increase the risk of rot.
Aftercare & Troubleshooting
Once your divided bulbs or germinated seedlings are established:
- Watering: For newly divided bulbs, water lightly and let the soil dry out between waterings. For seedlings, maintain consistent light moisture. As they mature into their first growing season, you can water more regularly, but always ensure the soil drains well. Water deeply when the top inch of soil feels dry.
- Light: Provide bright light, but protect young seedlings from intense direct sun initially. Mature plants appreciate full sun once they’re established.
- Fertilizing: Calochortus generally doesn’t need heavy fertilization. A light feeding with a balanced, bloom-boosting fertilizer during their active growing season (spring) is usually sufficient.
- Troubleshooting – Rot is the Enemy: The most common problem is bulb rot, usually caused by overwatering or poor drainage. If you see the bulb turning mushy or black, it’s usually a lost cause. To prevent it: always use gritty soil, water mindfully, and ensure excellent air circulation. If you have seedlings that are damping off (wilting at the base), it’s often due to too much moisture and not enough air circulation.
A Warm Encouraging Closing
Propagating Calochortus macrocarpus is a journey that teaches you about patience and observation. Don’t be discouraged if your first attempt isn’t perfect. Each season is a learning experience. Enjoy the process, the anticipation, and the sheer delight when you see those beautiful blooms appear, grown entirely from your own efforts. Happy gardening!
Resource:
https://identify.plantnet.org/k-world-flora/species/Calochortus%20macrocarpus%20Douglas/data