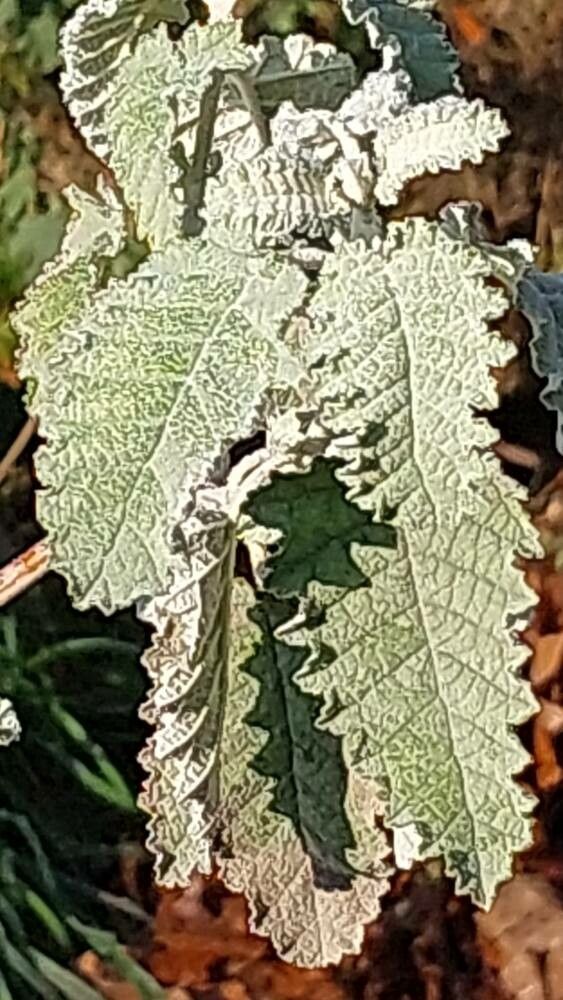
Oh, hello there! I’m so glad you’re thinking about propagating Buddleja glomerata. It’s one of those plants that just brings a smile to my face. You know, the kind with those lovely, often sweetly scented flower clusters that seem to hum with activity from all sorts of pollinators? Getting more of these beauties from your existing plant feels like a little bit of garden magic. And guess what? It’s also wonderfully do-able for even those of you just dipping your toes into the world of plant propagation.
The Best Time to Start
For Buddleja glomerata, I find the late spring or early summer is the sweet spot. This is when the plant is actively growing, and you’ll be taking cuttings from the new, somewhat soft growth. Think of it as taking a snippet of the plant at its most vigorous and hopeful. Waiting until the stems have started to firm up a bit, but before they get truly woody, gives you the best chance for quick and healthy root development.
Supplies You’ll Need
Before we dive in, let’s gather our trusty tools. Here’s what I always have on hand:
- Sharp Pruning Shears or a Knife: Clean cuts are key!
- Rooting Hormone (Optional but Recommended): A little boost never hurts.
- Well-Draining Potting Mix: A mix of potting soil and perlite or coarse sand works beautifully. You want it to drain freely, no soggy bottoms allowed!
- Small Pots or Trays: Clean ones, please!
- Plastic Bags or a Propagator: To create a humid microclimate.
- Watering Can with a Fine Rose: For gentle watering.
Propagation Methods
Let’s get our hands dirty! Stem cuttings are my go-to method for Buddleja glomerata.
Taking Stem Cuttings:
- Select Your Cuttings: Look for healthy stems on your established plant. Aim for pieces that are about 4-6 inches long. Gently snap or cut just below a leaf node. A leaf node is that little swelling on the stem where leaves emerge – that’s where the magic happens for root formation.
- Prepare the Cuttings: Remove the lower leaves from your cuttings, leaving just the top couple of leaves. If the remaining leaves are large, you can cut them in half horizontally. This reduces water loss through transpiration.
- Apply Rooting Hormone (if using): Dip the cut end of the stem into your rooting hormone powder, tapping off any excess.
- Plant Your Cuttings: Fill your small pots with your well-draining potting mix. Make a small hole with a pencil or your finger. Insert the cut end of the Buddleja cutting into the hole, firming the mix gently around it. Make sure no leaves are touching the soil surface.
- Water Gently: Water the soil thoroughly until it’s moist but not waterlogged.
Creating a Humid Environment:
Now, we need to create a little greenhouse effect. You can either cover the pots with a clear plastic bag, making sure it doesn’t touch the leaves, or place them in a propagator. Providing that humidity is crucial for the cuttings to stay plump and happy while they work on developing roots.
The “Secret Sauce” (Pro Tips)
Here are a few little things I’ve learned over the years that often make a big difference:
- My absolute favorite trick? Use bottom heat! If you have a heat mat designed for propagation, placing your pots on it significantly speeds up root development. It mimics the warmth of spring in a way that just gets things moving.
- Don’t be tempted to overwater. It’s a common mistake, and soggy soil is the enemy of happy cuttings. Let the surface of the soil dry out slightly between waterings.
- When you’ve taken your cuttings, I like to give them a good drink and then set them aside in a shady spot for a few hours before planting. It seems to help them acclimatize a bit and reduces transplant shock.
Aftercare & Troubleshooting
Once your cuttings are planted, the waiting game begins! Keep them in a bright spot, but out of direct, harsh sunlight. Continue to keep the soil consistently moist but not soggy.
You’ll know your cuttings are rooting when you see new growth appearing from the leaf nodes or at the tip of the stem. You can also give them a very gentle tug; if there’s resistance, it means roots have formed. This usually takes anywhere from 3 to 8 weeks, depending on the conditions.
If you see your cuttings wilting dramatically and not bouncing back after watering, or if the stems start to turn black and mushy, that’s usually a sign of rot, often caused by overwatering or poor drainage. Don’t be discouraged if some don’t make it; it’s part of the process! Just remove them and try again.
A Encouraging Closing
So there you have it! Propagating Buddleja glomerata is a truly satisfying endeavor. Be patient with yourself and the process. Watch for those tiny signs of life, and soon you’ll have a whole new collection of these delightful plants to share or enjoy in your own garden. Happy propagating!
Resource:
https://identify.plantnet.org/k-world-flora/species/Buddleja%20glomerata%20H.L.Wendl./data