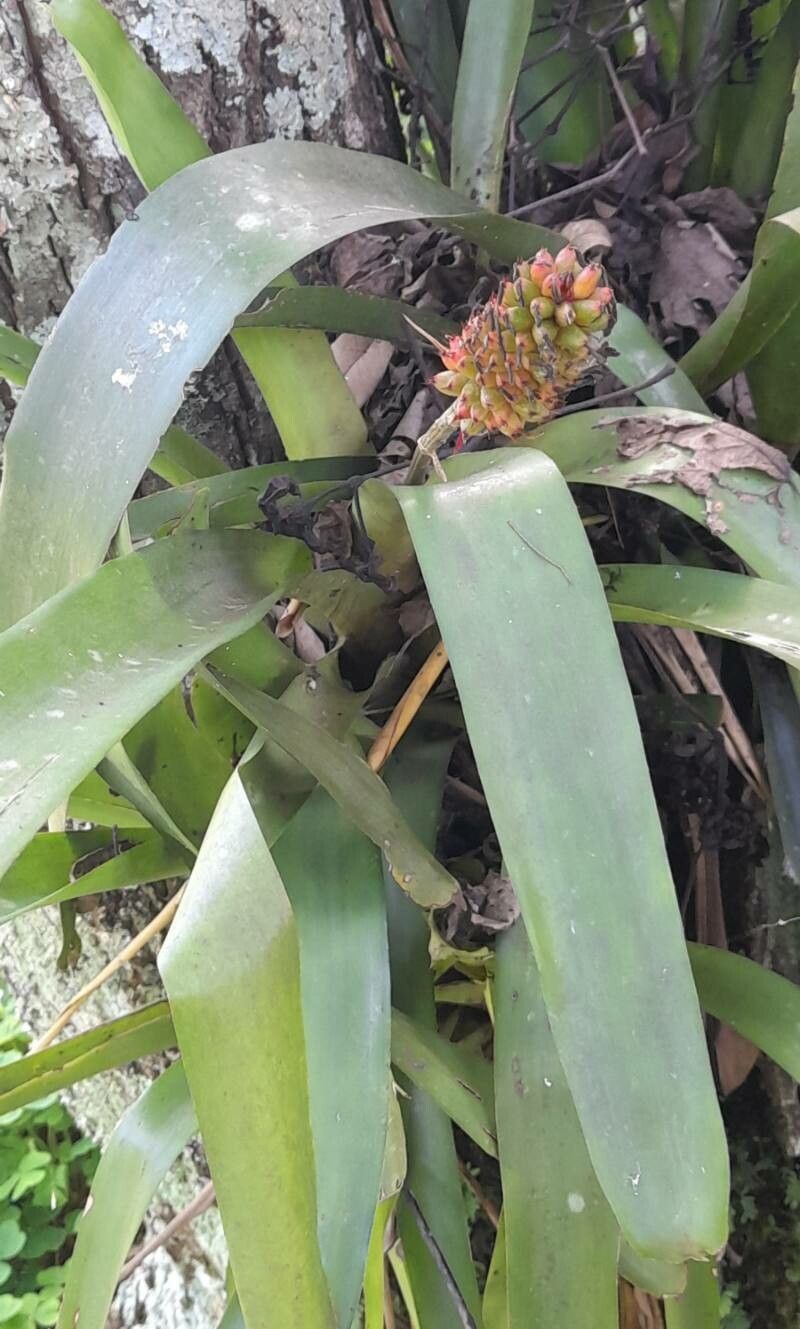
Hello there, fellow plant lovers! It’s so wonderful to have you join me in my little corner of the garden world. Today, we’re going to talk about a plant that brings a real splash of vibrant color and architectural beauty to any space: Aechmea calyculata.
The Allure of Aechmea calyculata and Growing Your Own
You know those striking bromeliads that seem to hold a little bit of sunshine in their spiky cups? That’s Aechmea calyculata for you! Its beautiful, star-shaped flowers, often in shades of pink and purple, emerge from a central rosette and are just breathtaking. And the best part? Propagating them is not only incredibly rewarding, but it’s also quite accessible, even for those of you just dipping your toes into the world of plant propagation. I’ve found this particular bromeliad to be quite forgiving, making it a fantastic starting point.
When to Get Your Hands Dirty
The absolute sweet spot for propagating Aechmea calyculata is when the mother plant is actively growing and has finished flowering. You’ll often see little offsets, or “pups” as we call them, starting to emerge from the base of the mature plant. This usually happens in the late spring or summer months, when the days are longer and warmer. Trying to propagate when the plant is stressed or dormant is just setting yourself up for a bit of frustration.
What You’ll Need for Your Propagation Adventure
Here’s a little checklist to get you prepared:
- Sharp, clean pruning shears or a sharp knife: Sanitation is key to prevent disease.
- Well-draining potting mix: I swear by a mix of equal parts peat moss, perlite, and orchid bark. This gives the roots plenty of air.
- Small pots or seedling trays: Something that fits your new little pups comfortably.
- Hormone rooting powder (optional but recommended): This can give your pups a little extra encouragement to form roots.
- Watering can or spray bottle: For gentle hydration.
- A small, clear plastic bag or a propagator lid: To create a humid environment.
Let’s Get Propagating: The Art of the Pup
The most straightforward and successful way to multiply your Aechmea calyculata is by separating and potting up the pups.
- Inspect Your Mother Plant: Look for those lovely little baby plants, or pups, that have grown from the base of the main plant. You’re looking for pups that are at least a third of the size of the parent plant and ideally have started to develop their own tiny root system.
- Gently Excavate: Carefully unpot the mother plant. You might need to loosen some of the soil around the base.
- The Separation: Using your clean shears or knife, carefully cut the pup away from the mother plant. Try to get as much of the pup’s base and any emerging roots as possible. If there are any old, spent leaves on the pup, you can trim those away to reduce stress.
- Drying Off: This is a crucial step! Let the cut end of the pup dry out for a day or two in a shaded spot. This helps to callous over the wound and prevent rot when you plant it.
- Potting Up: Fill your small pots with your prepared potting mix. Make a little hole in the center and firmly plant the pup, ensuring the base is well-covered by soil.
- Initial Watering: Water gently, but don’t drench it. You want the soil to be moist, not soggy.
My “Secret Sauce” for Success
Over the years, I’ve learned a few tricks that seem to make all the difference.
- Don’t Let the Leaves Touch Water: When you’re watering your potted pups, try to avoid getting water trapped in the central cup or between the leaves for extended periods. Bromeliads are prone to rot if water sits in those areas for too long, especially when they’re young and vulnerable. Aim to water the soil directly.
- Embrace the Humidity Tent: Once potted, I immediately cover my new pups with a clear plastic bag or a propagator lid. This traps humidity, which is absolutely vital for them to establish new roots. Just make sure to open it for a few minutes each day to allow for air circulation and prevent fungal issues.
- Gentle Warmth is Beneficial: These guys love a bit of warmth. If your home is a bit on the cooler side, placing the pots on a heat mat (designed for seedlings) can significantly speed up root development and increase your success rate.
Aftercare and What to Watch For
Once your pup is potted and happily nestled in its humid microclimate, patience is your best friend. Keep the soil consistently lightly moist. You’ll want to see signs of new leaf growth or feel a gentle tug when you lightly pull on the pup – these are indicators that roots are forming.
The biggest enemy of a new bromeliad pup is rot. If you notice the leaves turning mushy and brown, or a foul smell, it’s likely rot setting in. This usually happens from overwatering or insufficient air circulation. If you catch it early, you might be able to salvage it by cleaning off the rotted parts and letting it recalibrate in drier conditions, but sometimes it’s just not meant to be. Don’t despair if you lose one; it’s all part of the learning process.
Keep Growing, Keep Enjoying!
Propagating Aechmea calyculata is such a satisfying way to expand your collection and share these beauties with friends. It’s a journey that requires a little bit of love, observation, and a whole lot of encouragement. Take your time, enjoy the process, and soon you’ll have a whole mini jungle of your own! Happy growing!
Resource:
https://identify.plantnet.org/k-world-flora/species/Aechmea%20calyculata%20(É.Morren)%20Baker/data