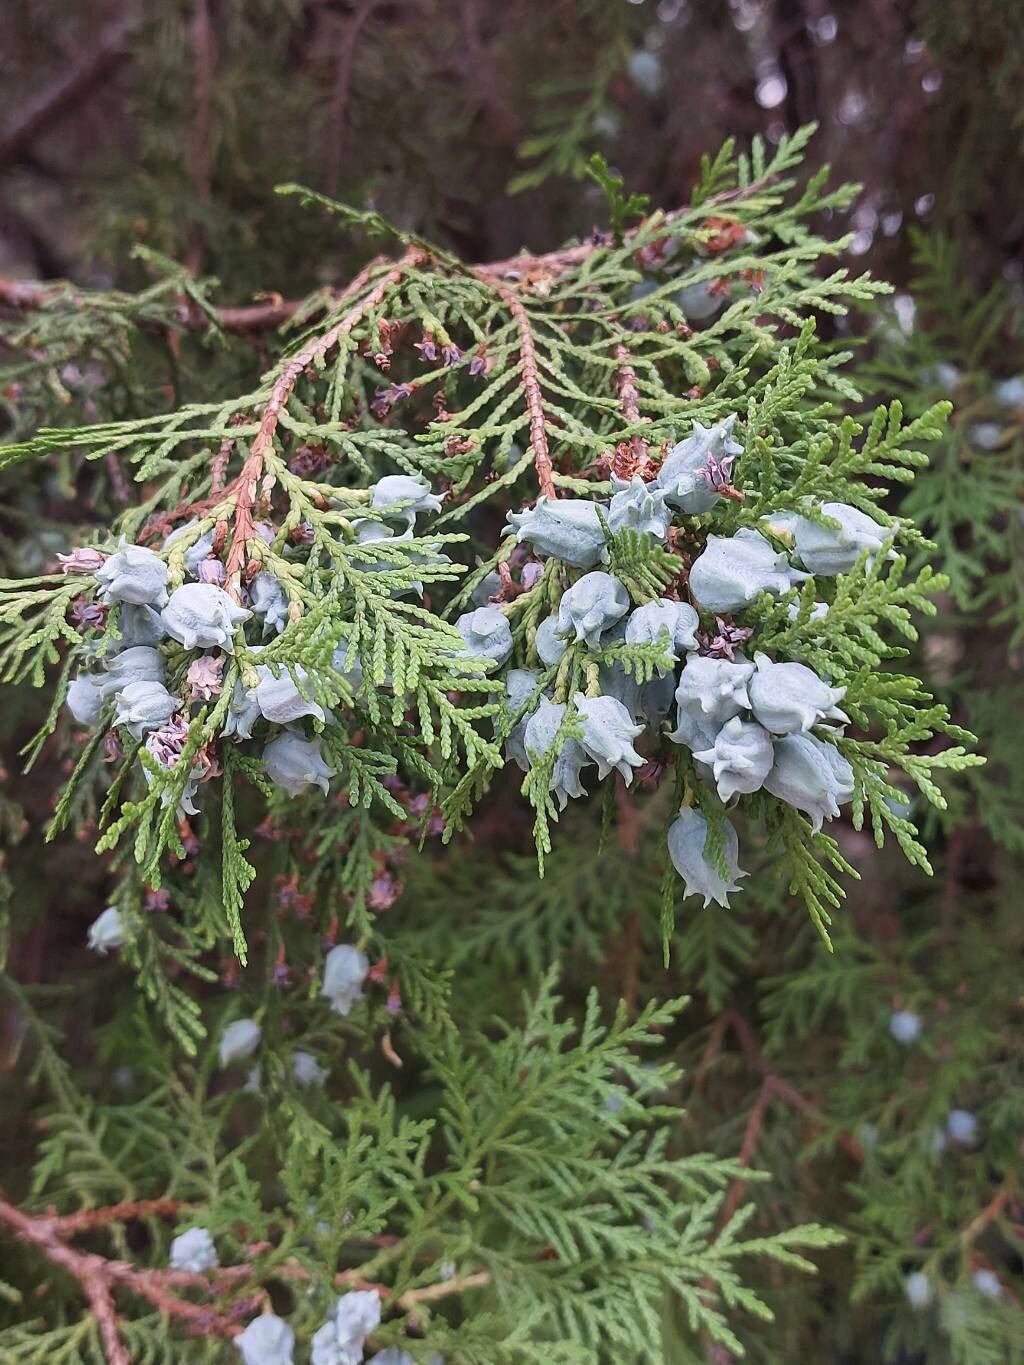
Spreading the Green: Propagating Eastern Arborvitae (Platycladus orientalis)
There’s something incredibly satisfying about coaxing new life from an existing plant, isn’t there? And Eastern Arborvitae, or Platycladus orientalis as the botanists call it, offers such a wonderful opportunity. Its tidy, upright form and evergreen foliage bring structure to gardens year-round. Plus, growing your own from cuttings is a fantastic way to expand your collection or share these lovely trees with friends. For those of you just starting your plant propagation journey, I’d say Platycladus orientalis is moderately easy. It’s not as foolproof as some of the fussier houseplants, but with a little care and attention, you’ll be seeing success in no time.
When to Get Your Hands Dirty
The sweet spot for propagating Platycladus orientalis is typically in the late spring or early summer. This is when the plant is actively growing and has plenty of energy to put into developing new roots. You’re looking for stems that are a bit mature but still somewhat flexible – not the brand new, bright green tips, nor the stiff, woody branches from last year.
Your Propagation Toolkit
Here’s what you’ll want to have on hand before you begin:
- Sharp Pruning Shears or a Knife: Cleanliness is key!
- Rooting Hormone: A powder or gel formulation will work wonders.
- Well-Draining Potting Mix: I usually opt for a mix of equal parts peat moss or coco coir and perlite or coarse sand. This ensures excellent aeration and prevents soggy roots.
- Small Pots or Trays: Terracotta pots are great as they breathe.
- Plastic Bags or a Clear Dome: To create a humid environment.
- Optional: Heating Mat: Provides a bit of warmth from below.
- Optional: Spray Bottle: For misting.
Let’s Get Growing: Stem Cuttings
This is my go-to method for Platycladus orientalis, and I find it yields the best results.
- Select Your Stems: Look for healthy, current-year growth that is about 4-6 inches long. Gently bend a stem; if it snaps cleanly, it’s a good candidate. If it just bends, it’s too soft. If it’s too stiff, it’s too old.
- Prepare the Cuttings: Using your clean shears, take your cuttings. Strip off the lower foliage, leaving about an inch or two of bare stem. This area is where the roots will form. You can also gently scrape a small sliver of bark off one side of the bottom inch of the stem – this exposes more tissue for root development.
- Apply Rooting Hormone: Dip the base of each cutting into your chosen rooting hormone, tapping off any excess.
- Plant Your Cuttings: Fill your pots with the well-draining mix. Make a small hole with your finger or a pencil. Insert the treated end of the cutting into the hole, firming the soil gently around it.
- Create a Humid Environment: Water the soil thoroughly. Then, cover the pots with a clear plastic bag or a propagator lid. Make sure the leaves don’t touch the inside of the bag, as this can encourage rot. You can use small stakes to prop up the bag if needed.
The “Secret Sauce” from My Garden
Over the years, I’ve learned a few tricks that seem to make all the difference:
- Don’t Overcrowd: Give your cuttings a bit of space in the pot. This helps with air circulation and reduces the risk of fungal diseases. I usually plant 3-4 cuttings per 4-inch pot.
- Bottom Heat is Your Friend: If you have a heating mat, placing your pots on it can significantly speed up root formation. Aim for a consistent temperature of around 65-75°F (18-24°C). It’s like a cozy warm bed for your developing roots!
- “Wipe and Inspect”: Regularly (every few days), lift the plastic bag to allow for some air exchange and gently wipe away any condensation you see building up on the inside. This prevents that excess moisture from becoming a problem. While you’re at it, take a peek at your cuttings to ensure none are looking limp or discolored.
Nurturing New Life and Spotting Trouble
Be patient! Rooting can take anywhere from 4 to 8 weeks, sometimes longer. You’ll know your cuttings have taken when you see new growth at the tips or feel a slight resistance when you gently tug on the cutting.
Once roots have formed, carefully remove the plastic bag and gradually acclimatize your new plants to drier conditions. Continue to water them when the top inch of soil feels dry.
The most common sign of failure is rot. This usually looks like the stem turning black and mushy at the soil line. It’s often caused by too much moisture and poor air circulation. If you see this, unfortunately, that cutting is likely lost. Remove it promptly to prevent it from affecting others. Yellowing leaves, especially lower down on the cutting, can sometimes indicate it’s struggling, but don’t panic too quickly; new growth is the best indicator of success.
Keep on Planting!
Propagating Platycladus orientalis is a quiet, rewarding process. Don’t be discouraged if your first few attempts don’t yield a forest of new trees overnight. Every cutting you take is a learning experience. Enjoy the tactile nature of working with plants, observe their subtle changes, and celebrate each tiny root that emerges. Happy planting!
Resource:
https://identify.plantnet.org/k-world-flora/species/Platycladus%20orientalis%20(L.)%20Franco/data