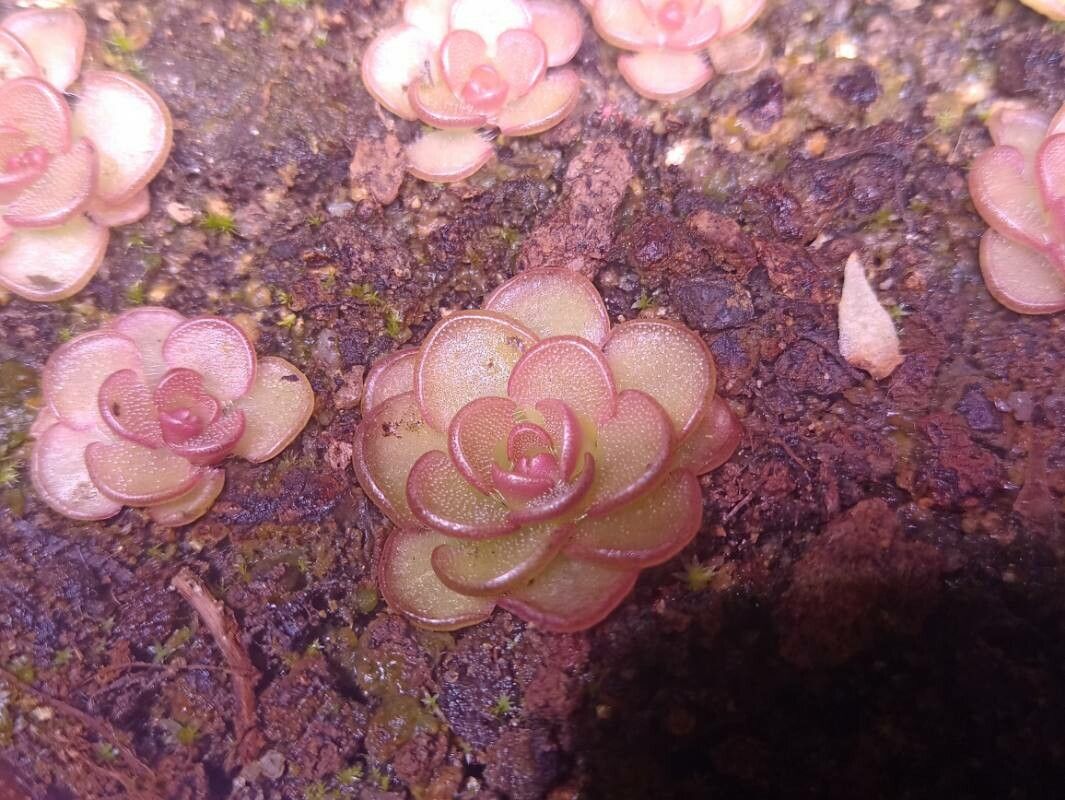
Hello, fellow plant lovers! Today, we’re diving into the delightful world of Pinguicula kondoi, also known as the Kondoi butterwort. These little dewdroppers are just a riot of sticky, colorful leaves, perfect for catching tiny pests in your home. And the best part? Propagating them yourself is incredibly rewarding, and honestly, quite a bit easier than most people think. If you’ve got a green thumb and a bit of patience, you’ll be making new butterworts in no time.
The Best Time to Start
The sweet spot for propagating Pinguicula kondoi is during their active growing season. Think spring and early summer. This is when they’re putting on their best growth, and their leaves have the most energy to dedicate to making new babies. You can often get away with it during other times, but you’ll likely see the fastest results when they’re feeling truly alive and kicking.
Supplies You’ll Need
Before we get our hands dirty, let’s gather our tools.
- Well-draining soil mix: I like a blend of equal parts peat moss, perlite, and coarse sand. You can also use a pre-made carnivorous plant mix.
- Sharp, clean scissors or a small knife: For making precise cuts.
- A spray bottle: For gentle misting.
- Small pots or trays: For your new propagations.
- Distilled water or rainwater: Butterworts are sensitive to minerals in tap water.
- (Optional) A slightly damp bottom heat mat: This can speed things up, but isn’t essential.
Propagation Methods
My favorite way to make more Pinguicula kondoi is through leaf cuttings. It’s simple, effective, and you usually don’t lose the mother plant in the process.
Leaf Cuttings:
- Select a healthy leaf: Look for a mature, plump leaf that’s fully formed on your Pinguicula kondoi. Avoid any that look old, damaged, or are struggling.
- Gently detach the leaf: This is crucial. You want to get as much of the leaf base as possible. I like to gently rock the leaf back and forth until it cleanly detaches from the rhizome, or use my clean scissors to make a very close, clean cut right at the base. If you can get a tiny bit of the white rhizome attached, even better!
- Prepare the “cutting”: You don’t need to do much here. Just make sure the end where it detached is clean.
- Place on soil: Lay the leaf flat on top of your prepared, slightly damp soil mix. You don’t bury it; just let it rest there. I often gently press the cut end into the soil a tiny bit so it makes good contact.
- Provide humidity: Cover the pot or tray loosely with a clear plastic bag or place it in a small terrarium to maintain humidity.
- Bright, indirect light: Place your propagation in a spot with plenty of bright, but not direct, sunlight. Too much sun can scorch the delicate leaves.
- Keep it moist: The soil should remain consistently moist but not waterlogged. I like to mist lightly with my spray bottle every few days to keep the humidity up and the soil surface damp.
The “Secret Sauce” (Pro Tips)
Here are a few things I’ve learned over the years that really make a difference:
- The “Green Band” is key: When you’re looking closely at the base of the leaf, you’ll see it connects to the plant. You want to take as much of that pale, slightly thickened part as you can. This is where the magic happens, where the tiny plantlets will emerge from.
- Don’t let the leaves touch standing water: If you’re using a tray and the soil is already plenty moist, avoid having the leaf itself sit in a pool of water. This can lead to rot faster than you can say “sticky trap.”
- Patience is a virtue (and a prerequisite!): Don’t get discouraged if you don’t see roots or plantlets immediately. It can take anywhere from a few weeks to a few months. Resist the urge to poke and prod too much – let nature do its thing.
Aftercare & Troubleshooting
Once you start seeing tiny little plantlets emerging from the base of your leaf cutting, hooray! This is the exciting part.
- Continue with consistent moisture and bright, indirect light.
- As the plantlets grow larger and develop their own tiny roots, you can carefully pot them up individually once they are about the size of a pea. Gently separate them from the old leaf (which usually shrivels away by this point) and plant them in their own small pot with your well-draining mix.
- Signs of trouble: The most common issue is rot. If your leaf cutting turns black and mushy, it’s probably gone. This is usually due to too much water or poor air circulation. Ensure your soil drains well, and don’t overwater. If the leaf just dries up and shrivels without any new growth, it might not have had enough energy or a good enough connection to the rhizome to start.
A Little Encouragement
Watching a new butterwort sprout from a single leaf is a truly wonderful feeling. It’s a testament to the resilience and beauty of nature. Keep at it, don’t be afraid to experiment a little, and enjoy the journey of growing your own beautiful Pinguicula kondoi. Happy propagating!
Resource:
https://identify.plantnet.org/k-world-flora/species/Pinguicula%20kondoi%20Casper/data