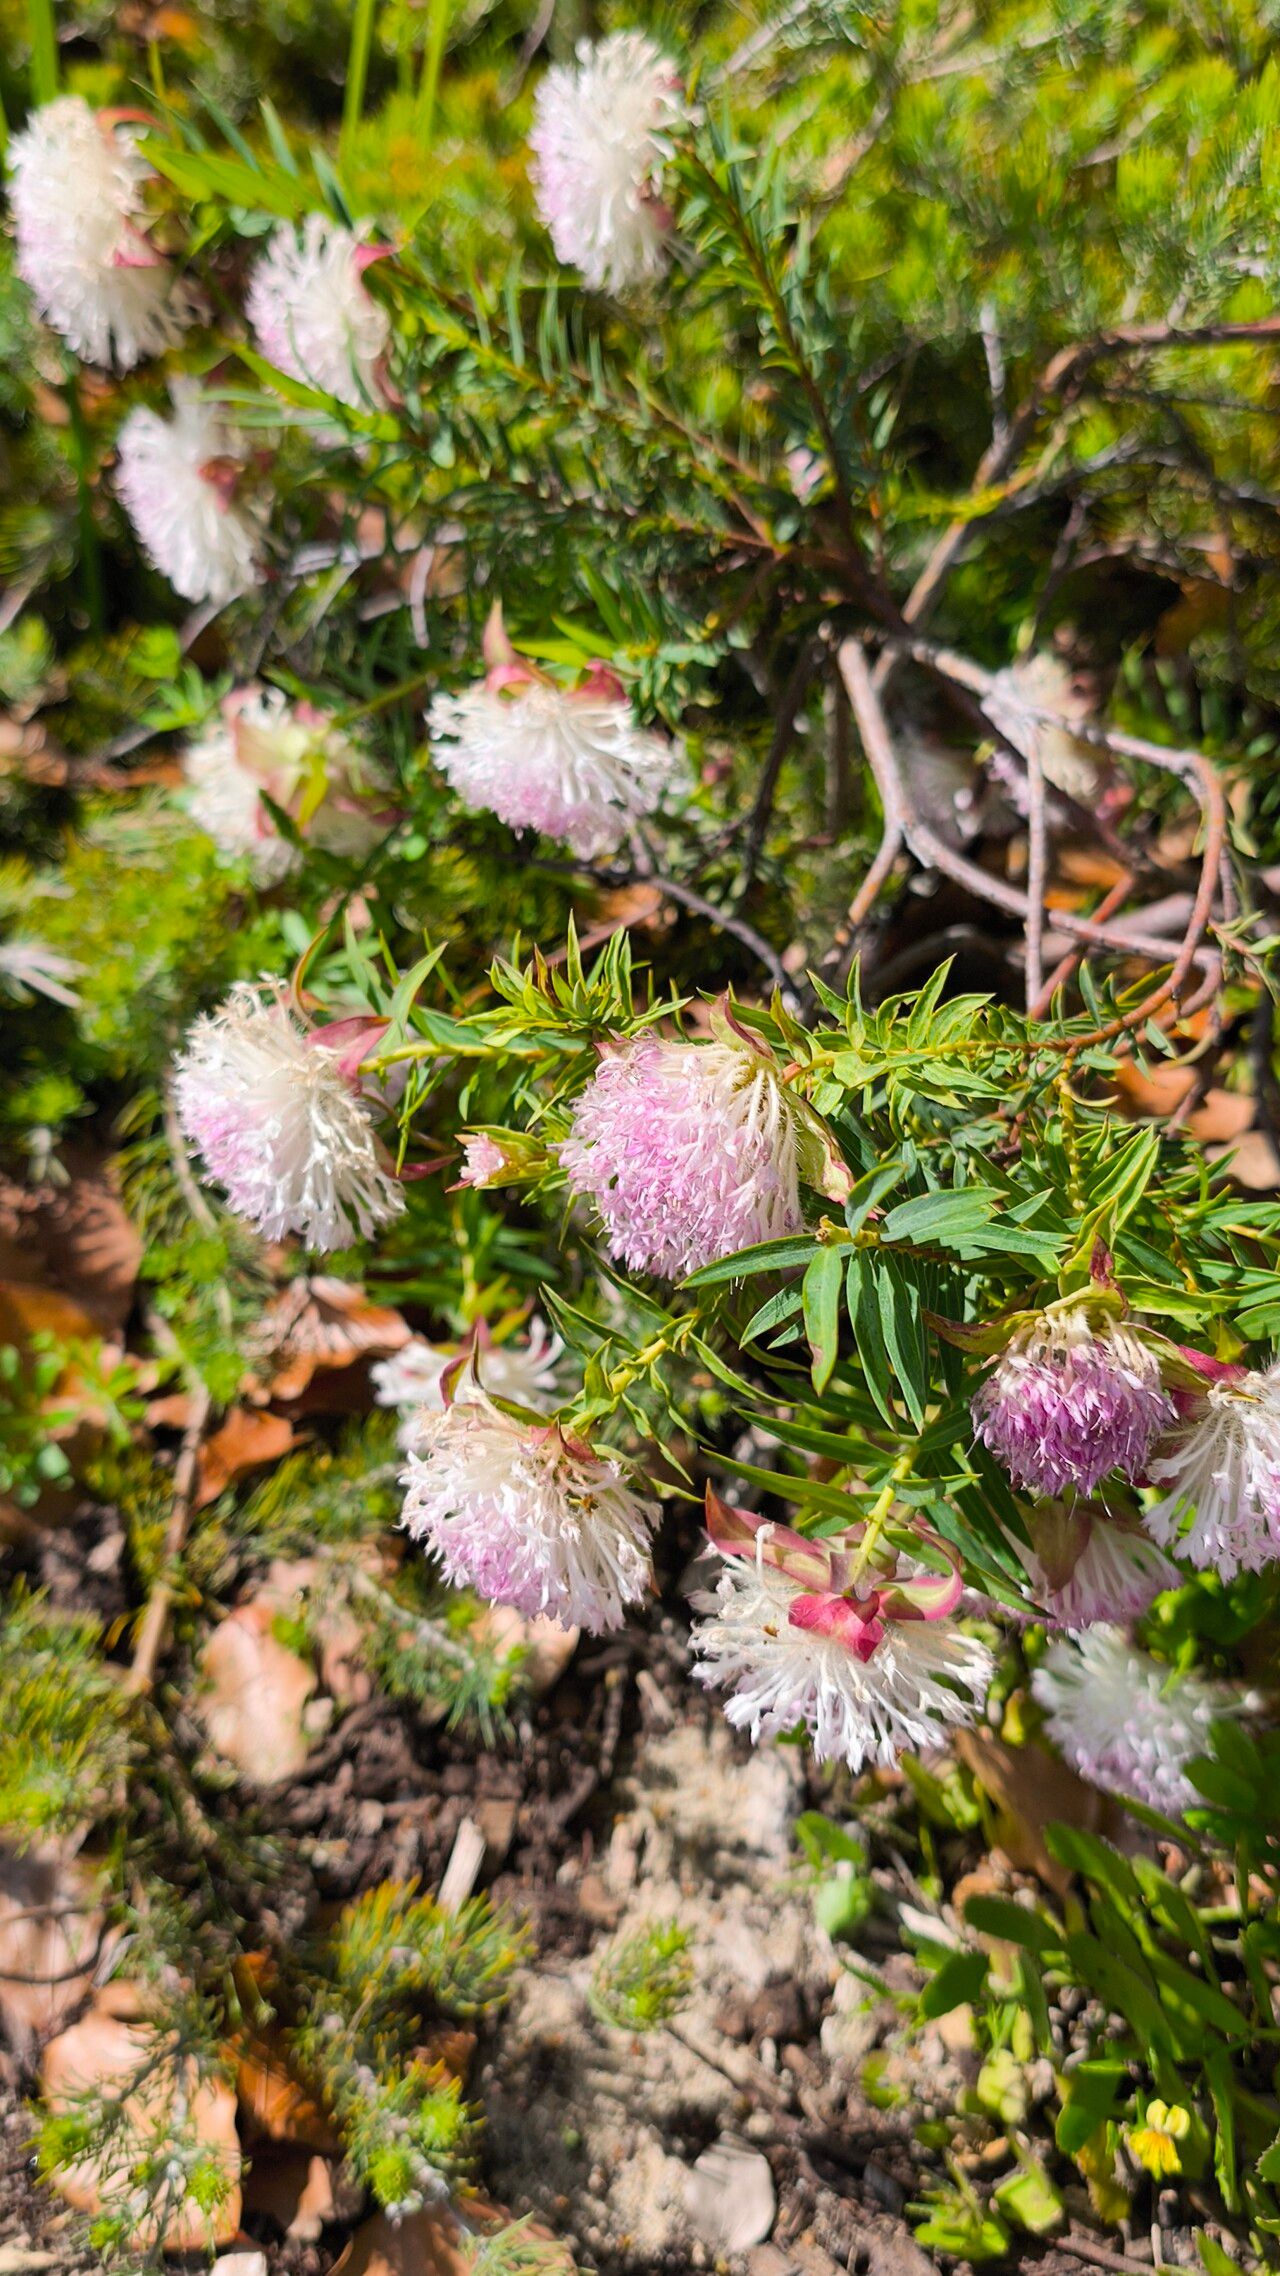
Hello fellow plant enthusiasts! If you’ve ever admired the delicate beauty of Pimelea spectabilis, with its clusters of ethereal white or pink blooms, you’re not alone. It’s a plant that truly brings a touch of elegance to any garden. And guess what? You can bring that elegance into more corners of your garden, or even share it with friends, by propagating it yourself! It might seem a little daunting at first, but I promise, with a little know-how, it can be a truly rewarding experience. For some, Pimelea can be a tad fussy, but with the right approach, we’ll get you on your way to success.
The Best Time to Start
For Pimelea spectabilis, the sweet spot for propagation is usually when the plant is actively growing but not putting on a huge floral show. Late spring to early summer is generally your best bet. Look for healthy, new growth – often referred to as “semi-hardwood” cuttings. This means the stems are a bit woody but still flexible. Avoid taking cuttings from flowering stems, as the energy is being diverted to bloom production.
Supplies You’ll Need
Gathering your supplies beforehand makes the whole process so much smoother. Here’s what I usually have on hand:
- Sharp, clean pruning shears or a sharp knife: Essential for clean cuts that heal well.
- Potting mix: A well-draining seedling or cutting mix is crucial. I often use a blend of perlite, peat moss, and a little sand.
- Rooting hormone: This is a game-changer for encouraging root development. Gel or powder form works well.
- Small pots or seed trays: Clean pots are important to prevent diseases.
- Plastic bags or a propagation dome: To create a humid environment.
- Watering can with a fine rose: For gentle watering.
- Labeling sticks and a permanent marker: To keep track of what you’ve planted!
Propagation Methods
While Pimelea spectabilis can be a little particular, stem cuttings are generally the most reliable method for home gardeners.
Stem Cuttings:
- Select your parent plant: Choose a healthy, vigorous specimen.
- Take your cuttings: Using your clean shears, cut a stem that’s about 4-6 inches long. Make the cut just below a leaf node (where a leaf attaches to the stem).
- Prepare the cutting: Gently remove the lower leaves from the cutting, leaving just a few at the top. If the leaves are very large, you can even cut them in half horizontally to reduce water loss.
- Apply rooting hormone: Dip the cut end of the stem into your rooting hormone, tapping off any excess.
- Pot it up: Make a hole in your prepared potting mix using a pencil or your finger. Insert the cutting, ensuring the hormone-coated end is well-buried. Gently firm the soil around the stem.
- Create humidity: Water the pot gently. Then, cover the pot with a clear plastic bag or place it under a propagation dome. Make sure the leaves don’t touch the plastic. You can use stakes to prop up the bag if needed.
- Find a good spot: Place the pot in a bright location but out of direct sunlight. Warmth can be beneficial, so a sunny windowsill or a spot with gentle bottom heat is ideal.
- Be patient! It can take several weeks, sometimes months, for Pimelea cuttings to root. Check gently by giving the cutting a slight tug; if it resists, roots are forming.
The “Secret Sauce” (Pro Tips)
Here are a couple of things I’ve learned over the years that really seem to make a difference:
- Use bottom heat: Pimelea roots much better when its base is warm. A small heat mat designed for seedlings can be a fantastic investment. It encourages those roots to get going without overheating the foliage.
- Don’t over-water (especially at first): While humidity is key, soggy soil is the enemy. Ensure your potting mix is very well-draining. Once the cutting is potted, give it a good watering, and then only water when the surface of the soil starts to feel dry. Too much moisture can lead to rot before roots even have a chance to form.
Aftercare & Troubleshooting
Once you see signs of rooting – perhaps new leaf growth or a slight tug resistance – it’s time to start thinking about transition.
- Gradually decrease humidity: Once roots have formed, slowly start to introduce more air by opening the plastic bag or dome a little each day. This helps the new plant acclimatize.
- Watering: Water consistently, but allow the top inch of soil to dry out between waterings.
- Light: Gradually move the young plant to a brighter location, eventually mimicking the light requirements of a mature Pimelea.
Now, what if things go wrong? The most common culprit is rot. If your cutting turns black and slimy, it’s likely succumbed to rot. This usually means the conditions were too wet, or perhaps the cutting wasn’t healthy to begin with. Don’t despair if a few don’t make it; that’s part of the learning curve! Just try again, perhaps with a slightly different soil mix or watering schedule.
A Little Encouragement
Propagating Pimelea spectabilis is a journey. There will be successes and maybe a few learning experiences along the way. But the joy of nurturing a tiny cutting into a thriving plant is simply unmatched. So, gather your supplies, be patient, and most importantly, enjoy the process. Happy propagating!
Resource:
https://identify.plantnet.org/k-world-flora/species/Pimelea%20spectabilis%20Lindl./data