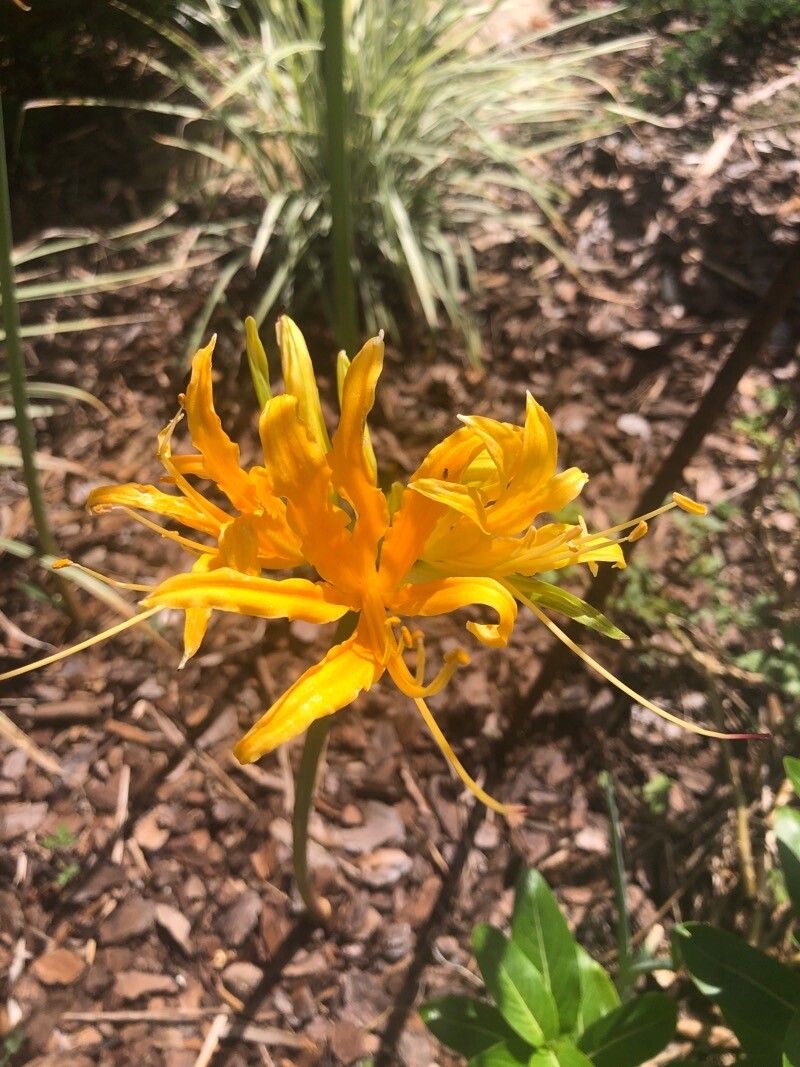
Oh, the Lycoris aurea! Isn’t it just breathtaking with those fiery orange blooms that erupt seemingly from nowhere? I’ve been growing them for years, and every time those stems shoot up and burst into flower, it feels like magic. They’re often called “Spider Lilies” or “Naked Ladies” because the flowers appear before the leaves do, which is a bit of a botanical tease! The joy of propagating them is that you can multiply that magic, sharing these sun-kissed beauties with friends or just filling your own garden with more of their cheerful glow. Now, are they easy for beginners? Honestly, they’re not precisely a “set it and forget it” plant, but with a little care and understanding, you can absolutely succeed.
The Best Time to Start
For Lycoris aurea, the ideal time to propagate is right after they’ve finished flowering, typically in late summer or early fall. This is when their energy is shifting, and cutting into the bulbs or separating offsets causes less stress. You’ll see the spent flower stalks starting to wither, and the leaves will still be present. This is your signal!
Supplies You’ll Need
Here’s what you’ll want to have on hand:
- Sharp Pruning Shears or a Clean Knife: For making precise cuts to avoid damaging the parent plant or the offsets.
- Well-Draining Potting Mix: A mix specifically for bulbs or succulents is perfect. You want it to dry out quickly. I often use a blend of peat moss, perlite, and coarse sand.
- Pots or Trays: Clean pots with drainage holes are essential.
- Rooting Hormone (Optional but Recommended): This can give your cuttings a gentle boost.
- Gently Warming Mat (Optional): Some gardeners find this helpful for encouraging root development.
- Gloves: It’s always good practice to wear gloves, especially when handling bulbs.
- Watering Can or Spray Bottle: For gentle watering.
Propagation Methods
Lycoris aurea are best propagated through division. They produce offsets, which are essentially baby bulbs that grow directly from the parent bulb.
- Gentle Excavation: When the leaves start to yellow or die back after blooming, it’s time to carefully dig up the entire bulb cluster. You can use a trowel or your hands to gently loosen the soil around the plant. Try to disturb the roots as little as possible.
- Separate the Offsets: Once the bulb cluster is out, you’ll see smaller bulbs attached to the main bulb. These are your offsets. Gently twist or cut them away from the parent bulb. If an offset has developed its own roots, that’s a big plus! If not, don’t worry, it will grow them.
- Inspection and Cleaning: Inspect the offsets for any signs of rot or disease. If you see any soft, mushy spots, gently trim them away with your clean knife. You can also gently brush off excess soil.
- Planting: Now, plant your offsets! You can plant them individually in small pots or plant a few together in a slightly larger pot. Plant them so the top of the bulb is just at the soil surface, or slightly covered. Don’t bury them too deeply. Use your well-draining potting mix.
- Initial Watering: Water them gently after planting. The goal is to moisten the soil, not to saturate it.
The “Secret Sauce” (Pro Tips)
Here are a few little tricks I’ve learned over the years that seem to make a big difference with Lycoris.
- Don’t RUSH them to bloom: Young offsets might not flower for a year or two, and that’s perfectly normal. Let them establish themselves. If you’re trying to divide a larger clump, make sure you’re not taking away too many offsets from the mother plant. You want it to survive and thrive too!
- Embrace the “Dry Dormancy”: Lycoris don’t like soggy feet, especially when they’re not actively growing. After you’ve planted your divisions, keep the soil lightly moist, but allow it to dry out between waterings. When the leaves start to die back, reduce watering significantly. They appreciate a dry spell during their resting period.
- Patience with Roots: Sometimes, it can take a few weeks for Lycoris offsets to really get their root systems going. Resist the urge to constantly dig them up to check. Trust the process and the soil.
Aftercare & Troubleshooting
Once your offsets are planted, keep them in a bright, but not scorching hot, location. Water sparingly, allowing the soil to dry out between waterings. You’ll know they’re happy if you see new leaf growth emerge in the spring.
The most common issue you might encounter is rot. This is almost always due to overwatering and poor drainage. If you see a bulb turning mushy and dark, it’s likely rotted. Sadly, there’s usually no coming back from that, but learning from it is key. Ensure your potting mix is airy and your pots have plenty of drainage holes.
A Encouraging Closing
Propagating Lycoris aurea is a rewarding journey. It requires a little patience, a touch of gentleness, and a keen eye for what your plant needs. Don’t be discouraged if not every single offset takes. Every gardener has their learning curve! Enjoy the process of nurturing these hopeful little bulbs, and before you know it, you’ll be rewarded with those spectacular bursts of orange sunshine. Happy gardening!
Resource:
https://identify.plantnet.org/k-world-flora/species/Lycoris%20aurea%20(L’Hér.)%20Herb./data