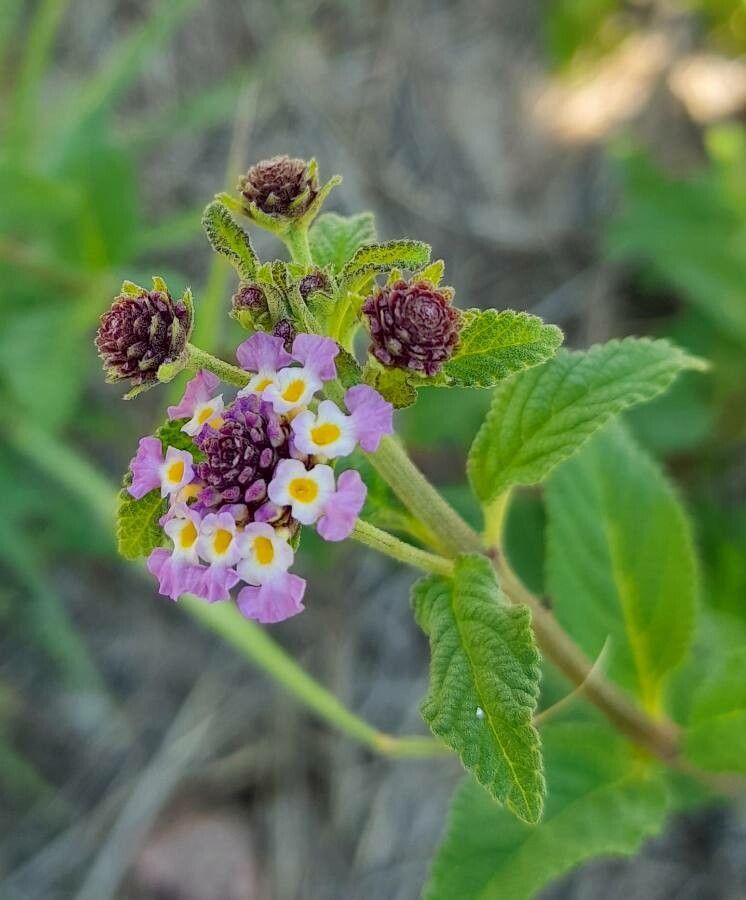
Hello, fellow garden enthusiasts! It’s so lovely to have you here. Today, we’re diving into the wonderful world of propagating Lippia brachypoda. If you’re drawn to plants that offer beautiful foliage and a delightful fragrance, you’re in for a treat. This little gem, often recognized for its silvery-green leaves and sometimes subtle blooms, is a fantastic addition to any garden or even a sunny windowsill.
Propagating Lippia brachypoda is a genuinely rewarding experience. There’s a special kind of magic in watching a tiny cutting transform into a thriving new plant. And guess what? If you’re new to the gardening scene, I have fantastic news: propagating Lippia brachypoda is wonderfully beginner-friendly. You’ll be amazed at how easily it takes to new life.
The Best Time to Start
Timing is everything in the garden, right? For Lippia brachypoda, the absolute sweet spot for propagation is during its active growing season. This typically means spring and early summer. The plant is full of vigor then, and your cuttings will have the best chance to establish roots quickly. Think of it as giving them the warmest welcome and the most energy to get going.
Supplies You’ll Need
Gathering your tools beforehand makes the whole process smoother. Here’s what I usually have on hand:
- Sharp Pruning Shears or a Clean Knife: Essential for making clean cuts that heal well.
- Potting Mix: A well-draining mix is crucial. I often use a blend of seed-starting mix or a regular potting soil with added perlite or sand to improve drainage.
- Small Pots or Seed Trays: Clean pots are a must to prevent disease.
- Rooting Hormone (Optional but Recommended): A little dip in rooting hormone can significantly boost your success rate.
- Watering Can with a Fine Rose: Gentle watering is key, especially for delicate cuttings.
- Plastic Bag or Dome: To create a humid microclimate for your cuttings.
- Labels and a Pen: To remember what you planted and when!
Propagation Methods
Let’s get our hands dirty! For Lippia brachypoda, stem cuttings are the star of the show. It’s efficient and yields great results.
Stem Cuttings:
- Take Your Cuttings: On a healthy Lippia brachypoda plant, look for upright, non-flowering stems. Using your clean shears, cut sections that are about 3-6 inches long. Make the cut just below a leaf node (where a leaf attaches to the stem).
- Prepare the Cuttings: Gently remove the lower leaves from your cuttings, leaving only a couple of leaves at the tip. This prevents the leaves from rotting when buried in the soil. If the leaves are large, you can even cut them in half.
- Apply Rooting Hormone (Optional): If you’re using rooting hormone, lightly dip the cut end of each stem into it. Tap off any excess.
- Plant Your Cuttings: Fill your small pots or trays with your prepared potting mix. Make a small hole in the center of each with your finger or a pencil. Gently insert the cut end of the Lippia stem into the hole, ensuring the leaf nodes that were below the soil line are covered. Firm the soil gently around the stem.
- Water Gently: Water the soil thoroughly but carefully, using your fine-rose watering can. You want the soil to be moist, not waterlogged.
- Create Humidity: To keep your cuttings happy and hydrated, cover the pots with a clear plastic bag or a propagation dome. Make sure the leaves aren’t touching the plastic. You can use stakes to prop up the plastic if needed.
- Find a Bright Spot: Place your cuttings in a warm location that receives bright, indirect light. Avoid direct, harsh sunlight, which can scorch them.
The “Secret Sauce” (Pro Tips)
Here are a few little tricks I’ve picked up over the years that really make a difference:
- Bottom Heat is Your Friend: If you can, place your pots on a gentle heat mat. This warmth from below encourages root development like nothing else. You’ll see results much faster!
- Don’t Be Afraid to Pinch: Once your cuttings have rooted and started to grow a bit, pinch off the very tip. This encourages the plant to branch out, leading to a fuller, bushier plant rather than a lanky one. It’s a simple step with a big visual impact.
- Patience with the Pots: Resist the urge to tug on your cuttings to check for roots. Instead, look for new leaf growth. That’s your best indicator that roots have formed.
Aftercare & Troubleshooting
Once you spot little green shoots emerging or see the plant resisting a gentle tug, congratulations! Roots have formed.
- Acclimatize Slowly: Gradually remove the plastic cover over a week or two. Start by lifting it for a few hours each day, then leaving it off entirely. This helps your new plant adjust to the normal humidity levels.
- Continue Bright Light: Keep the young plants in bright, indirect light.
- Water Wisely: Water when the top inch of soil feels dry. Avoid overwatering, as this is the most common culprit for failure.
- Watch for Rot: The most common sign of trouble is wilting and mushy stems, often near the soil line. This is typically a sign of overwatering or disease. If you see this, try to remove the affected cutting immediately and ensure the remaining cuttings have better drainage and aren’t sitting in soggy soil.
A Little Encouragement
So there you have it! Propagating Lippia brachypoda is a joyful way to expand your plant collection and share the beauty of this lovely plant. Be patient with the process. It might take a few weeks, but seeing those roots emerge is incredibly satisfying. Now, go forth and propagate with confidence. Happy gardening!
Resource:
https://identify.plantnet.org/k-world-flora/species/Lippia%20brachypoda%20(Hayek)%20Tronc./data