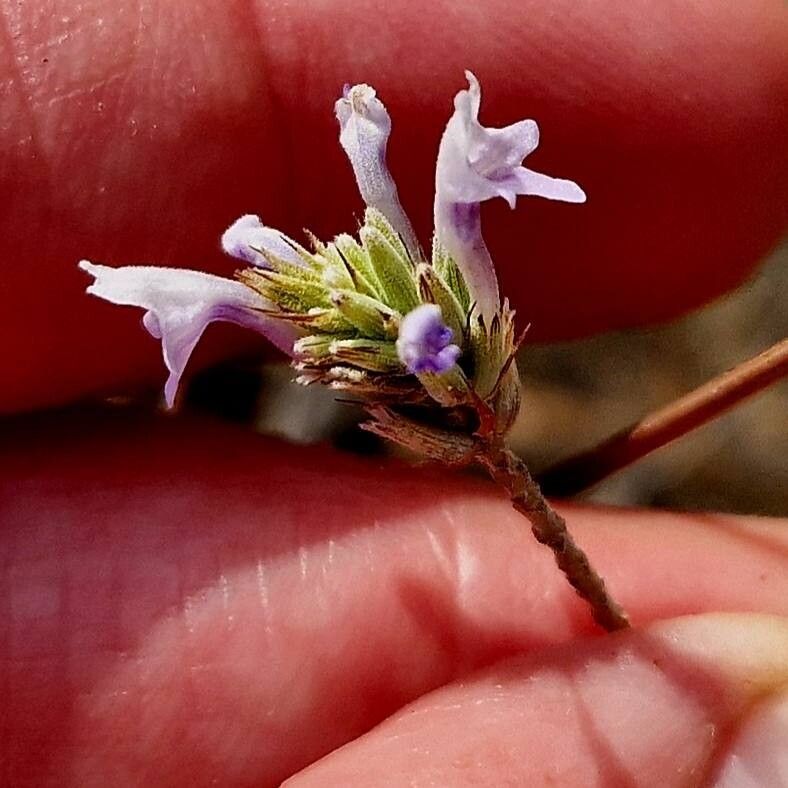
Hello there, fellow garden enthusiasts! I’m so thrilled you’ve stopped by to chat about one of my absolute favorites: Lavandula dhofarensis. You know, the kind of lavender that just exudes sunshine and fragrant magic. Its delicate, almost starry flowers and intoxicating aroma transport me straight to a warm, sunny afternoon every single time.
If you’ve ever admired this particularly beautiful species and thought, “I wish I had more of those!”, then you’re in luck. Propagating Lavandula dhofarensis is not only possible, but it’s also a wonderfully rewarding way to expand your fragrant collection without breaking the bank. Now, I won’t sugarcoat it for you – while not impossible, it’s perhaps a touch more particular than some of the more common lavenders for absolute beginners. But with a little care and attention, I’m confident you’ll be successful.
The Best Time to Start
For the highest success rate with Lavandula dhofarensis, I find that late spring to early summer is your golden ticket. Think of it as the plant’s prime growing season, where it’s full of vigor and ready to put out new energy. You’ll want to take cuttings from new, semi-hardened growth. These are the stems that are no longer floppy and green but haven’t yet become woody and stiff. They have that perfect balance of flexibility and stability.
Supplies You’ll Need
Gathering your tools beforehand makes the whole process smoother. Here’s what I usually have on hand:
- Sharp pruning shears or secateurs: Cleanliness is key to prevent disease.
- Rooting hormone powder or gel: This is a helpful boost for many plants, and some lavenders appreciate it.
- A well-draining potting mix: I often use a blend of equal parts perlite and peat moss or coco coir. You can also find commercial cactus and succulent mixes that work beautifully.
- Small pots or seed trays: Terracotta pots are great because they allow the soil to breathe.
- Plastic bags or a propagator: To create a humid environment for your cuttings.
- A spray bottle: For lightly misting.
- A small trowel or dibber: For making holes in the soil.
Propagation Methods: Stem Cuttings
This is my go-to method for Lavandula dhofarensis. It’s straightforward and yields great results.
-
Gather your cuttings: On a dry morning, select a healthy stem from your mother plant. Cut a section about 4-6 inches long, making sure it has several sets of leaves. Remove the leaves from the bottom two-thirds of the cutting, leaving just a few at the top. If any flower buds are present, pinch them off gently.
-
Prepare the cutting: Dip the bottom end of the cutting into rooting hormone, tapping off any excess. This stuff isn’t magic, but it really helps encourage root development.
-
Plant your cuttings: Fill your pots or trays with the well-draining mix. Use your trowel or dibber to make a hole that’s deep enough for the leafless part of your cutting. Gently insert the cutting into the hole and firm the soil around it. You can plant several cuttings in the same pot, spacing them about 2 inches apart.
-
Create humidity: Water the soil lightly. Then, cover the pots with a plastic bag or place them in a propagator. Ensure the leaves don’t touch the plastic if possible; you might need small stakes to prop it up.
-
Find a good spot: Place your pots in a bright location, but out of direct, harsh sunlight. A greenhouse, a bright windowsill, or even a sheltered spot outdoors can work.
The “Secret Sauce”: Pro Tips from My Garden
Over the years, I’ve learned a few tricks that make a real difference.
- Bottom heat is your friend: If you can, place your pots on a gentle heat mat. This warmth encourages root growth from the bottom, which is exactly what we’re aiming for. It’s like a warm hug for your cuttings!
- Be patient with watering: Once your cuttings are established and covered, you don’t need to water them constantly. Let the top inch of soil dry out slightly between waterings. Overwatering is a sure way to invite rot.
- Don’t be afraid to experiment: If one batch doesn’t take, don’t get discouraged! Sometimes the exact humidity, light, or even a slightly different time of year makes all the difference.
Aftercare & Troubleshooting
Once you start to see signs of new growth – tiny leaves unfurling or a gentle tug on the cutting showing resistance – that’s a good sign roots are forming! When this happens, you can gradually remove the plastic cover over a few days to acclimate them to normal humidity. Continue to water them as needed, keeping the soil consistently moist but not soggy.
The most common issue you might encounter is rot. If your cuttings look mushy or turn black and fall over, it’s usually a sign of too much moisture and not enough air circulation. If you see this, try to remove the affected cuttings immediately and ensure your soil is very well-draining.
A Sweet Ending
Propagating Lavandula dhofarensis is a journey, and like all good gardening journeys, it’s filled with anticipation and a little bit of mystery. Be patient. Watch your little cuttings closely. Celebrate every tiny sign of success. Those fragrant blooms you’ll enjoy from your own propagated plants will be all the sweeter because you grew them yourself. Happy gardening!
Resource:
https://identify.plantnet.org/k-world-flora/species/Lavandula%20dhofarensis%20A.G.Mill./data