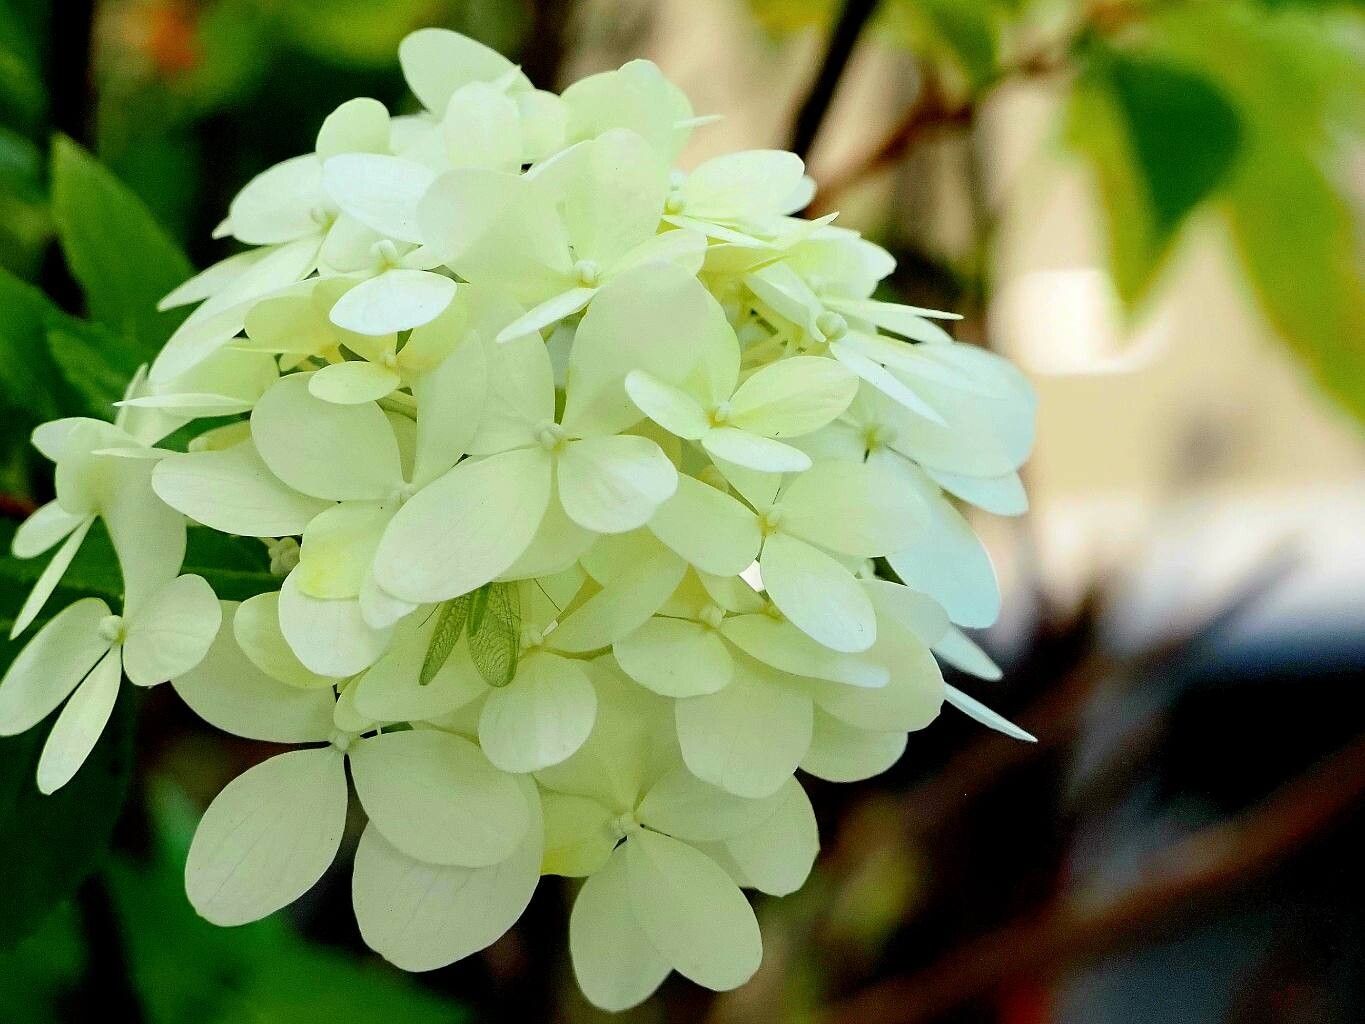
Oh, hydrangeas! Specifically, the panicle ones. They’re just such reliable beauties, aren’t they? From those classic, cone-shaped blooms that light up the late summer garden to their hardy nature, it’s no wonder we all love them. And the most rewarding part? Being able to create more of these garden stars yourself! Propagating Hydrangea paniculata is a wonderful way to expand your collection or share the joy with friends.
Now, I won’t fib. While some propagation can feel like rocket science, Hydrangea paniculata is actually quite forgiving. I’d say it’s a fantastic plant for beginners looking to dip their toes into the world of plant multiplication. You can absolutely do this!
The Best Time to Start
For the highest chances of success with your panicle hydrangeas, aim for mid-summer. This is usually late June through August, depending on your climate. You want to take cuttings from new growth that is semi-hardwood. What does that mean? It’s not the brand-new, floppy green shoots, and it’s not the woody old growth from last year. It should be firm when you try to bend it, but still have a bit of flexibility – think pencil-lead thickness. This stage offers the perfect balance for rooting.
Supplies You’ll Need
Gathering your tools beforehand makes the whole process smoother. Here’s my go-to list:
- Sharp, clean pruning shears or bypass secateurs: Sterilize them first with rubbing alcohol!
- Rooting hormone: A powder or gel form. I personally prefer powder for ease, but gel works beautifully too.
- Pots or trays: Small pots (around 4-inch) are perfect for individual cuttings. You can also use seed trays with good drainage.
- Well-draining potting mix: A good quality seed starting mix or a blend of peat moss, perlite, and a little compost works wonders. Avoid heavy garden soil.
- Plastic bags or a propagation dome: To create a humid environment.
- Watering can with a fine rose: For gentle watering.
- Labels and a pen: Trust me, you’ll forget which is which!
- Heating mat (optional but highly recommended): This provides bottom heat, which really speeds up root development.
Propagation Methods: Stem Cuttings
This is the most common and, in my opinion, the easiest method for Hydrangea paniculata. Let’s get to it!
- Take Your Cuttings: Head out on a mild day. Look for those semi-hardwood stems I mentioned. You want to select stems that have started to firm up but aren’t woody. Aim for cuttings that are about 4-6 inches long. Make your cut just below a leaf node (where a leaf joins the stem). This is where roots are most likely to form.
- Prepare the Cuttings: Gently remove the lower leaves from your cutting, leaving just the top two or three. If the leaves are quite large, you can even cut them in half horizontally to reduce water loss through transpiration. Now, dip the cut end into your rooting hormone, ensuring it’s thoroughly coated. Tap off any excess.
- Plant the Cuttings: Fill your pots or trays with your prepared potting mix. Make a small hole in the center with a pencil or your finger. Gently insert the treated end of the cutting into the hole, making sure the rooting hormone stays on. Firm the soil gently around the stem.
- Create Humidity: Water the soil thoroughly but gently. Then, cover the pots with clear plastic bags (propping them up with sticks so they don’t touch the leaves) or place them inside a propagation dome. This creates a mini-greenhouse effect, keeping the humidity high, which is crucial for cuttings that can’t yet absorb water through roots.
- Provide Warmth and Light: Place your pots in a bright, but indirect light location. Avoid direct sun, as this can scorch the tender cuttings. If you have a heating mat, place the pots on it. Bottom heat is like a cozy blanket for your baby hydrangeas, encouraging root formation.
The “Secret Sauce” (Pro Tips)
Here are a few little tricks I’ve learned over the years that really make a difference:
- Don’t let the leaves touch the water in the pot: If you’re doing water propagation (though cuttings are generally better for hydrangeas), or if excess water pools in your pots, make sure leaves aren’t sitting in it. This is a fast track to rot. Keep your humidity chamber airy enough that leaves aren’t wilting into puddles.
- Bottom heat is your best friend: I mentioned it, but it bears repeating. A gentle warmth from below is often the difference between a successful rooting and a sad, shriveled stem. It mimics the warmth of the soil in nature.
- Be patient with Hydrangea paniculata: They can be a little slower to root than some other plants. Don’t despair if you don’t see signs of life immediately. Sometimes it takes 6-8 weeks or even longer for roots to develop. Resist the urge to tug on them to check!
Aftercare & Troubleshooting
Once your cuttings have developed a good root system (you can gently tug and feel resistance, or see roots peeking out of the drainage holes), it’s time for a little more hands-on care.
Gradually introduce them to less humid conditions. You can start by poking a few holes in the plastic bag or opening the propagation dome for a few hours each day. Once they seem sturdy, you can remove the cover entirely. Continue to keep the soil consistently moist but not waterlogged.
The most common issue you’ll face is rot. This usually happens when cuttings are kept too wet, have poor air circulation, or have too much direct sun. You’ll see the stem turn mushy and black, or the leaves will yellow and drop. If you see this happening, remove the affected cutting immediately to prevent it from spreading.
Sometimes, a cutting might just fail to root. Don’t take it personally! It happens to all of us. Nature has its own way sometimes. Discard the sad stem and try again.
A Encouraging Closing
So there you have it! Propagating Hydrangea paniculata is a wonderfully accessible gardening project. It takes a little bit of planning and a lot of patience, but watching those tiny roots emerge and seeing your new plant grow is incredibly satisfying. Don’t be afraid to experiment, enjoy the process, and soon you’ll have a whole garden full of these fabulous hydrangeas. Happy propagating!
Resource:
https://identify.plantnet.org/k-world-flora/species/Hydrangea%20paniculata%20Siebold/data