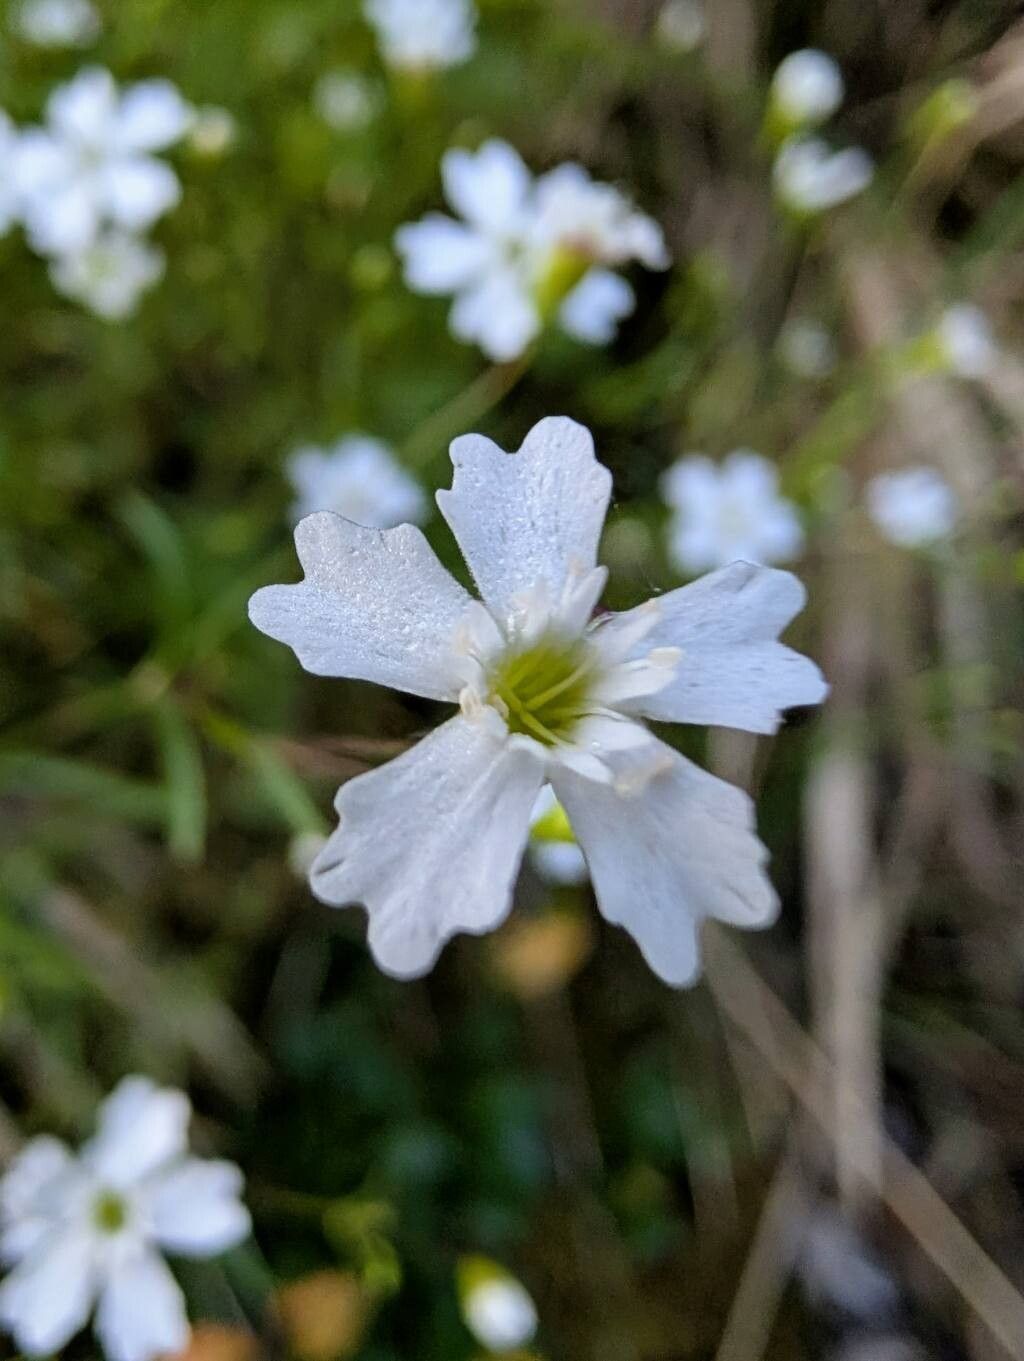
Hello, fellow garden enthusiasts! I’m so excited to chat with you today about one of my little darlings: Heliosperma pusillum. If you haven’t met this gem yet, imagine a delicate little carpet of the finest, almost feathery foliage, usually with charming little blossoms peeking out. It’s a true rock garden star, bringing a touch of airy grace to any sunny, well-drained spot. And the joy of propagating it? Well, it’s like creating little pieces of sunshine to share, and trust me, it’s a wonderfully rewarding journey. Now, for the beginners out there, I’d say Heliosperma pusillum is moderately easy. It requires a bit of attention, but nothing too daunting if you follow a few key steps.
The Best Time to Start
Generally, the absolute best time to propagate Heliosperma pusillum is late spring to early summer. This is when the plant is actively growing, and the new shoots are firm enough to take cuttings but still have plenty of energy to root. Trying to propagate when the plant is dormant or stressed will significantly lower your chances of success.
Supplies You’ll Need
Here’s what you’ll want to gather before we get our hands dirty:
- Sharp, clean pruning shears or a sharp knife: Absolutely crucial for clean cuts to prevent disease.
- Small pots or trays: Drainage holes are a must!
- A good quality, well-draining potting mix: I usually go for a mix of sharpsand, perlite, and a bit of seed-starting mix (about 1:1:1 ratio). You can also find commercial succulent or cactus mixes that work wonderfully.
- Rooting hormone (optional, but recommended): Choose one specifically formulated for stem cuttings.
- A spray bottle: For gentle misting.
- Plastic bags or a propagator lid: To maintain humidity around your cuttings.
- Water: Of course!
Propagation Methods
Let’s dive into how we can multiply these beauties.
Stem Cuttings
This is my go-to method for Heliosperma pusillum.
- Select your parent plant: Choose a healthy, vigorous specimen. Look for stems that have new growth, often a bright green color, and are at least 2-3 inches long. Avoid stems that are flowering heavily, as they’ll be putting all their energy into producing seeds, not roots.
- Take the cuttings: Using your clean shears or knife, carefully snip off the stem just above a leaf node (where a leaf emerges from the stem). Aim for cuttings that have at least two or three sets of leaves.
- Prepare the cuttings: Gently remove the lower leaves from the bottom inch or so of the cutting. This prevents them from rotting in the soil and exposes the nodes where roots will emerge.
- Apply rooting hormone (optional): If you’re using rooting hormone, dip the cut end of the stem into the powder or gel. Tap off any excess.
- Plant the cuttings: Fill your small pots or trays with your well-draining mix. Make a small hole with a finger or pencil and gently insert the prepared end of the cutting. Firm the soil gently around the base to ensure good contact.
- Water gently: Use your spray bottle to lightly mist the soil and cuttings. You want the soil to be moist, but not waterlogged.
- Create a humid environment: This is where the plastic bag or propagator lid comes in. Cover the pots loosely to trap moisture. You can use a clear plastic bag, securing it with a rubber band, or simply place a propagator lid over the tray. Make sure the leaves aren’t pressed against the sides of the bag.
- Provide light and warmth: Place your cuttings in a bright location that doesn’t receive direct, hot sun. A spot on a windowsill that gets gentle morning or late afternoon light is ideal. If you have a heated propagator or can place them on a heat mat, that’s even better for encouraging root development.
Division
While cuttings are usually my first choice, sometimes dividing a mature plant can be quite effective.
- Gently remove the plant from its pot: Tip the plant out and carefully loosen the soil around the root ball.
- Identify natural divisions: Look for areas where the plant seems to have naturally split or where there are distinct clumps of roots and shoots.
- Separate the sections: Using your fingers or a clean trowel, carefully pull or cut apart the root ball into smaller sections. Each section should have a healthy amount of roots and at least a few shoots.
- Replant: Pot up each division into its own container with fresh, well-draining soil, just as you would a potted plant. Water gently.
The “Secret Sauce” (Pro Tips)
Here are a couple of tricks I’ve picked up over the years:
- Don’t let the leaves touch the water (if water propagating): While some plants love water propagation, Heliosperma pusillum‘s delicate foliage can rot easily if submerged. If you do decide to try water propagation (which I less commonly recommend for this plant), ensure only the stem is in the water, and any leaves are well above the waterline.
- Bottom heat is your friend! If you have access to a heat mat, placing your pots or trays on it provides consistent warmth to the root zone. This significantly speeds up root formation and increases your success rate, especially if your ambient room temperature is cooler. It’s like giving those little roots a cozy, warm hug to get them growing.
Aftercare & Troubleshooting
Once you start seeing signs of life – new leaf growth from the top or, even better, tiny roots peeking out of the drainage holes – it’s time for a little adjustment.
- Gradually acclimatize: Once roots are well-established, slowly begin to remove the propagator lid or plastic bag over a few days. This helps the new plant adjust to drier air.
- Watering: Continue to keep the soil consistently moist but not soggy. Allow the top layer of soil to dry out slightly between waterings.
- Light: Continue to provide bright, indirect light. Gradually introduce it to a little more direct sun if your parent plant thrives in it, but always avoid intense midday sun, which can scorch young cuttings.
Troubleshooting: The most common issue you’ll encounter is rot. If your cuttings turn black and mushy, it’s usually a sign of too much moisture or insufficient drainage. Sadly, these are usually a lost cause, but don’t get discouraged! Just start again with fresh cuttings, ensuring better air circulation and a truly well-draining mix. Other signs of no progress might include wilting without any new growth. This could mean waiting patiently, or that the cutting simply didn’t take.
Happily Ever After!
Propagating Heliosperma pusillum is a beautiful way to expand your collection and share the joy of these petite wonders. Remember to be patient. It can take several weeks to see significant root development. Enjoy the process of nurturing these tiny plants, and celebrate every little sign of success. Happy gardening!
Resource: