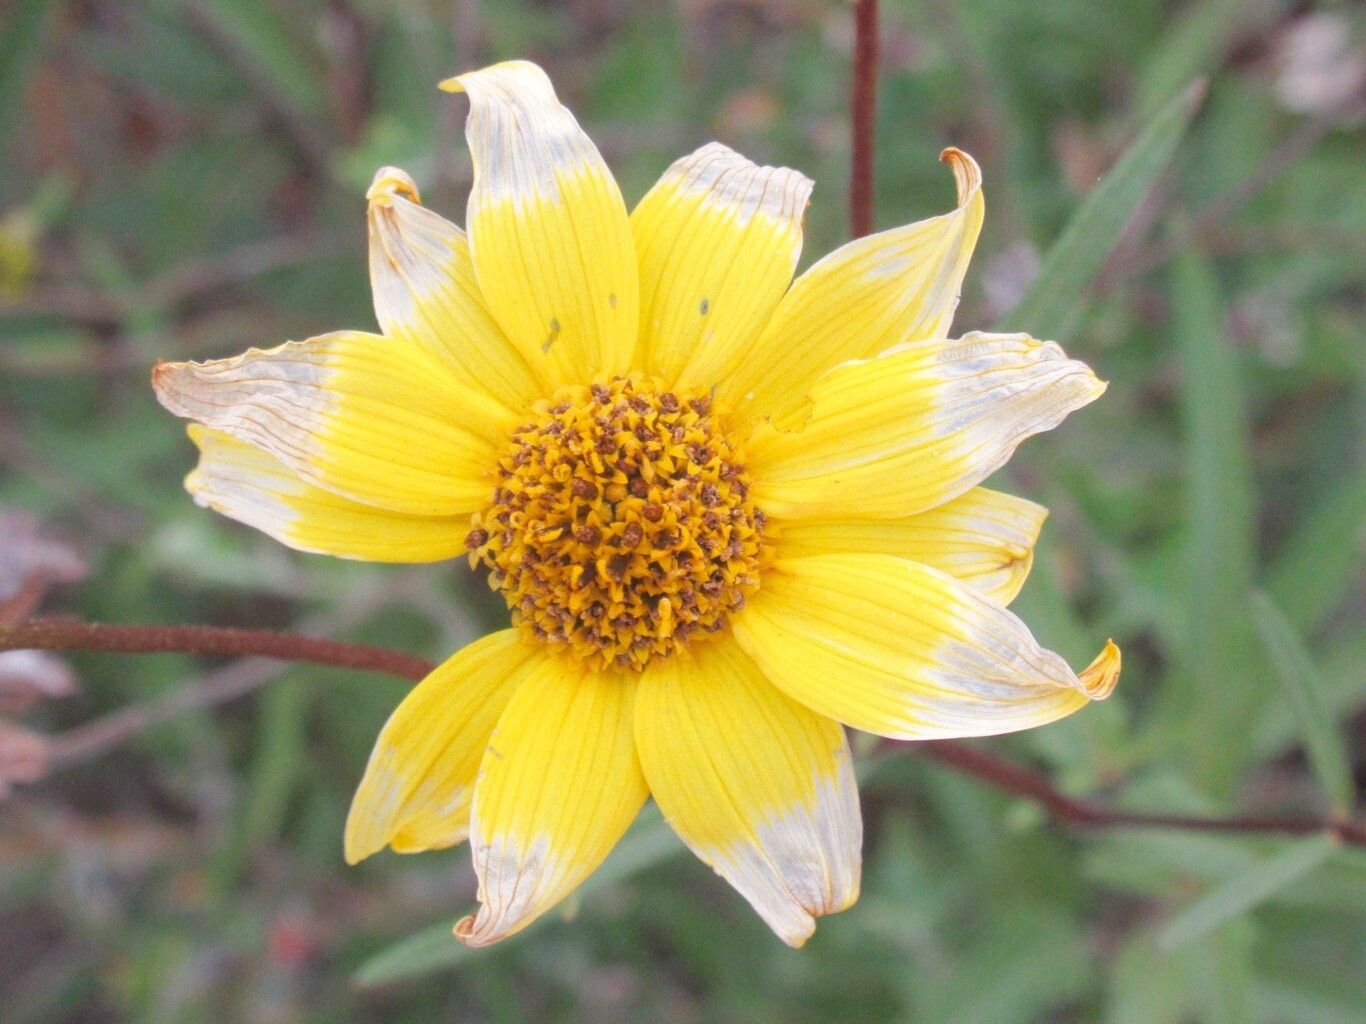
Oh, hello there! Grab yourself a cup of something warm. I’m so glad you’re interested in propagating Helianthus gracilentus, also known as the slender sunflower or elegant sunflower. It’s such a charming plant, isn’t it? With its delicate, nodding flowers and airy appearance, it brings a touch of wild beauty to any garden. And let me tell you, successfully coaxing new life from an existing plant is one of the most rewarding gardening experiences there is. It feels like a little bit of magic, really. Now, Helianthus gracilentus can be a teeny bit fussy compared to its bigger, bolder cousins, but with a little know-how and patience, even beginners can absolutely master propagating it.
The Best Time to Start
For the absolute best chance of success with Helianthus gracilentus, I always lean towards early to mid-spring. This is when the plant is just waking up from its winter nap and bursting with new growth. The days are getting longer and warmer, providing that gentle energy the new cuttings need to establish themselves. You can sometimes get away with cuttings in late summer too, but spring is definitely my go-to.
Supplies You’ll Need
Before we get our hands dirty, let’s gather our tools. Having everything ready makes the whole process much smoother.
- Sharp pruning shears or a clean knife: For taking clean cuts.
- Rooting hormone (optional but recommended): This really gives your cuttings a boost.
- Small pots or seed trays: With drainage holes, of course!
- A good quality potting mix: I like a blend that’s light and drains well. A mix of peat moss, perlite, and a bit of compost works beautifully.
- A plastic bag or propagation dome: To create a humid environment.
- Water: For misting and watering.
- Labels and a marker: To keep track of your precious cuttings!
Propagation Methods
While Helianthus gracilentus can sometimes produce seeds, propagating from cuttings is generally more reliable and gives you a clone of your existing, beautiful plant. Division is also an option if you have a mature clump.
Stem Cuttings: The Classic Approach
This is my favorite method for Helianthus gracilentus.
- Take Your Cuttings: In early spring, select a healthy, non-flowering stem. Using your sharp pruning shears or knife, make a clean cut just below a leaf node. A leaf node is where a leaf joins the stem. Aim for cuttings that are about 4-6 inches long. Remove the lower leaves, leaving just a few at the top.
- Prepare the Cuttings: If you’re using rooting hormone, dip the cut end of each stem into the hormone powder. Gently tap off any excess.
- Pot Them Up: Fill your small pots or trays with your prepared potting mix. Gently press the cut end of each cutting into the soil, making sure at least one leaf node is buried.
- Water and Cover: Water the soil thoroughly but gently. You don’t want to disturb the cuttings. Then, cover the pots loosely with a plastic bag or a propagation dome to maintain humidity. I usually prop up the bag with a few twigs so it doesn’t press down on the leaves.
Division: For Established Plants
If you have a mature Helianthus gracilentus that’s looking a bit crowded, division is a great way to get more plants and invigorate the parent.
- Dig Up the Plant: In early spring, carefully dig around the base of the plant with a spade. Lift the entire clump out of the soil.
- Separate the Divisions: You’ll often see natural divisions with roots and shoots already attached. Gently pull these apart with your hands. If they’re stubborn, you can use a clean knife to help. Aim for divisions that have at least a few stems and a good root ball.
- Replant Immediately: Pot up each division into its own container with fresh potting mix, or replant them directly into your garden bed. Water them well.
The “Secret Sauce” (Pro Tips)
Here are a few little tricks I’ve picked up over the years that make a world of difference:
- Avoid Letting Leaves Touch the Water: If you’re trying water propagation (which I don’t recommend as much for Helianthus Gracilentus as cuttings, but some people try it), make absolutely sure no leaves are submerged in the water. Rot sets in so quickly if they are.
- Bottom Heat is Your Friend: If you can, place your pots on a seedling heat mat. This gentle warmth from below stimulates root growth and speeds up the whole process considerably. It’s like a cozy little spa for your cuttings!
- Don’t Be Afraid to Prune: Sometimes, pinching off the very tip of a healthy cutting can encourage it to branch and develop more roots. Think of it as directing the plant’s energy.
Aftercare & Troubleshooting
Once your cuttings are planted, keep them in a bright, but indirect light location. Water them whenever the top inch of soil feels dry. Mist them occasionally if the air is very dry.
Be patient! It can take several weeks for roots to form. You can gently tug on a cutting. If there’s resistance, it’s likely rooted. You can also often see roots peeking out of the drainage holes.
The biggest culprit for failure is rot. If you see your cuttings wilting, turning yellow, or developing mushy stems, it’s usually a sign of overwatering or poor drainage. Ensure your soil is light and airy, and don’t let them sit in soggy conditions.
A Little Encouragement to Grow On
So there you have it! Propagating Helianthus gracilentus is a journey, not a race. Embrace the process, observe your little cuttings, and celebrate every tiny success. Don’t get discouraged if a cutting doesn’t make it; it’s all part of the learning curve. Soon enough, you’ll have a whole patch of these graceful beauties gracing your garden. Happy propagating!
Resource:
https://identify.plantnet.org/k-world-flora/species/Helianthus%20gracilentus%20A.Gray/data