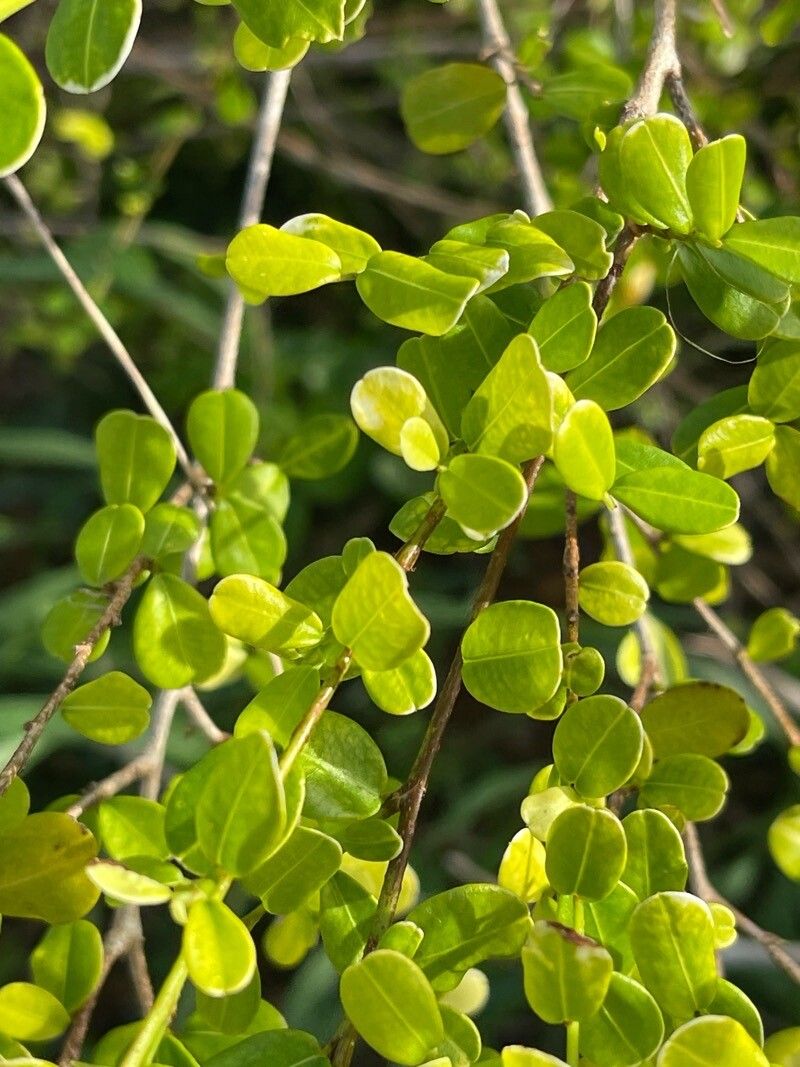
Hello fellow plant enthusiasts! If you’ve ever admired the delicate beauty of Erythroxylum brevipes, you know it’s a special one. Its lovely foliage and potential for charming blooms make it a real delight to have in the garden or on a sunny windowsill. And the joy of coaxing a new plant into existence from a tiny piece of the original? It’s truly something else!
Now, let’s get right to it. Is Erythroxylum brevipes a walk in the park for beginners? Honestly, I’d say it’s more of a delightful challenge. It requires a little attention to detail, but the rewards are well worth the effort once you get the hang of it. Don’t let that deter you; think of it as a rewarding learning opportunity.
The Best Time to Start
Like most plants, Erythroxylum brevipes is happiest when you propagate it during its active growing season. This typically means late spring through early summer. You’re looking for healthy, vigorous new growth. Avoid trying to take cuttings from woody, old stems or when the plant is dormant or stressed.
Supplies You’ll Need
Here’s what you’ll want to have ready:
- Sharp, clean pruning shears or a razor blade: This is crucial for making clean cuts and preventing disease.
- Rooting hormone: While not strictly essential for every plant, it significantly boosts your success rate with cuttings. I usually opt for a gel or powder.
- Potting mix: A well-draining mix is key. I blend equal parts perlite and peat moss, or you can use a high-quality seed starting mix.
- Small pots or propagation trays: Clean pots are a must! Tiny nursery pots or recycled containers with drainage holes will work perfectly.
- Plastic bags or a propagation dome: This helps maintain humidity, which is vital for cuttings.
- Water: For misting and watering.
- Labeling stakes and a marker: Always a good idea to know what you’ve planted and when!
Propagation Methods
For Erythroxylum brevipes, I’ve found stem cuttings to be the most reliable method.
- Select Your Cuttings: Look for healthy, non-flowering stems that are about 4-6 inches long. You want stems that are semi-hardwood – meaning they’re not completely soft and green, but not yet hard and woody. Gently bend a stem; if it snaps cleanly, it’s likely a good candidate.
- Make the Cut: Using your sharp pruners or razor blade, make a clean cut just below a leaf node (where a leaf attaches to the stem). This is where the magic happens for root development. Remove the lower leaves, leaving just 2-3 at the top.
- Apply Rooting Hormone: Dip the cut end of the stem into your rooting hormone. Gently tap off any excess.
- Plant Your Cuttings: Fill your pots with your damp potting mix. Make a small hole with your finger or a pencil and insert the cutting, ensuring the leaf nodes are buried. Gently firm the soil around the stem.
- Create a Humid Environment: Water the soil lightly. Then, cover the pot with a plastic bag, securing it with a rubber band or placing it inside a larger clear plastic bag. Alternatively, use a propagation dome. Ensure the leaves don’t touch the plastic if possible.
- Provide Light and Warmth: Place the pots in a bright spot out of direct sunlight. A little warmth from the bottom can also be beneficial.
The “Secret Sauce” (Pro Tips)
- Don’t let the leaves touch the water once roots start to form: If you’re doing water propagation (though I prefer soil for Erythroxylum brevipes), make sure the leaves are well above the water level. Any submerged foliage will likely rot and harm the cutting.
- Bottom heat is your friend: While not absolutely necessary, placing your pots on a heat mat set to a low temperature (around 70-75°F or 21-24°C) can significantly speed up root formation. It mimics the warm soil conditions that new roots love.
- Be patient with humidity: Don’t constantly lift the plastic bag to check. Let it do its job of holding that precious humidity. If you see condensation, that’s a good sign! You can briefly vent it if it looks overly soggy.
Aftercare & Troubleshooting
Once you start to see new leaf growth, that’s a good indicator that roots have formed. You can gently tug on the cutting – if there’s resistance, it’s likely rooted.
- Acclimation: Gradually introduce your new plant to normal humidity by slowly opening the plastic bag or dome over a week or two. Once it’s fully acclimated, you can remove the covering entirely.
- Watering: Water when the top inch of soil feels dry. Avoid overwatering, as this is a common killer of new cuttings.
- Troubleshooting: The most common issue you’ll encounter is rot. If your cutting turns black and mushy, it’s likely rotted. This is usually due to too much moisture and poor air circulation. If you see signs of rot on a cutting, it’s best to discard it and try again with a fresh one and perhaps a slightly drier soil mix. Yellowing leaves can sometimes indicate too much or too little water, or insufficient light.
A Encouraging Closing
Propagating plants is a journey, and with Erythroxylum brevipes, it’s one that teaches you a lot. Don’t be discouraged if your first attempt doesn’t go perfectly. Each time you try, you learn something new. Be patient, keep your cuttings happy, and soon you’ll be admiring your very own homegrown beauties. Happy propagating!
Resource:
https://identify.plantnet.org/k-world-flora/species/Erythroxylum%20brevipes%20DC./data