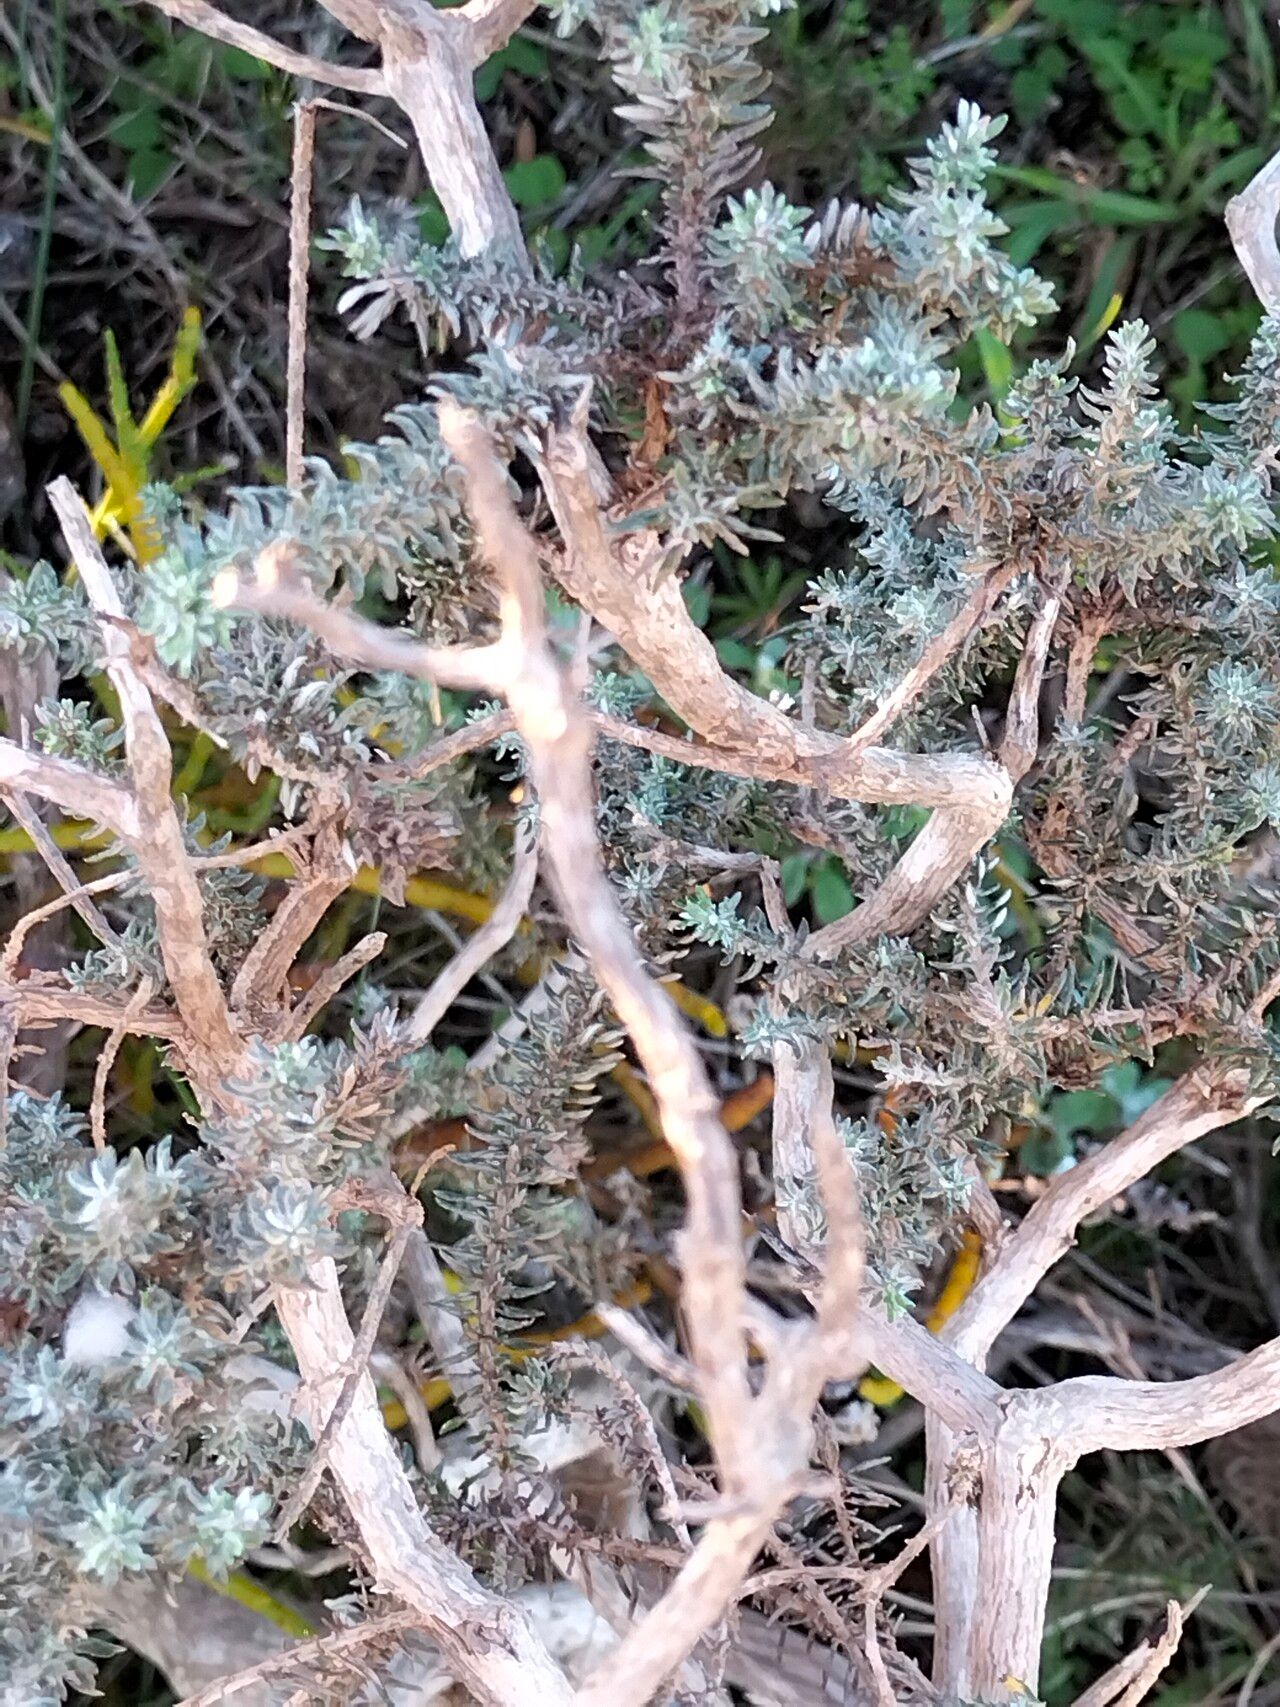
Oh, hello there, fellow plant enthusiast! Grab a mug of your favorite brew, and let’s chat about a truly delightful plant: Eriocephalus racemosus, or as we often lovingly call it, the “Wild Rosemary” or “Cape Snow.” If you’ve ever admired its delicate, aromatic foliage and sweet, tiny white flowers that look like scattered confetti, you’re not alone. This South African native is a beauty, and the joy of creating more of them from your own efforts is incredibly rewarding.
Now, for the question on everyone’s mind: is it easy for beginners? I’d say Eriocephalus racemosus falls into the moderately easy category. It’s not as forgiving as a succulent, but with a little attention to detail, you’ll be well on your way to success.
The Best Time to Start
When it comes to giving your cuttings the best chance, late spring to early summer is generally your golden window. This is when the plant is actively growing, and the energy reserves are high. You’re looking for new, but slightly hardened, growth. Think of it as wood that’s not too soft and bendy, but also not so rigid that it snaps.
Supplies You’ll Need
Here’s a quick checklist to get you prepped:
- Sharp, clean pruning shears or a sharp knife: Hygiene is key to prevent diseases.
- Rooting hormone powder or gel (optional but recommended): This gives your cuttings a nice boost.
- A well-draining potting mix: I like a blend of equal parts perlite, coarse sand, and peat moss or coco coir. You want absolutely no soggy feet!
- Small pots or seed trays: Clean ones, of course.
- A clear plastic bag or humidity dome: To keep things nice and humid.
- Watering can with a fine rose: Gentle watering is essential.
- Labels and a permanent marker: Don’t forget to label what you’re propagating!
Propagation Methods
For Eriocephalus racemosus, stem cuttings are your best bet. Let’s dive into how we do it:
- Take Your Cuttings: Using your sharp shears or knife, select healthy stems from your mature plant. You want pieces that are about 4-6 inches long. Make a clean cut just below a leaf node (where a leaf attaches to the stem). Remove the lower leaves, leaving about two sets of leaves at the top.
- Prepare the Cuttings: Gently dip the cut end of each cutting into your rooting hormone, tapping off any excess. This helps stimulate root development.
- Planting: Fill your small pots or trays with your prepared potting mix. Make a small hole in the center of the mix with your finger or a pencil. Carefully insert the cut end of the stem into the hole, ensuring the bottom leaf nodes are below the soil surface. Gently firm the soil around the cutting.
- Provide Humidity: Water the potting mix gently. Then, cover the pot or tray with a clear plastic bag or a humidity dome. This creates a mini-greenhouse environment that keeps the cuttings from drying out while they develop roots.
- Placement: Place your pots in a bright spot that receives indirect sunlight. Avoid any harsh, direct sun, as this can scorch the delicate cuttings.
The “Secret Sauce” (Pro Tips)
Here are a couple of things I’ve learned over the years that can really make a difference:
- The “Sacrificial Leaf”: If you have a cutting that’s a bit longer, you can sometimes remove all but the very top two leaves. This forces the plant to focus its energy on root production rather than leaf maintenance.
- Warmth is Wonderful: Eriocephalus loves a little warmth. If you have a propagation mat or can place your pots in a warm spot (not hot!), like on top of a refrigerator, it can significantly speed up the rooting process. Don’t overdo it, though; we’re not baking them!
Aftercare & Troubleshooting
Once your cuttings are happily nestled in their pots, keep the soil consistently moist but not waterlogged. The humidity cover is your friend here. You’ll know your cuttings are rooting when you gently tug on them and feel resistance. This usually takes anywhere from 4 to 8 weeks.
The most common issue you’ll encounter is rot. If you see your cuttings turning black and mushy, it’s usually a sign of too much moisture and poor air circulation. Don’t be discouraged if a few don’t make it; it’s all part of the learning curve! If you’ve got a rot problem, try removing the affected cuttings, letting the soil dry out a bit more, and ensuring good air flow around the remaining ones.
A Encouraging Closing
So there you have it! Propagating Eriocephalus racemosus is a beautiful, satisfying process. Be patient with your little green babies, observe them closely, and learn from each one. Soon, you’ll have a whole collection of these fragrant beauties to enjoy, and perhaps even share with fellow garden lovers. Happy propagating!
Resource:
https://identify.plantnet.org/k-world-flora/species/Eriocephalus%20racemosus%20L./data